Create an account, build your first agent, and deploy it in minutes.
Create an account, build an agent, add knowledge, test it, and deploy. Five steps.
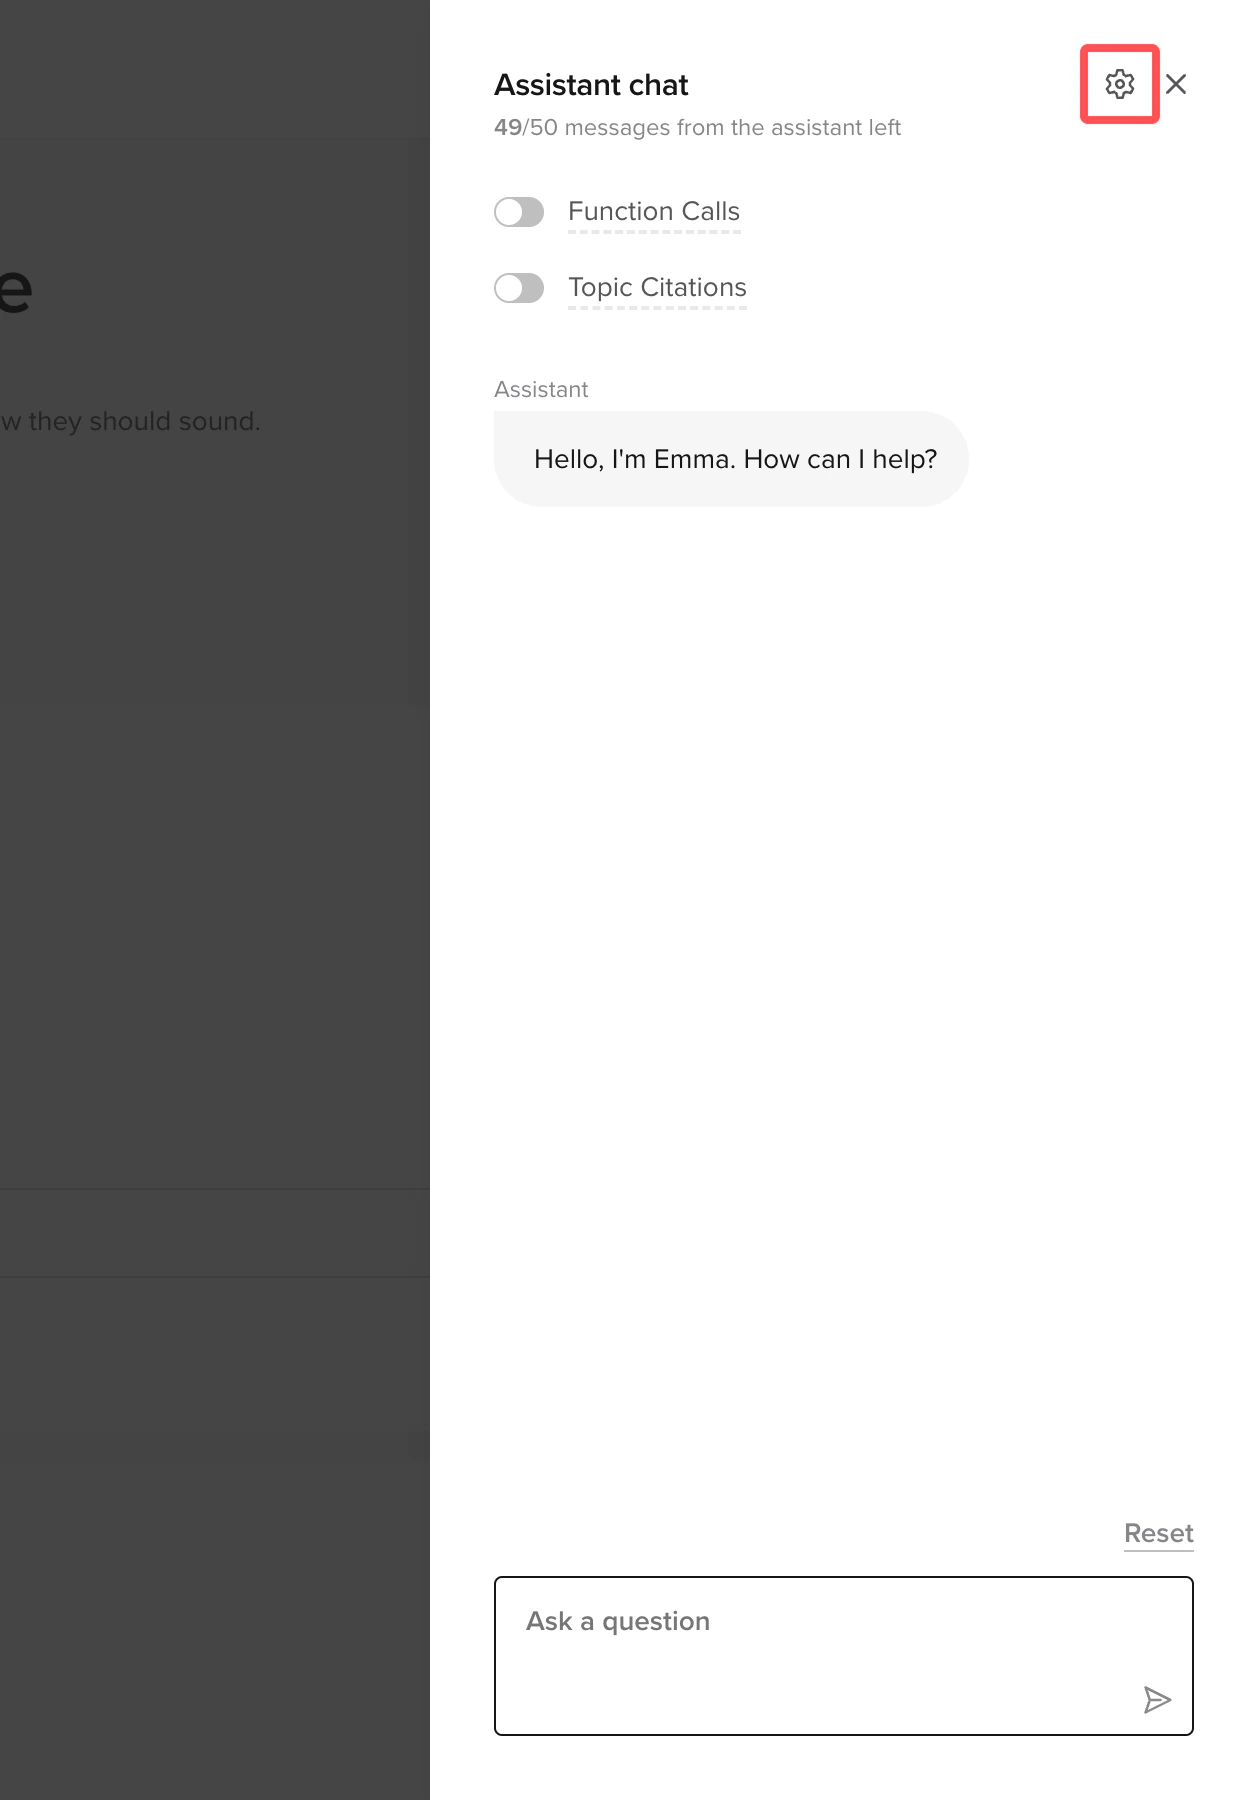
Project admin?Studio Assistant (admin-only) is the fastest way to scaffold an agent — describe what you want and it generates flows, topics, entities, and settings on a branch you can review. The manual steps below still work for any role.
A use case in mind (e.g., customer support, reservations, FAQ)
1
Create your account (~1 min)
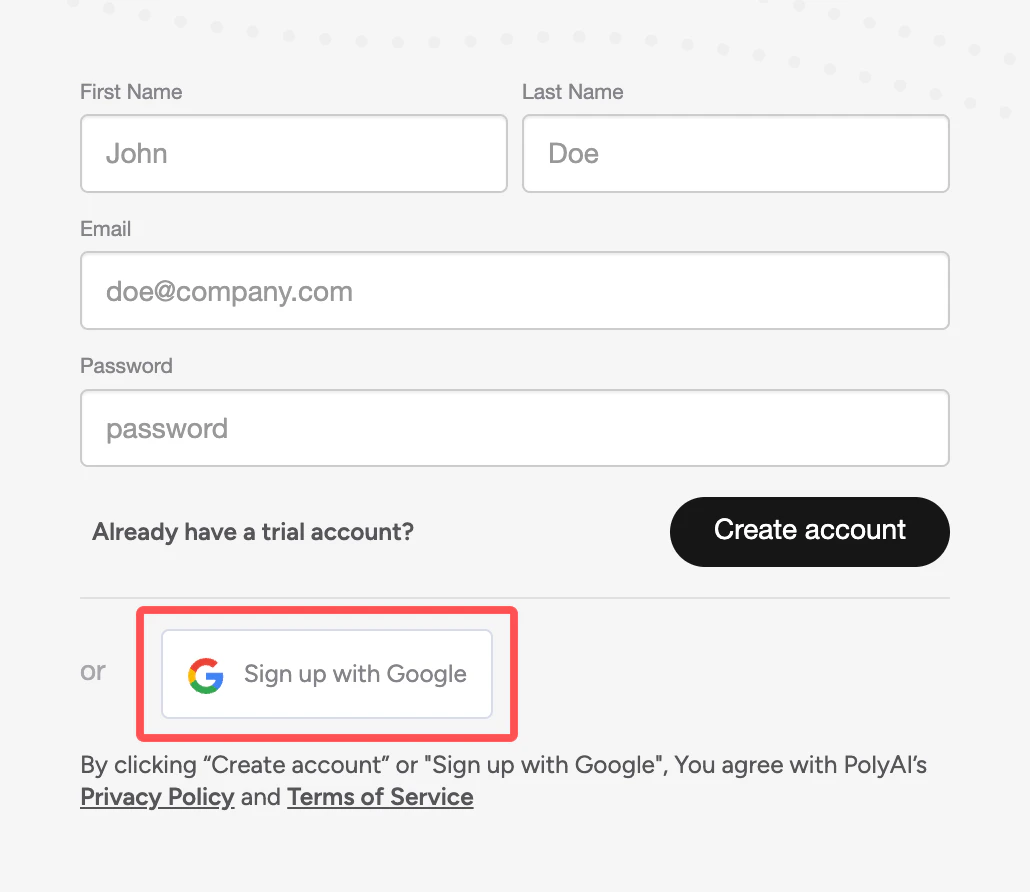
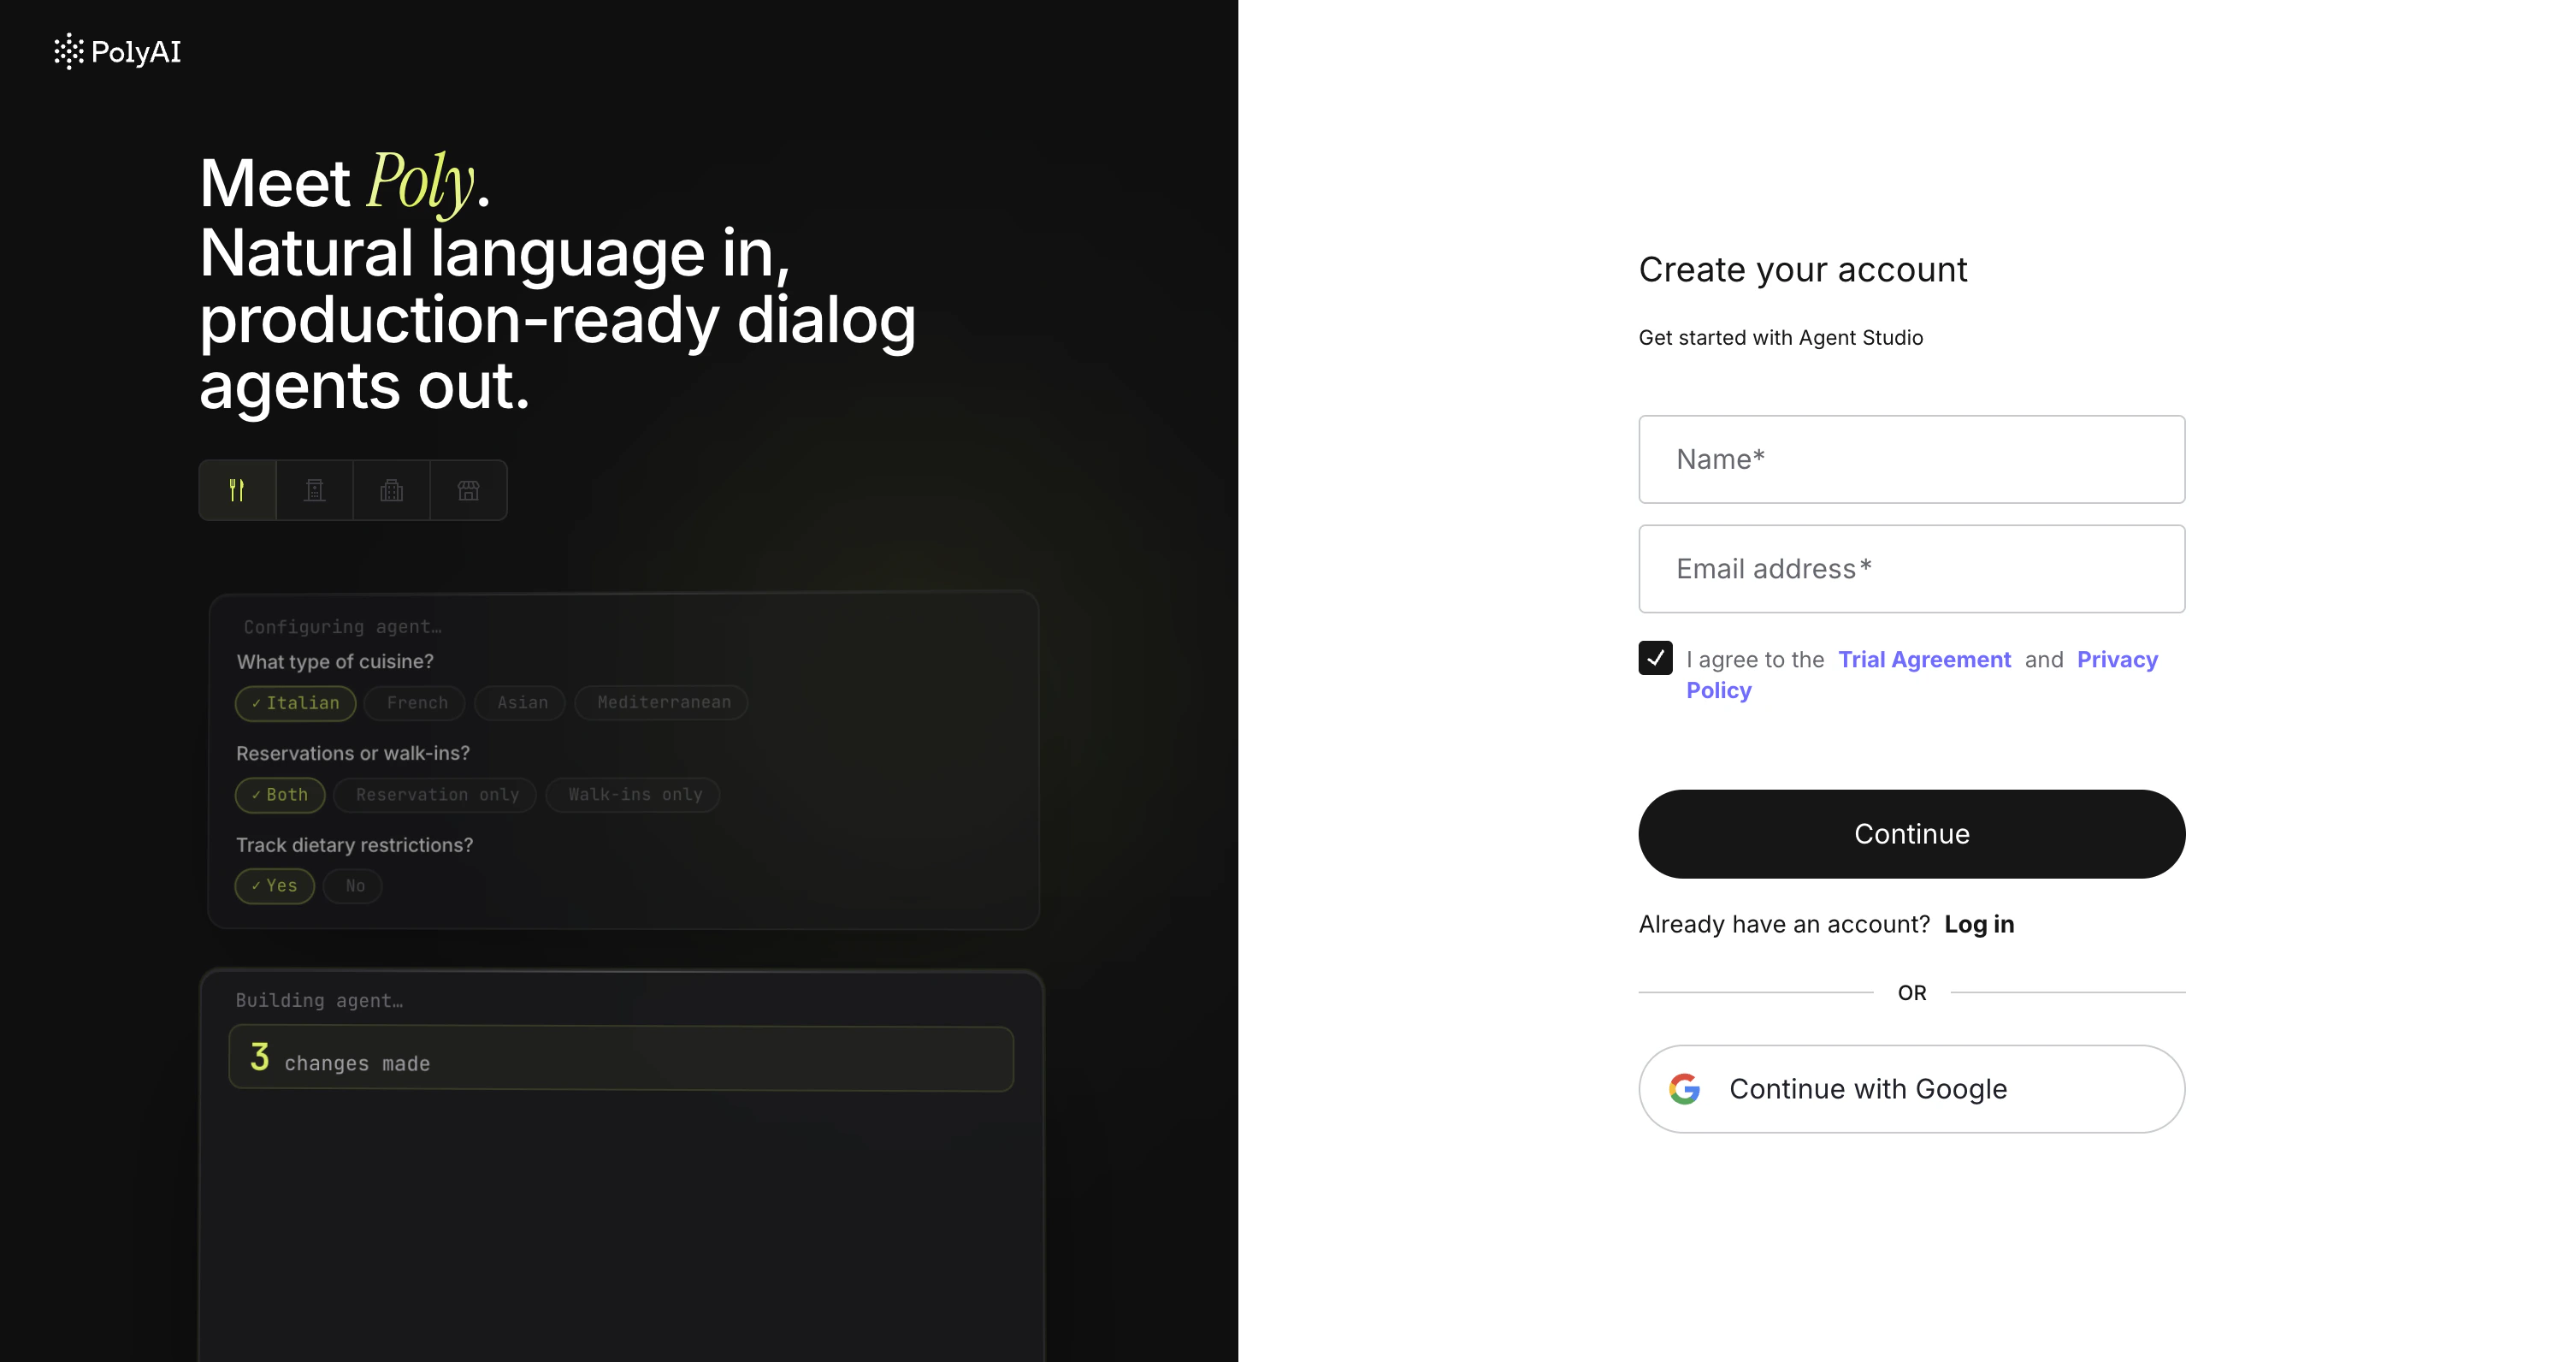
Go to the sign-up page and create your PolyAI account.
Google SSO
Email and password
Click “Sign up with Google”
Select your Google account or enter your credentials
Click “Continue” to authorize PolyAI
Sign in with Google SSO
Enter your first name, last name, and email address
Create a password (at least 12 characters, with 3 of 4 character types: lowercase, uppercase, numbers, special characters)
Click “Create account” and verify your email
Create an account with email and password
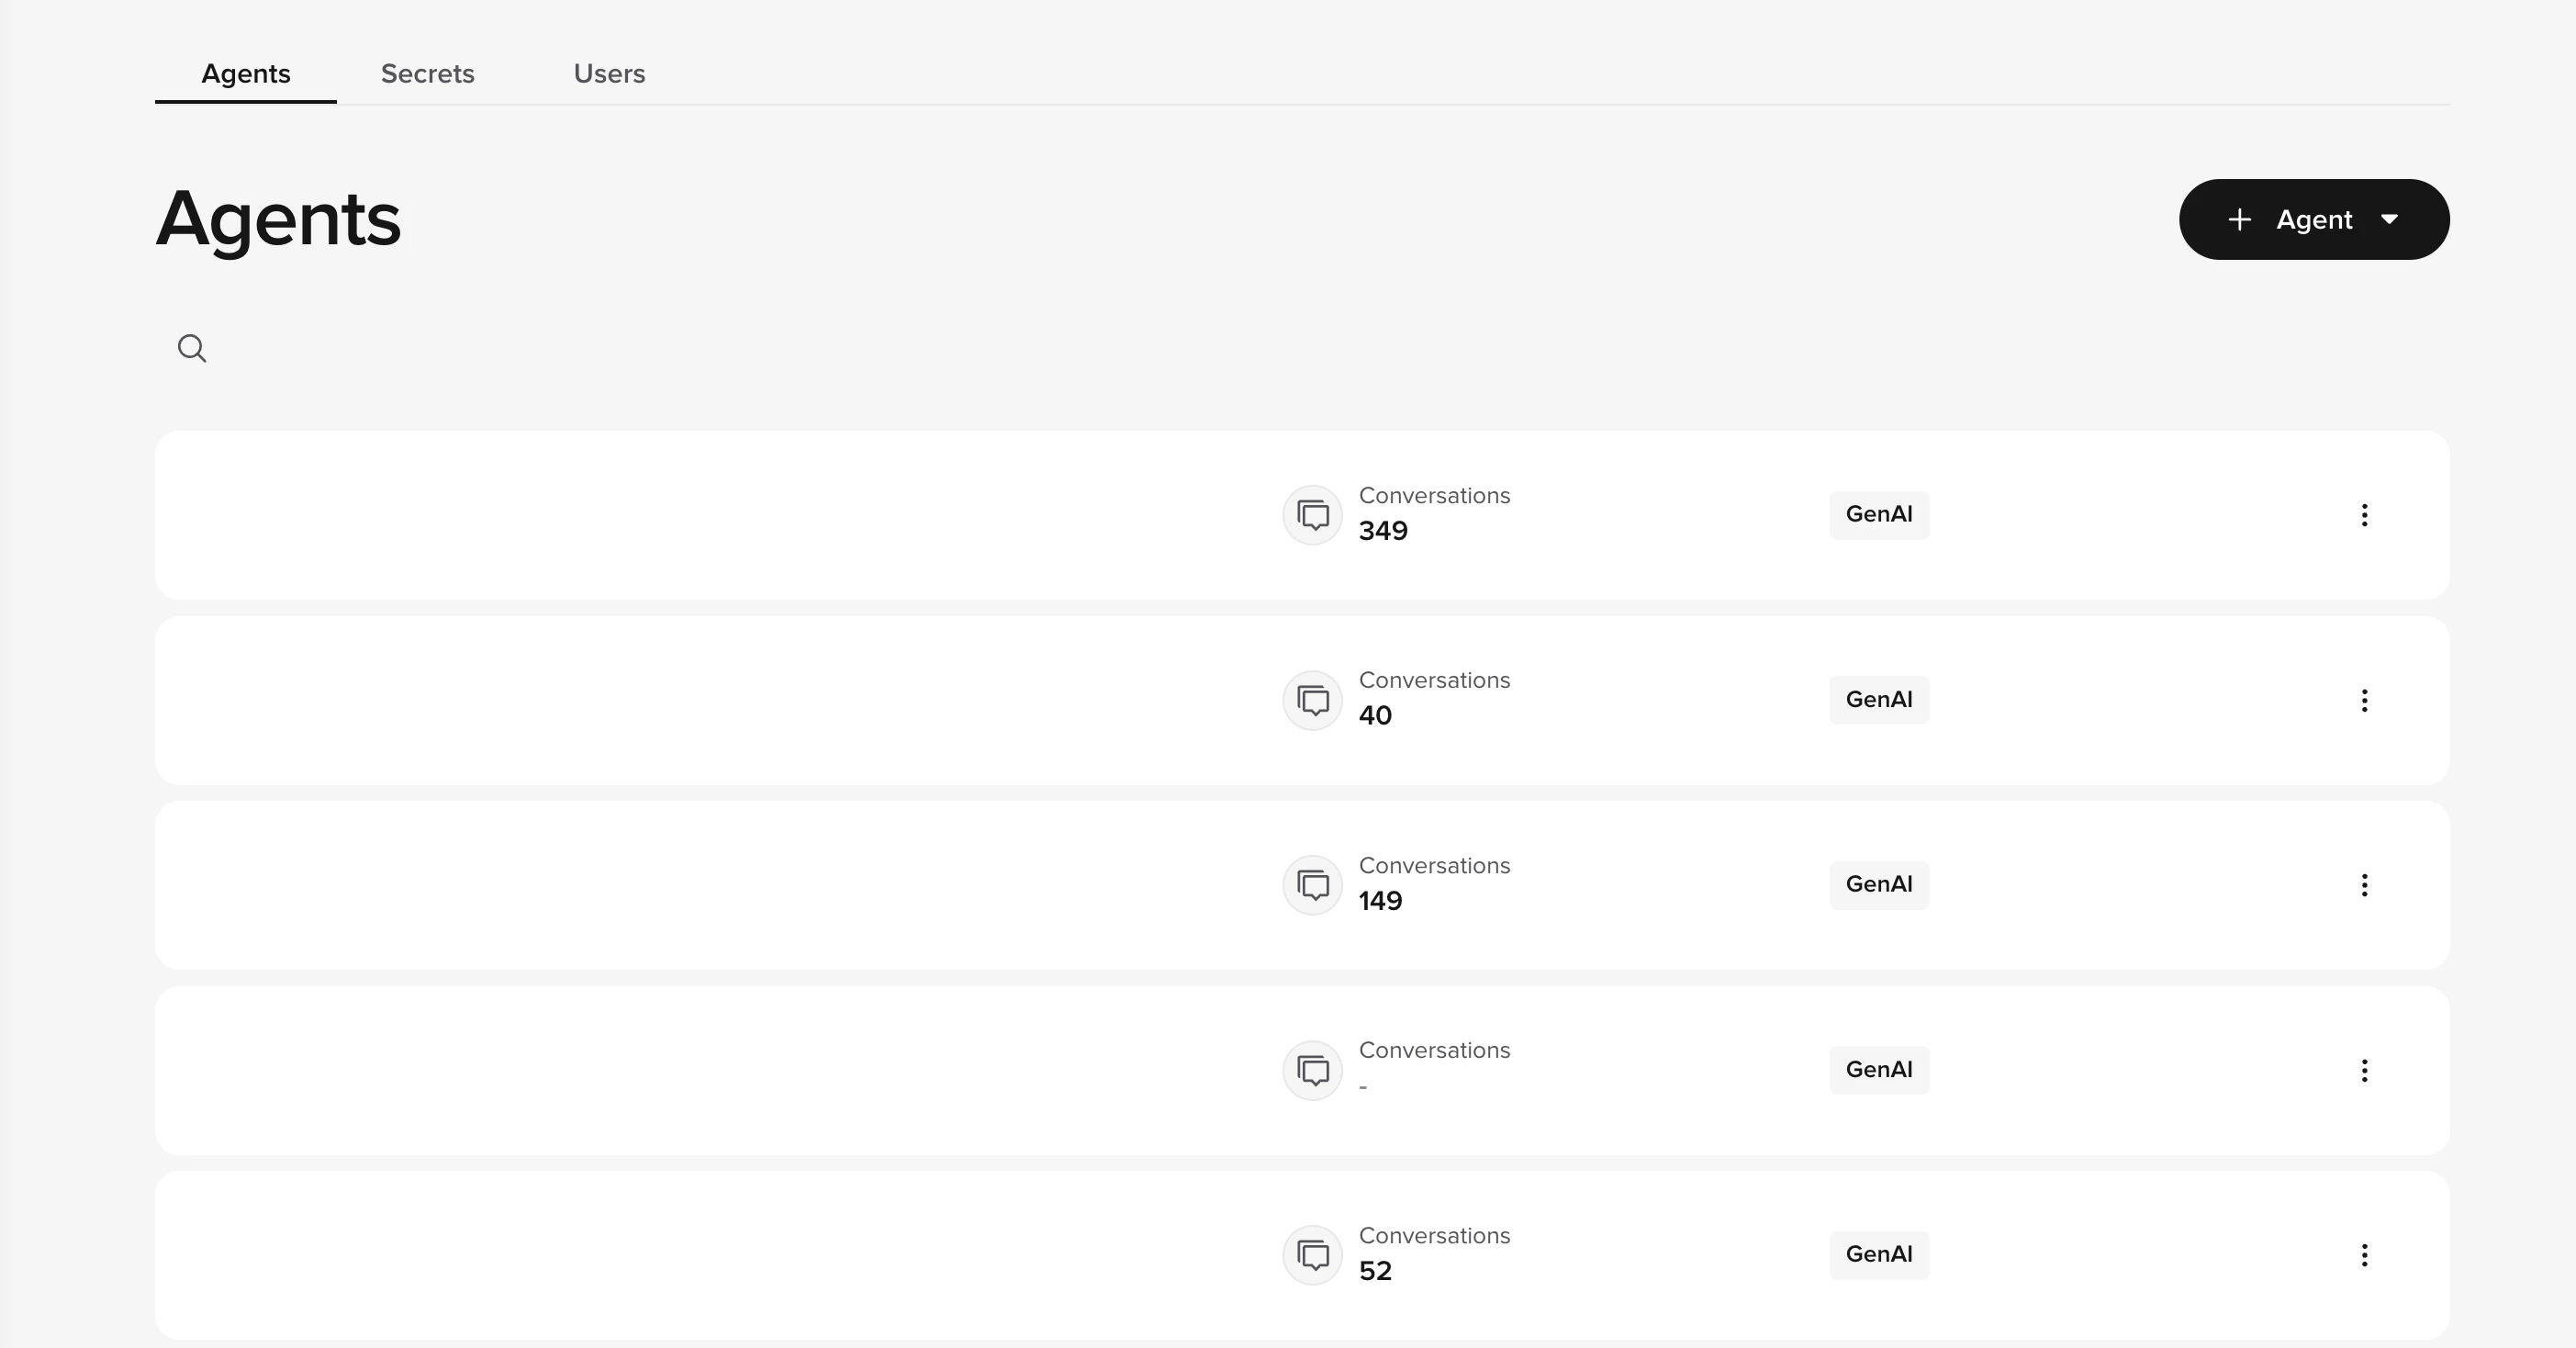
Once signed in, you’ll land on the Agent Studio home page.
2
Create your agent (~2 min)
From the home page, click + Agent to start the agent creation wizard. You can create a blank agent or import an existing configuration.Configure the basics:
Agent name, internal identifier for your project
Response language, primary language for responses (see multilingual support for additional languages)
Welcome greeting, first message users receive (can be customized later in agent settings)
Click Next to enter Agent Studio.
Agent creation wizard
You can also duplicate an existing agent by clicking the three-dot menu next to any agent on the home page.
3
Add knowledge (~5 min)
Navigate to Knowledge > FAQs in the sidebar.Click Add topic and provide:
Topic name, what this topic covers (e.g., “Store hours”)
Sample questions, up to 20 ways users might ask (e.g., “When are you open?”)
Answer, the response your agent should give
Click Save to create the topic.
Add a knowledge base topic with sample questions and an answer
Changes are saved as Drafts. Publish to Sandbox to test them. Learn more about environments and versions.Optional: Add more topics to expand your agent’s capabilities. You can also:
Promote your agent through the deployment pipeline:
Go to Deployments in the sidebar
Click Promote to Pre-release for user acceptance testing (if available in your project)
Click Promote to Live to make your agent production-ready
Each environment can have its own phone number and configuration.
Promote through environments to go live
Some projects use a simplified pipeline that promotes directly from Sandbox to Live, skipping Pre-release. You can roll back to any previous version if issues arise, see the deployment pipeline guide for details.
Each conversation turn follows a pipeline: ASR (speech to text) → LLM (knowledge retrieval and response generation) → TTS (text to speech). See architecture for a detailed breakdown, or processing order for the step-by-step flow.