Connect one of PolyAI’s MCP servers to your MCP client in one command.
Connect one of PolyAI’s authenticated MCP servers to your MCP client — Cursor, Claude Code, Claude Desktop, or Codex — and you can drive PolyAI from your IDE in minutes.Pick the server for the job:
Builder MCP
Build, test, and deploy agents. Uses an account API key and the /builder-mcp endpoint.
Data MCP
Query conversations, transcripts, and metrics. Uses an account API key and the /data-mcp endpoint.
The steps below use Builder MCP. Data MCP connects the same way — swap the endpoint path to /data-mcp; the same account API key works for both. See Data MCP → Get started for its exact commands.
You build agents inside a PolyAI workspace, so you need access to one first.
Enterprise customers — PolyAI provisions your workspace during onboarding; your PolyAI representative sets it up and grants you access. Enterprise workspaces are region-specific (US, UK, or EU).
Getting started via the website — sign up at poly.ai to create a self-serve workspace, which lives in the Studio region.
2
Get an API key
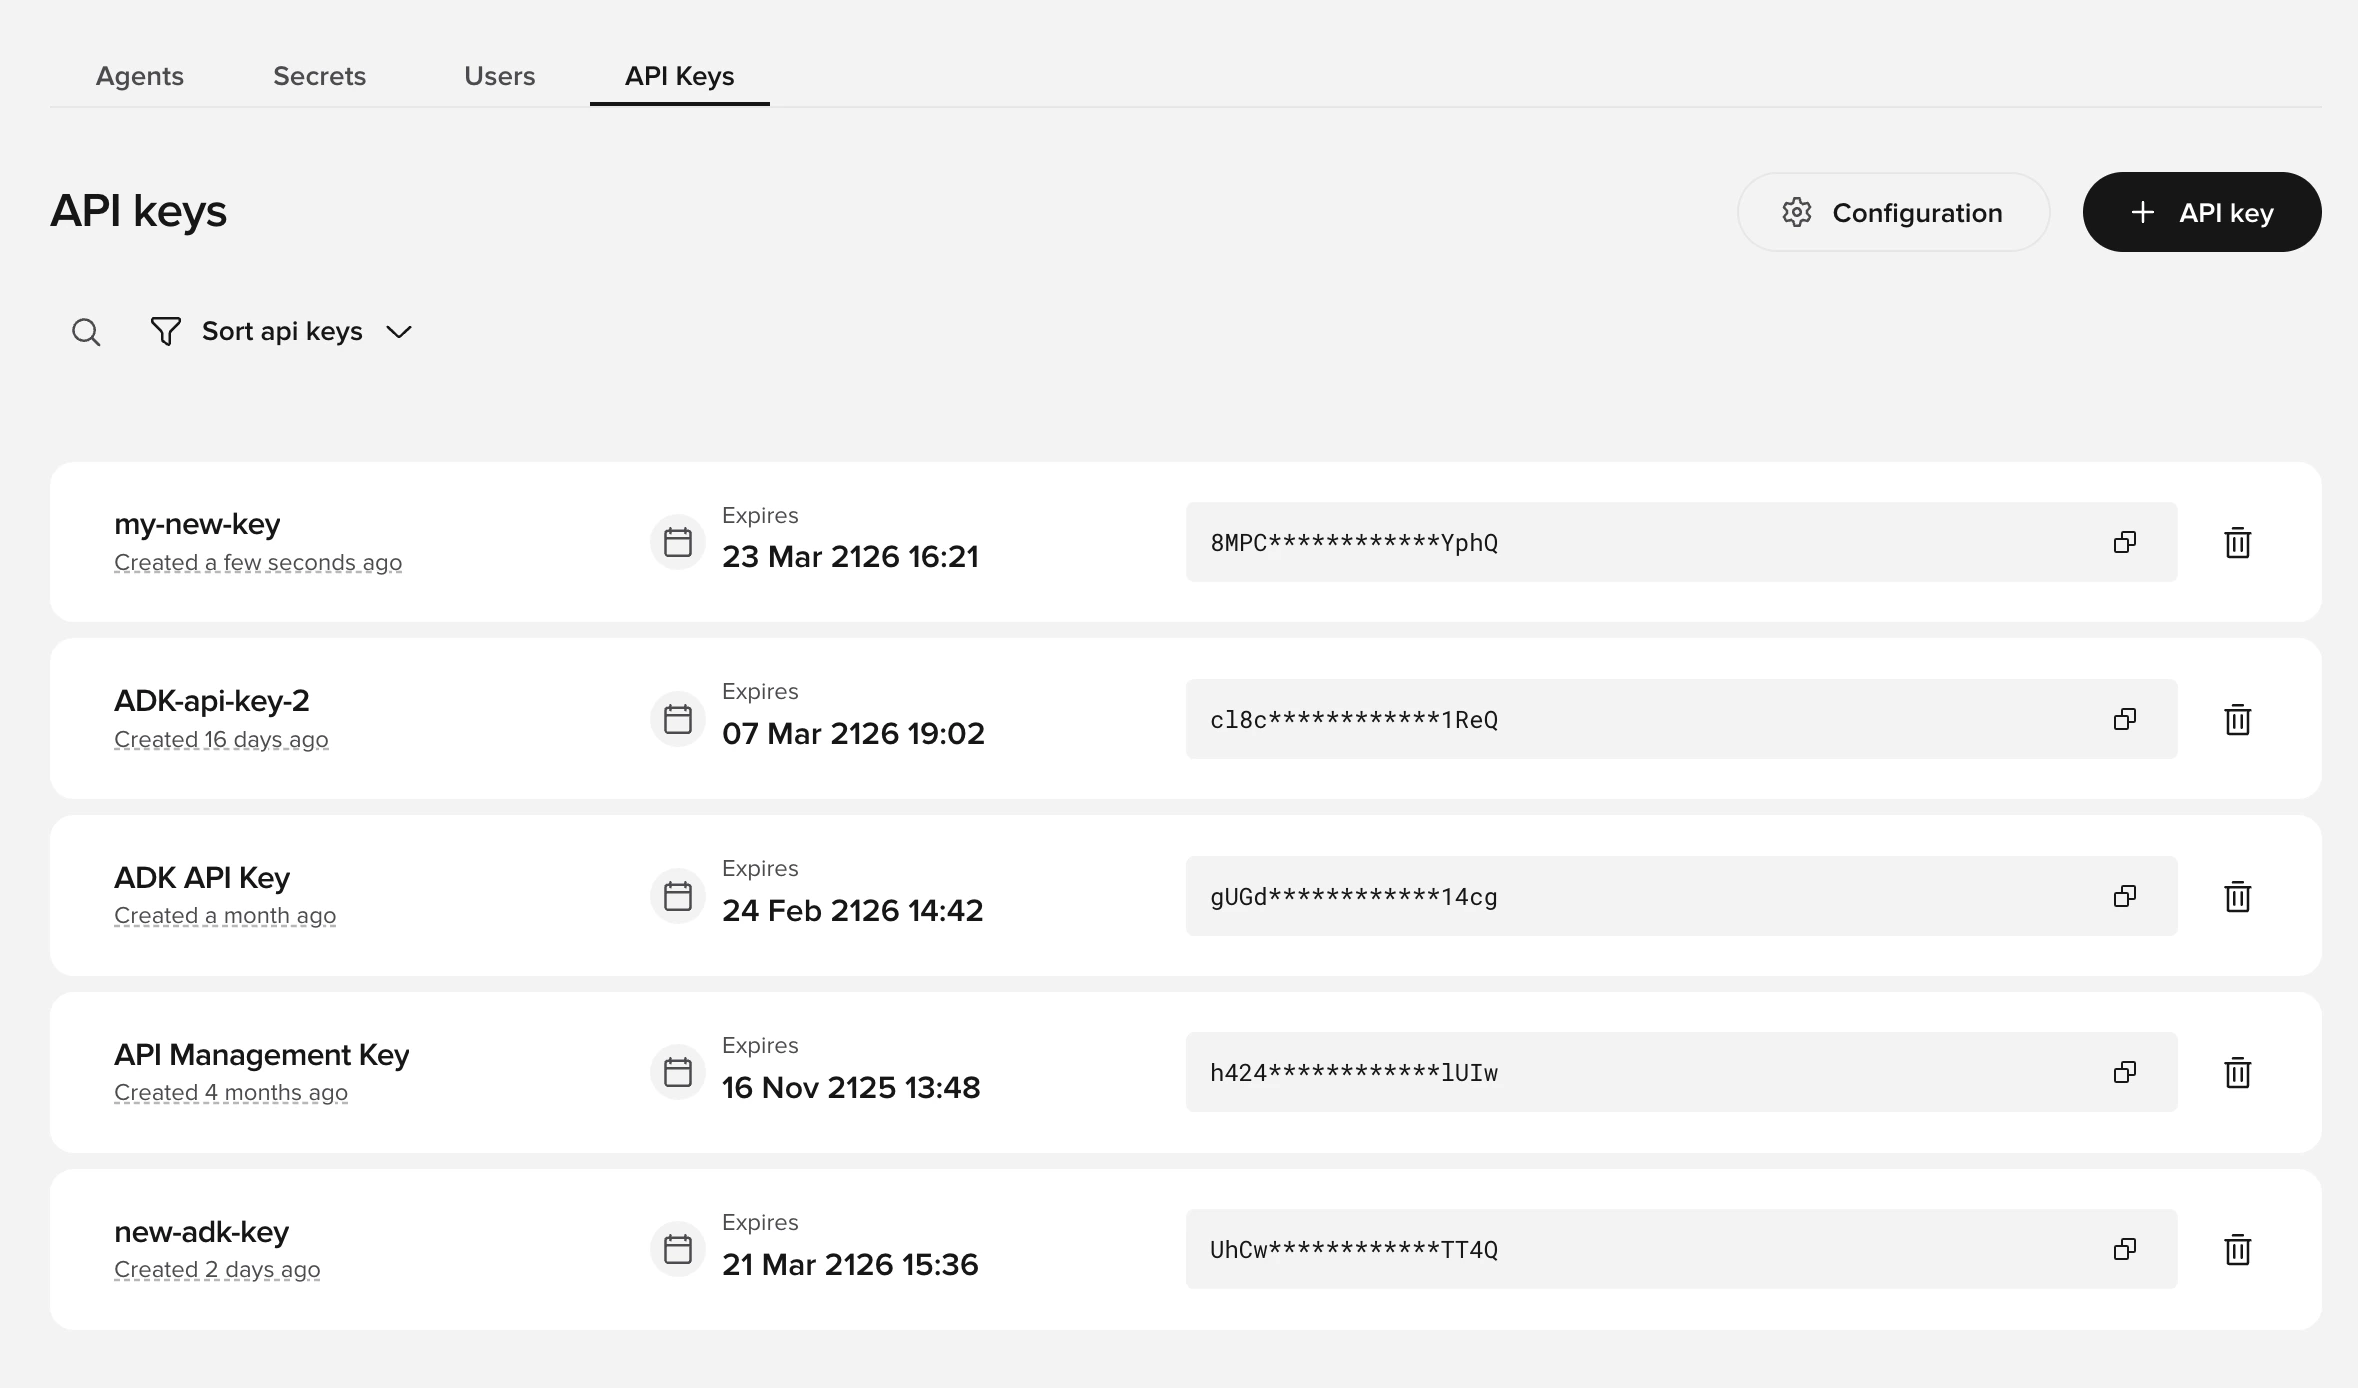
Create an account API key from the API Keys tab on your workspace homepage in Agent Studio (see API keys). The same key works for both Builder MCP and Data MCP — see Authentication.Copy the value when it’s shown — the full key only appears once.
Create a key from the API Keys tab in Agent Studio.
Treat the key like a password. Don’t commit it or put it in client-side code.
3
Find your account ID
Open Agent Studio. Your account ID is the first path segment in the URL:
For example, https://studio.uk.poly.ai/acme-uk/acme-team-4/agent → account_id=acme-uk.
“Account ID” and “Workspace ID” are the same thing. Agent Studio’s UI calls this the Workspace ID and shows it in a prefixed form (ws-xxxxxxxx). The API parameter is named accountId (Agents and Data APIs) or account_id (Conversations, Chat, Webhooks, and most other APIs) — same value, different casing convention depending on which API family you’re calling. Both the slug form from the URL (acme-uk) and the prefixed form (ws-xxxxxxxx) work in API calls.
export POLYAI_API_KEY="your_api_key_here"export POLYAI_MCP_URL="https://api.us.poly.ai/builder-mcp" # use your region and server — see below
Region
Builder MCP
Data MCP
US
https://api.us.poly.ai/builder-mcp
https://api.us.poly.ai/data-mcp
UK
https://api.uk.poly.ai/builder-mcp
https://api.uk.poly.ai/data-mcp
EU
https://api.eu.poly.ai/builder-mcp
https://api.eu.poly.ai/data-mcp
Studio
https://api.studio.poly.ai/builder-mcp
https://api.studio.poly.ai/data-mcp
Match the region to the workspace or account your key belongs to. Connecting to the wrong region authenticates against the wrong place. See Authentication for how regions map.
Most clients set the Accept: application/json, text/event-stream header for you. If a client can’t connect, add it explicitly — both servers use the streamable HTTP transport.
Connecting to both servers at once? Add them under distinct names (e.g. polyai-builder and polyai-data), each with its own endpoint and key.