Documentation Index
Fetch the complete documentation index at: https://docs.poly.ai/llms.txt
Use this file to discover all available pages before exploring further.
Embedding Web Calling is one script tag, generated for you in Agent Studio.
The tag is bound to the widget’s domain, variant, and environment. If any of those change, re-publish and re-embed.You only embed the script once. Updates to styling, content, or the agent itself take effect on the next page load. No re-embed needed.A few quick verification tips:
Step 1: Get your script tag
- Open your Web Calling widget under Configure > Web Calling in Agent Studio.
- Make sure Styling and Content are how you want them.
- Click Save and publish.
- Open the Embed tab.
- Copy the script tag. It looks like this:

Step 2: Paste it on your site
Pick one route. Most sites use the direct HTML embed.Option A: Direct HTML embed
- Open the HTML template that loads on every page (often your global layout or
index.html). - Paste the script tag just before
</body>. - Publish your website changes.
The script must be served over HTTPS. The host page also needs to be in a secure context because browsers block microphone access on insecure origins. The call button stays disabled on
http:// pages.Option B: Tag Manager
- Open your tag manager (Google Tag Manager or similar) and create a new Custom HTML tag.
- Paste the script tag.
- Set the trigger to All Pages (or restrict to the pages where you want the widget).
- Publish the container.
Always copy the actual script tag from Configure > Web Calling > Embed in Agent Studio. The one in this guide is illustrative.
Step 3: Verify
Widget appears
The launcher renders in the bottom-right corner of pages where the script is embedded.
- Open your site in a private/incognito window so you’re not running on a cached script.
- Hard-refresh (
Ctrl+Shift+R/Cmd+Shift+R). - Test on a desktop browser (Chrome or Edge) and a mobile device (iOS Safari or Android Chrome).
Cross-tab behavior
If a visitor opens your site in multiple tabs, only one call can be active at a time. The widget writes a heartbeat tolocalStorage; other tabs show the call button disabled with a “Call active in another tab” message. Closing the active tab releases the lock within ~10 seconds. Automatic, no config.Re-embedding
You only need to re-embed when the script tag itself changes. The Embed tab in Agent Studio shows a Snippet changed banner when that happens. Hand the new tag to your dev team or update your tag manager config.You do not re-embed when you change branding, CTA copy, disclaimer text, policy links, or the agent/variant. Those propagate on the next page load.Once your widget is configured, getting it live is a single script tag. Paste it on your site, publish, and your visitors can start using it. The install flow is identical for Phone and Chat widgets.
The tag is bound to the widget’s domain, variant, and environment. If any of those change, re-publish and re-embed.You only need to embed the script once. Updates to styling, content, or the agent take effect on the next page load. No re-embed required.
Adjust
Account for these dimensions when positioning the widget.
Installation methods
Pick one route:- Option A: Direct HTML embed, recommended for most sites.
- Option B: Tag Manager, when your organization manages scripts through Google Tag Manager or similar.
Step 1: Generate a widget tag
- Go to Configure > Web Calling in Agent Studio and open your widget.
- Configure Styling and Content.
- Click Save and publish.
- Open the Embed tab.
- Copy the unique script tag. It looks like this:
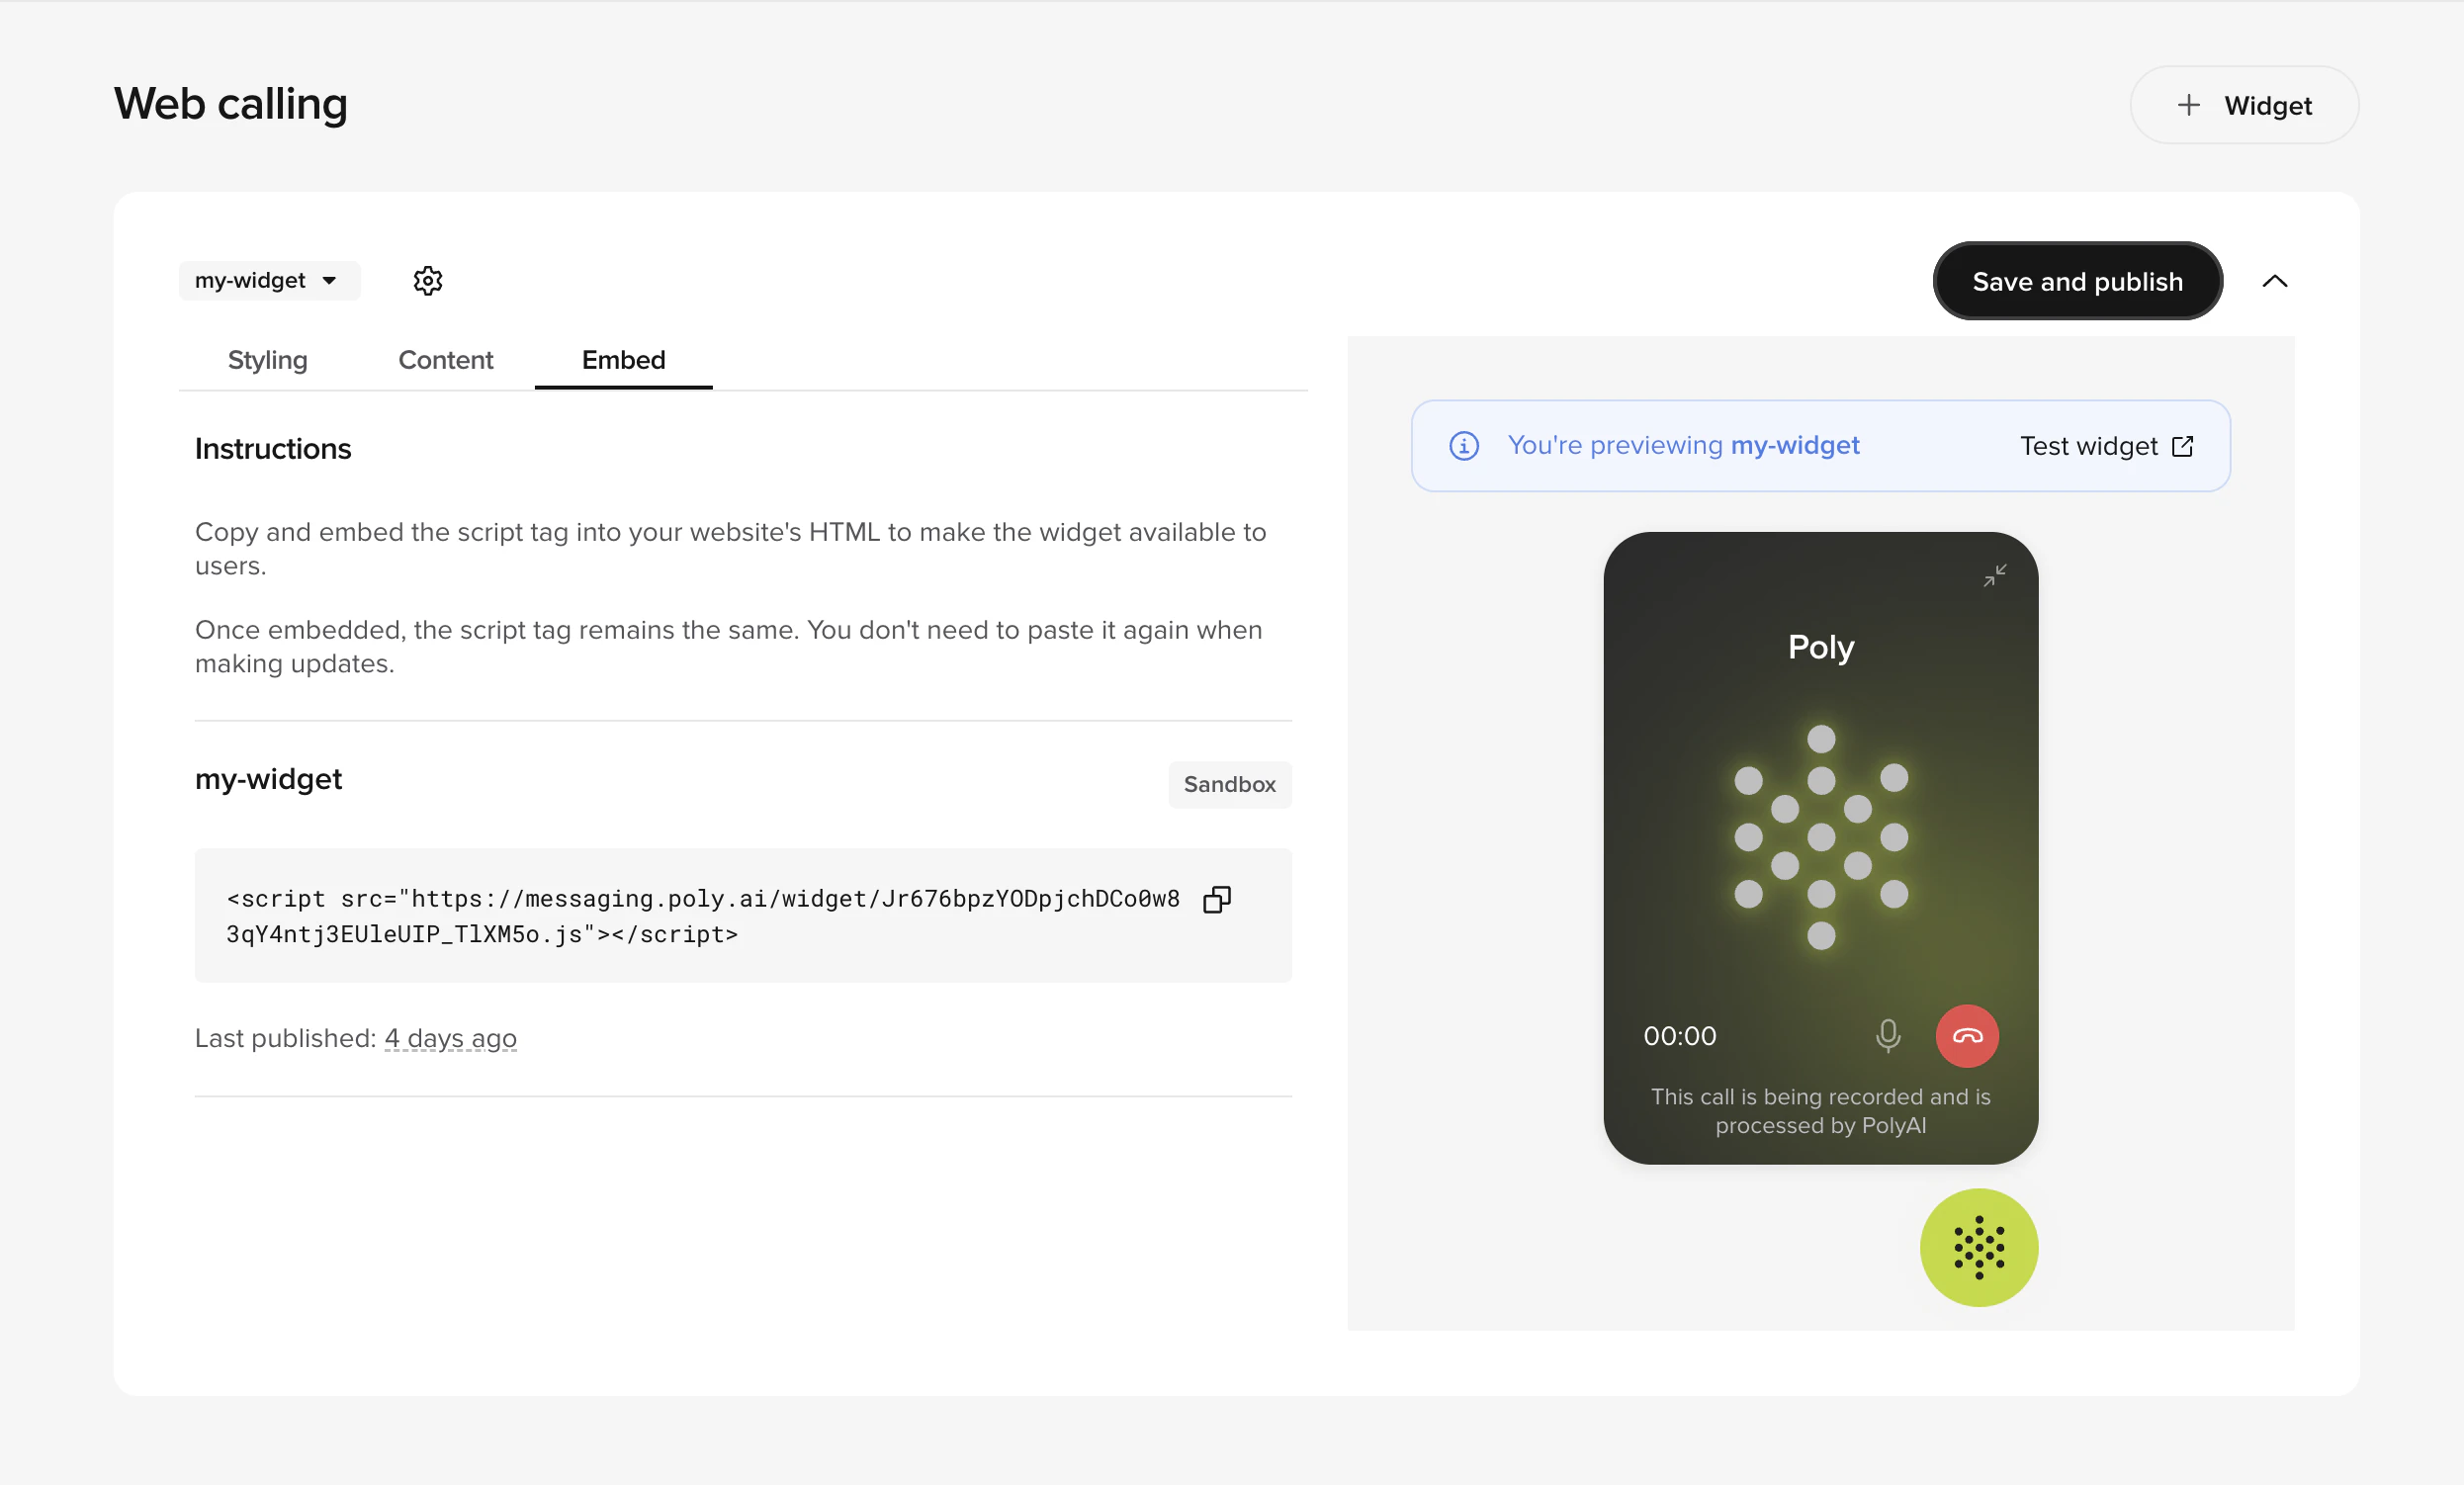
Option A: Direct HTML embed
- Open the HTML template that loads on every page (often called your global layout, base template, or
index.html). - Paste the script tag just before the closing
</body>tag. - Publish your website changes.
The script must be served over HTTPS. For Phone widgets, the host page must also be in a secure context. Browsers block microphone access on insecure origins, so the call button is disabled on
http:// pages.Option B: Tag Manager
- Open your tag manager (e.g., Google Tag Manager) and create a new Custom HTML tag.
- Paste the script tag.
- Set the trigger to All Pages (or restrict to the pages where you want the widget).
- Publish the container.
Always retrieve your actual script tag from Configure > Web Calling > Embed in Agent Studio. The tag in this guide is illustrative only.
Script-tag attributes (Chat widgets)
Chat widgets accept optionaldata-* attributes on the <script> tag, read once at load time, no JavaScript required. Phone widgets don’t use these. Their behavior is configured entirely in the editor and driven by call state.| Attribute | Values | Default | Effect |
|---|---|---|---|
data-platform | web, ios | web | Use ios inside WKWebView. Automatically applies fullscreen and hides the header. |
data-render-mode | default, fullscreen | default | fullscreen makes the chat fill the viewport, useful for dedicated chat pages or native app screens. |
data-auto-open | true, false | false | Opens the chat as soon as the widget initializes. |
data-show-icon | true, false | true | Show or hide the floating launcher. Combine with a custom button calling WebchatAPI.openWidget() for a bespoke trigger. |
data-show-header | true, false | true | Show or hide the chat header. Defaults to false when data-platform="ios". |
Widget positioning (Chat widgets)
After installing a Chat widget, you can control its position with CSS. The widget renders inside a#poly-ai-chat element. Add a <style> block in the <body> of your page:bottom and right to avoid overlap with cookie banners, navigation bars, or other fixed UI.Widget icon sizes
| Device | Icon size |
|---|---|
| Desktop | 60px × 60px |
| Mobile | 44px × 44px |
Re-embedding
You only need to re-embed when the script tag itself changes. The Embed tab in Agent Studio shows a Snippet changed banner if the published script differs from the version your team has on the site. Hand the new tag to your dev team or update your tag manager configuration.You do not need to re-embed when you change:- Branding (header text, logo, agent name, primary color).
- CTA copy or disclaimer.
- Policy links.
- The agent or variant the widget connects to (within the same widget configuration).
Verifying the install
Widget appears
The launcher renders in the bottom-right corner of pages where the script is embedded.
Phone: place a call
Click Start call. The browser asks for microphone permission. Allow → the widget shows Connecting… then In call when your agent answers.
Quick verification tips
- Open your website in a private/incognito window.
- Hard refresh (
Ctrl+Shift+RorCmd+Shift+R) to bypass cached scripts. - Test on a desktop browser (Chrome or Edge) and a mobile device (iOS Safari or Android Chrome).
Cross-tab behavior (Phone widgets)
When a visitor opens your site in multiple tabs, Web Calling keeps things clean: one active call per browser. The widget writes a heartbeat tolocalStorage while a call is live, and other tabs show the call button disabled with a “Call active in another tab” message. Closing the active tab releases the lock within ~10 seconds.It’s automatic. No configuration needed.Next steps
Test your widget
Walk through a real call from the editor preview link (Phone widgets).
Troubleshooting
Common installation issues and fixes.

