Documentation Index
Fetch the complete documentation index at: https://docs.poly.ai/llms.txt
Use this file to discover all available pages before exploring further.

PolyAI’s Agentic Dialog Platform is open to every builder. Agent Builder is the self-serve way in: describe what you want, get a working agent in minutes.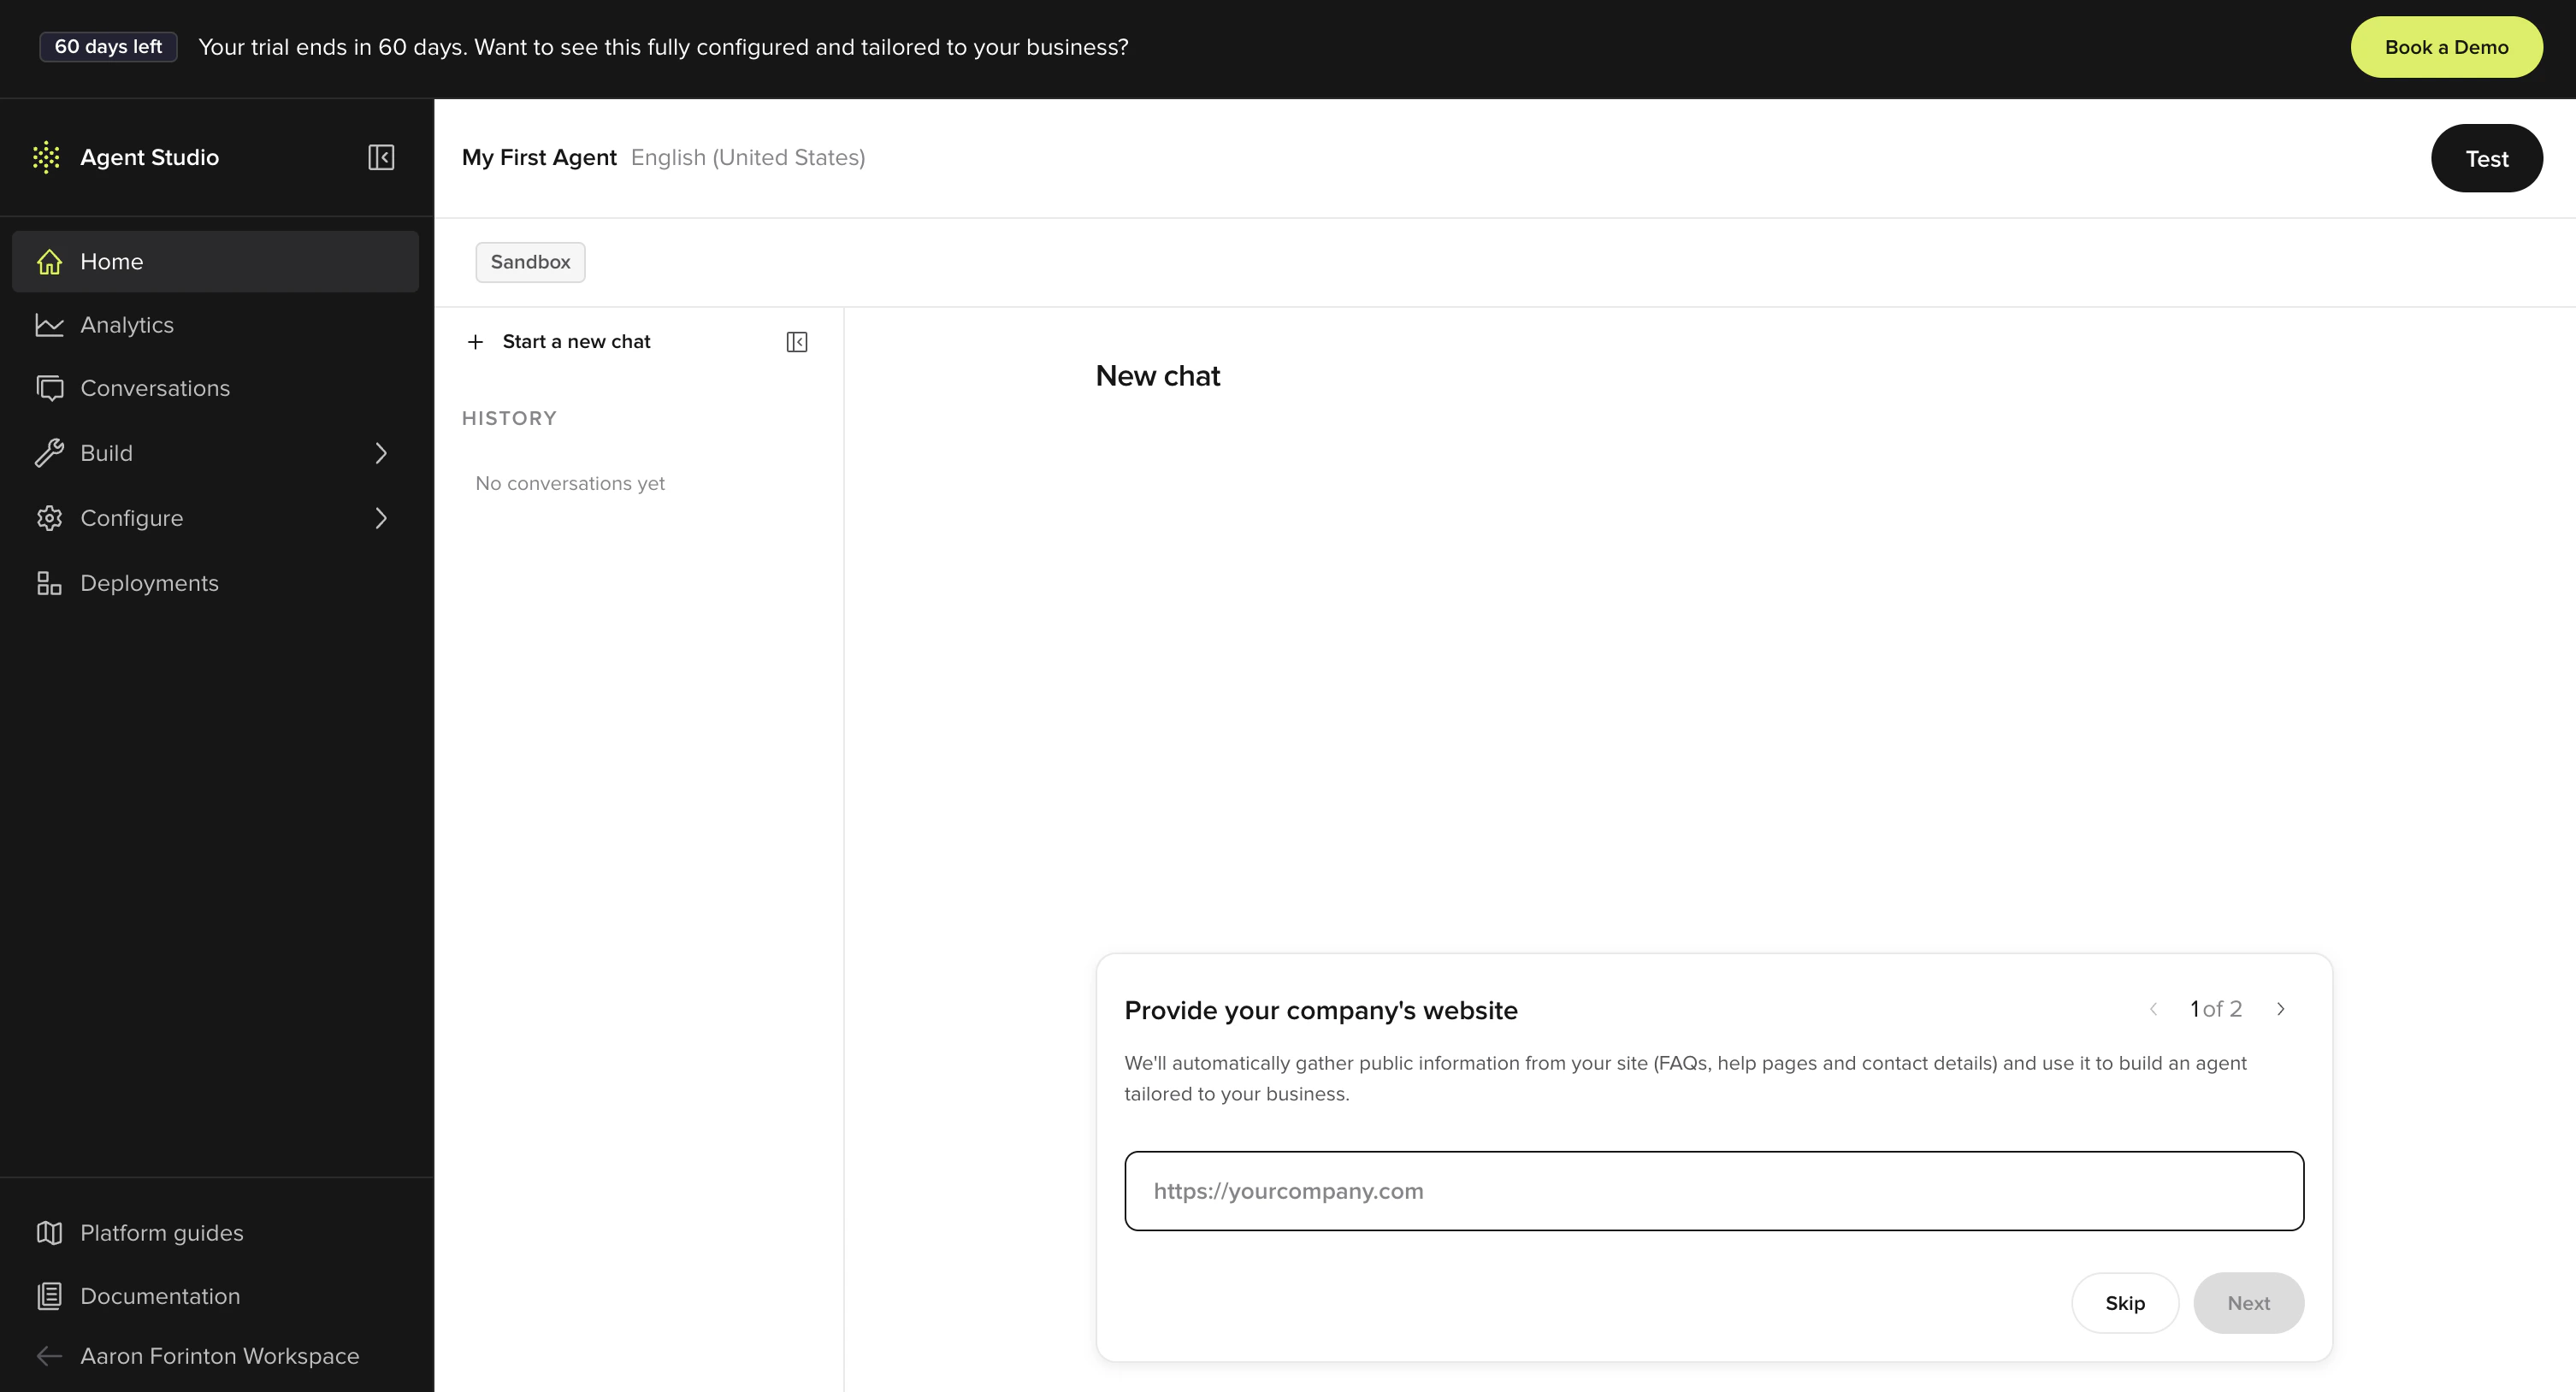
Build a voice agent in minutes
Tell Agent Builder what you need and it configures the agent for you — flows, knowledge, voice, the lot. Test it in a shareable preview, then drop it on your site. No code, no sales call.Start building
Open Agent Studio and describe your agent.
Quickstart guide
Sign up → describe → test → embed. End to end.
Put it on your site
One script tag. Voice on your website in minutes.
Starter prompts
Copy one into Agent Builder and you’ll have a working agent in minutes.Restaurant reservations
Build a reservations agent for a restaurant. Greet the caller, take party size, date and time, name, and phone number, then confirm. If the slot isn’t available, suggest the nearest open window.
Clinic appointment booking
Build an agent for a dental clinic. Handle appointment requests for new and existing patients, check-in confirmations, opening-hours questions. Route urgent issues to staff. Don’t quote prices.
FAQ from a website
Read [your-site.com] and build an agent that answers customer questions about products, pricing, shipping, and returns. Be brief. If you don’t know, say so and offer to take a message.
Lead capture
Build a lead-capture agent for a B2B SaaS product. Qualify the caller’s company size, role, and use case, then book a 15-minute demo on the calendar.
Once you’ve built something
Write better prompts
Patterns that get better results.
Review conversations
Read transcripts, spot issues, ask Agent Builder to fix them.
Iterate after a call
The listen → diagnose → fix loop.
Where do you want to start?
Build an agent with or without code
Low-code and no-code agent building in Agent Studio.
Maintain or update your agent
Edit knowledge, voice, closures, and more on a live Agent Studio agent.
Build like an engineer
Pull, edit, and push agent configuration as YAML and Python files with the ADK CLI.
Agent Studio APIs
REST APIs to update and configure agents programmatically.
Build your agent
Set up your agent’s personality, knowledge, voice, and conversation flows.Agent settings
Configure personality and rules
Knowledge
Managed topics, FAQs, and connected external sources
Voice
Customize text-to-speech and audio
Chat
Deploy a webchat version of your agent
Flows
Build multi-step conversations
Call handoffs
Transfer users to human agents
Integrations ecosystem
Connect your agent to telephony, CRM, payments, and other systems. See the full catalog.Telephony
Five9, NICE CXone, Twilio, Amazon Connect, Genesys, Dialpad, and more
CRM and ticketing
Salesforce, ServiceNow, Zendesk: sync data and create tickets during calls
Managed services
Pre-built connectors for payments, reservations, and data
Custom and MCP
Build your own integrations through HTTP, Python, or Model Context Protocol
Deploy and monitor
Track performance, review conversations, and manage your deployment pipeline.Environments
Manage sandbox to production
Dashboards
Track performance metrics
Conversations
Review and diagnose calls
Resources
Maintain
Ongoing agent maintenance
Troubleshooting
Common issues and solutions
Release notes
Latest features and updates