Invite a user
Open user management
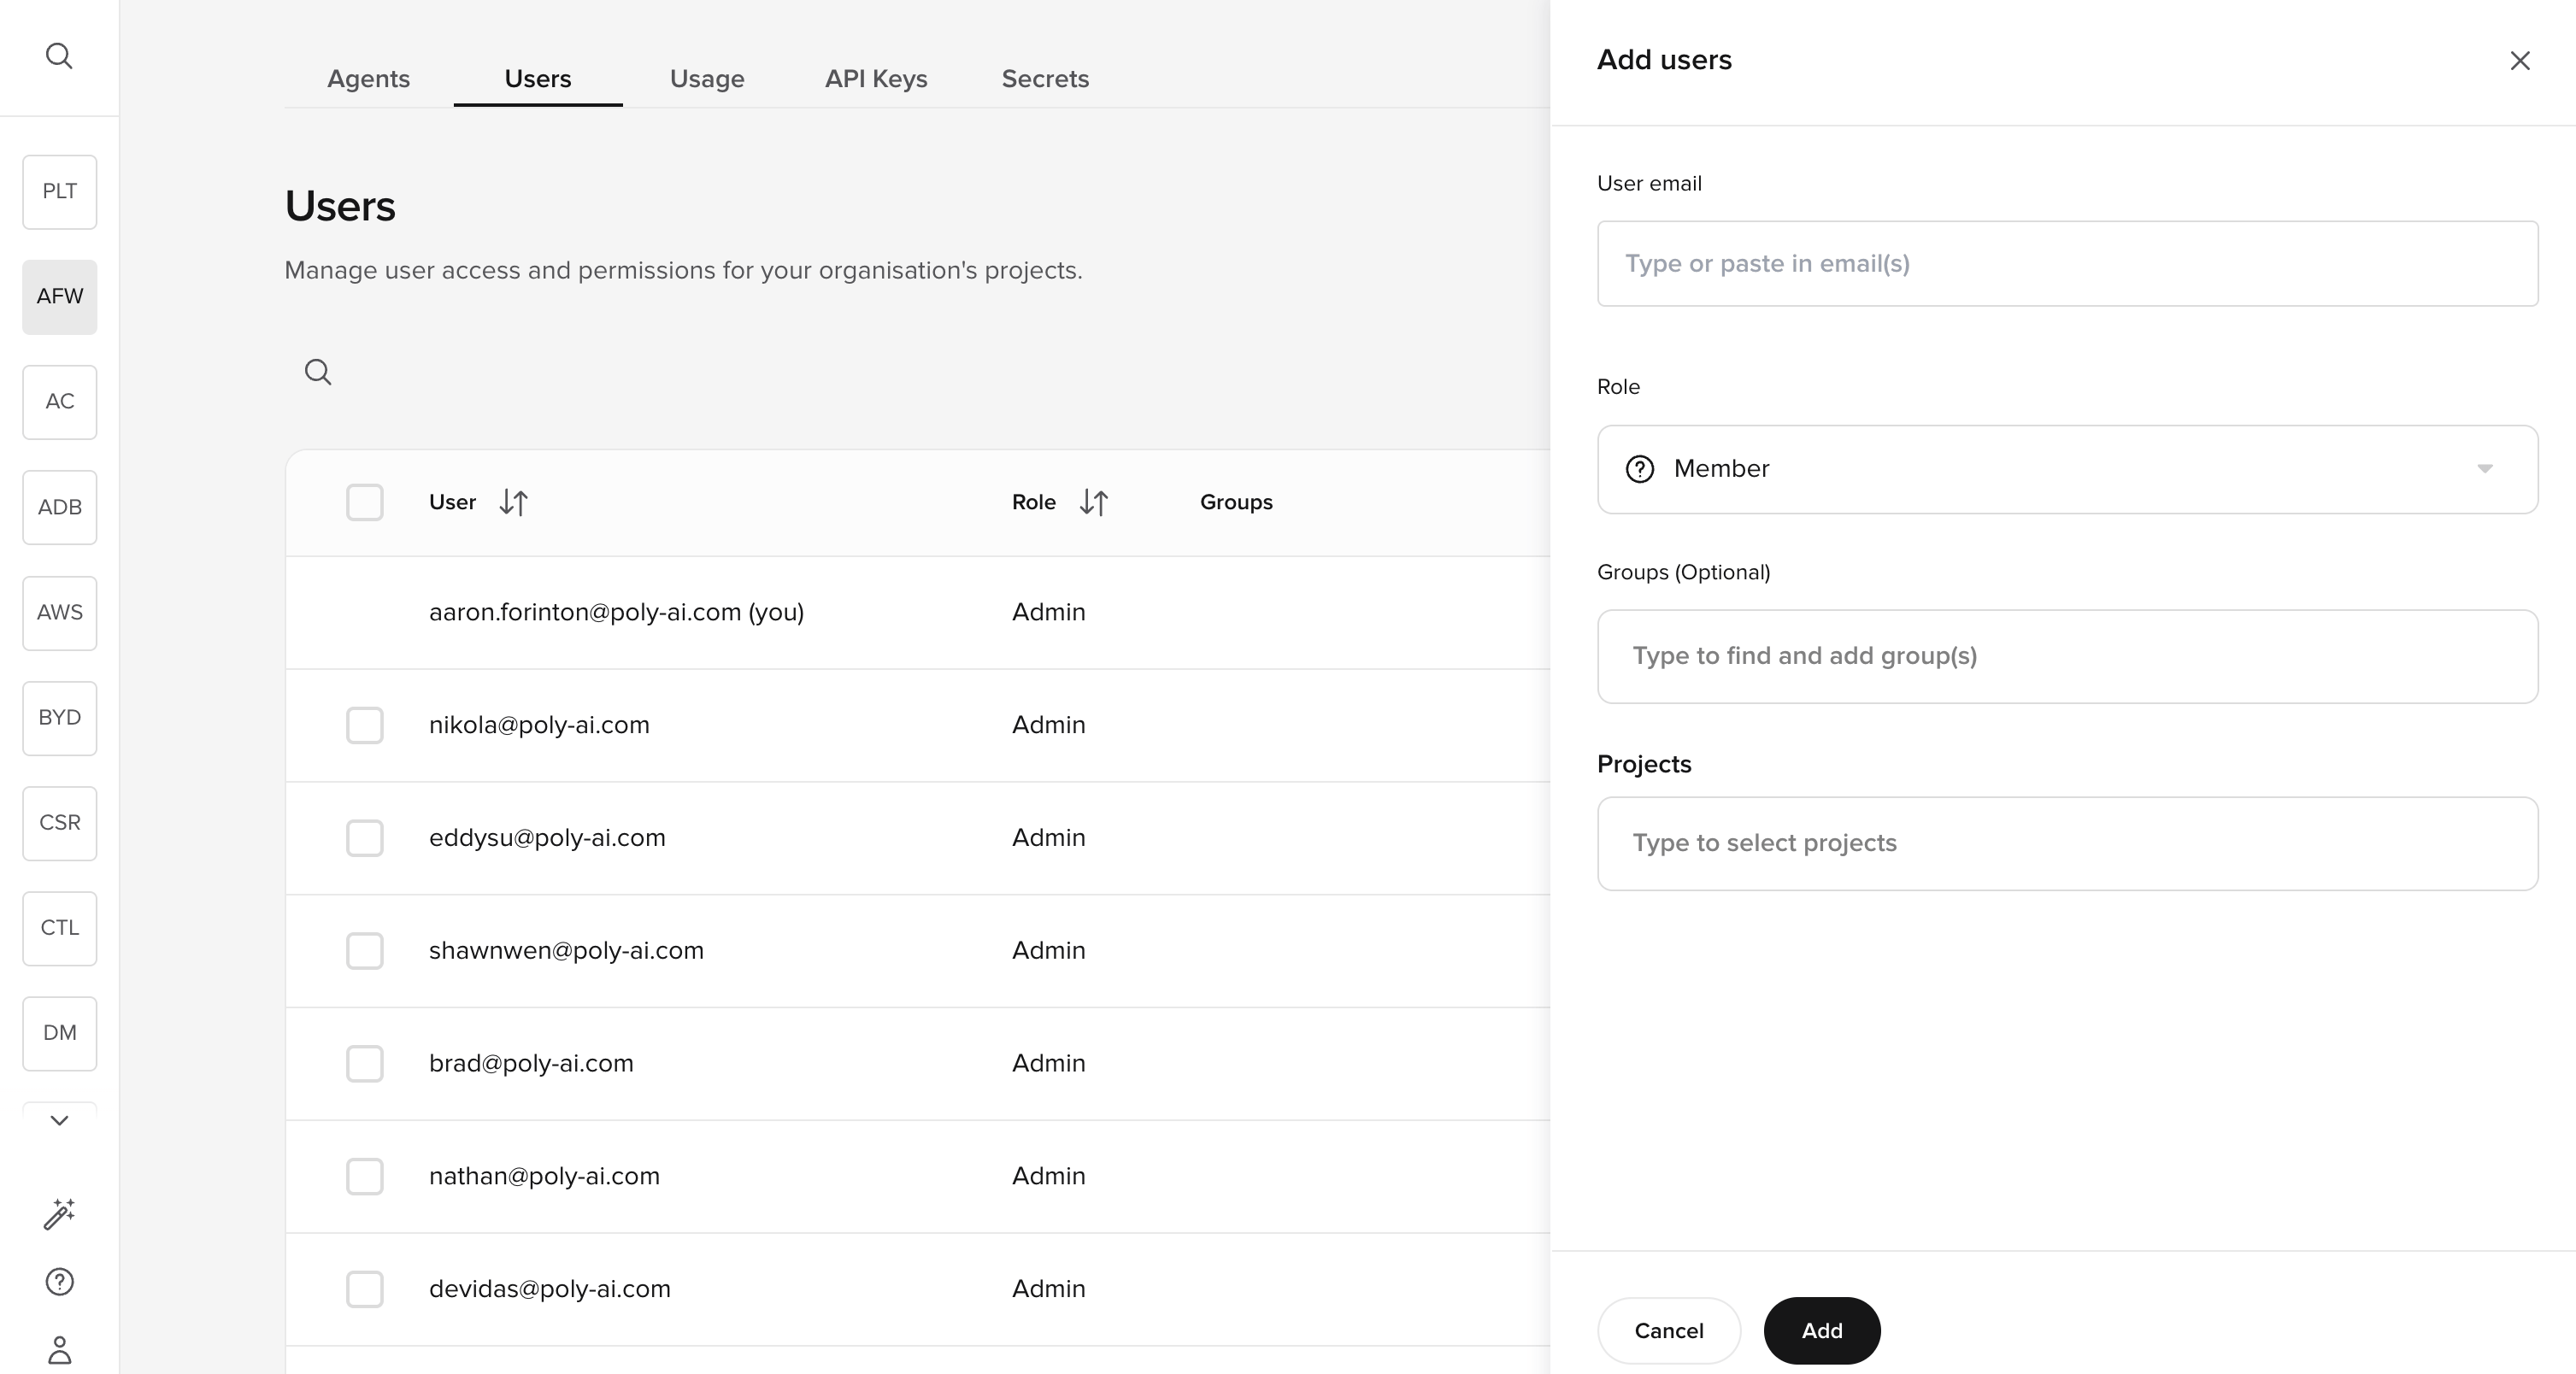
Go to the Users tab on the workspace homepage (next to Agents, Secrets, and API Keys).
Enter email addresses
Type one or more email addresses. You can invite multiple users at once by entering each address separated by a comma or pressing Enter.
Assign a role
Choose Admin or Member:
- Admin – Full access to all features, including user management and billing.
- Member – Access determined by granular permissions you configure after the invite.
Assign to a group (optional)
If your account uses groups, select which group the new user belongs to.
Confirm
Click Confirm. The invited user does not receive an invitation email automatically. To access the account, they need to go to the login page, enter their email, and click Forgot password? to set a password via the reset flow.