Embedding Web Calling is one script tag, generated for you in Agent Studio.
## Step 1: Get your script tag
1. Open your Web Calling widget under **Widgets** in Agent Studio.
2. Make sure [Styling and Content](/widgets/configure) are how you want them.
3. Click **Save and publish**.
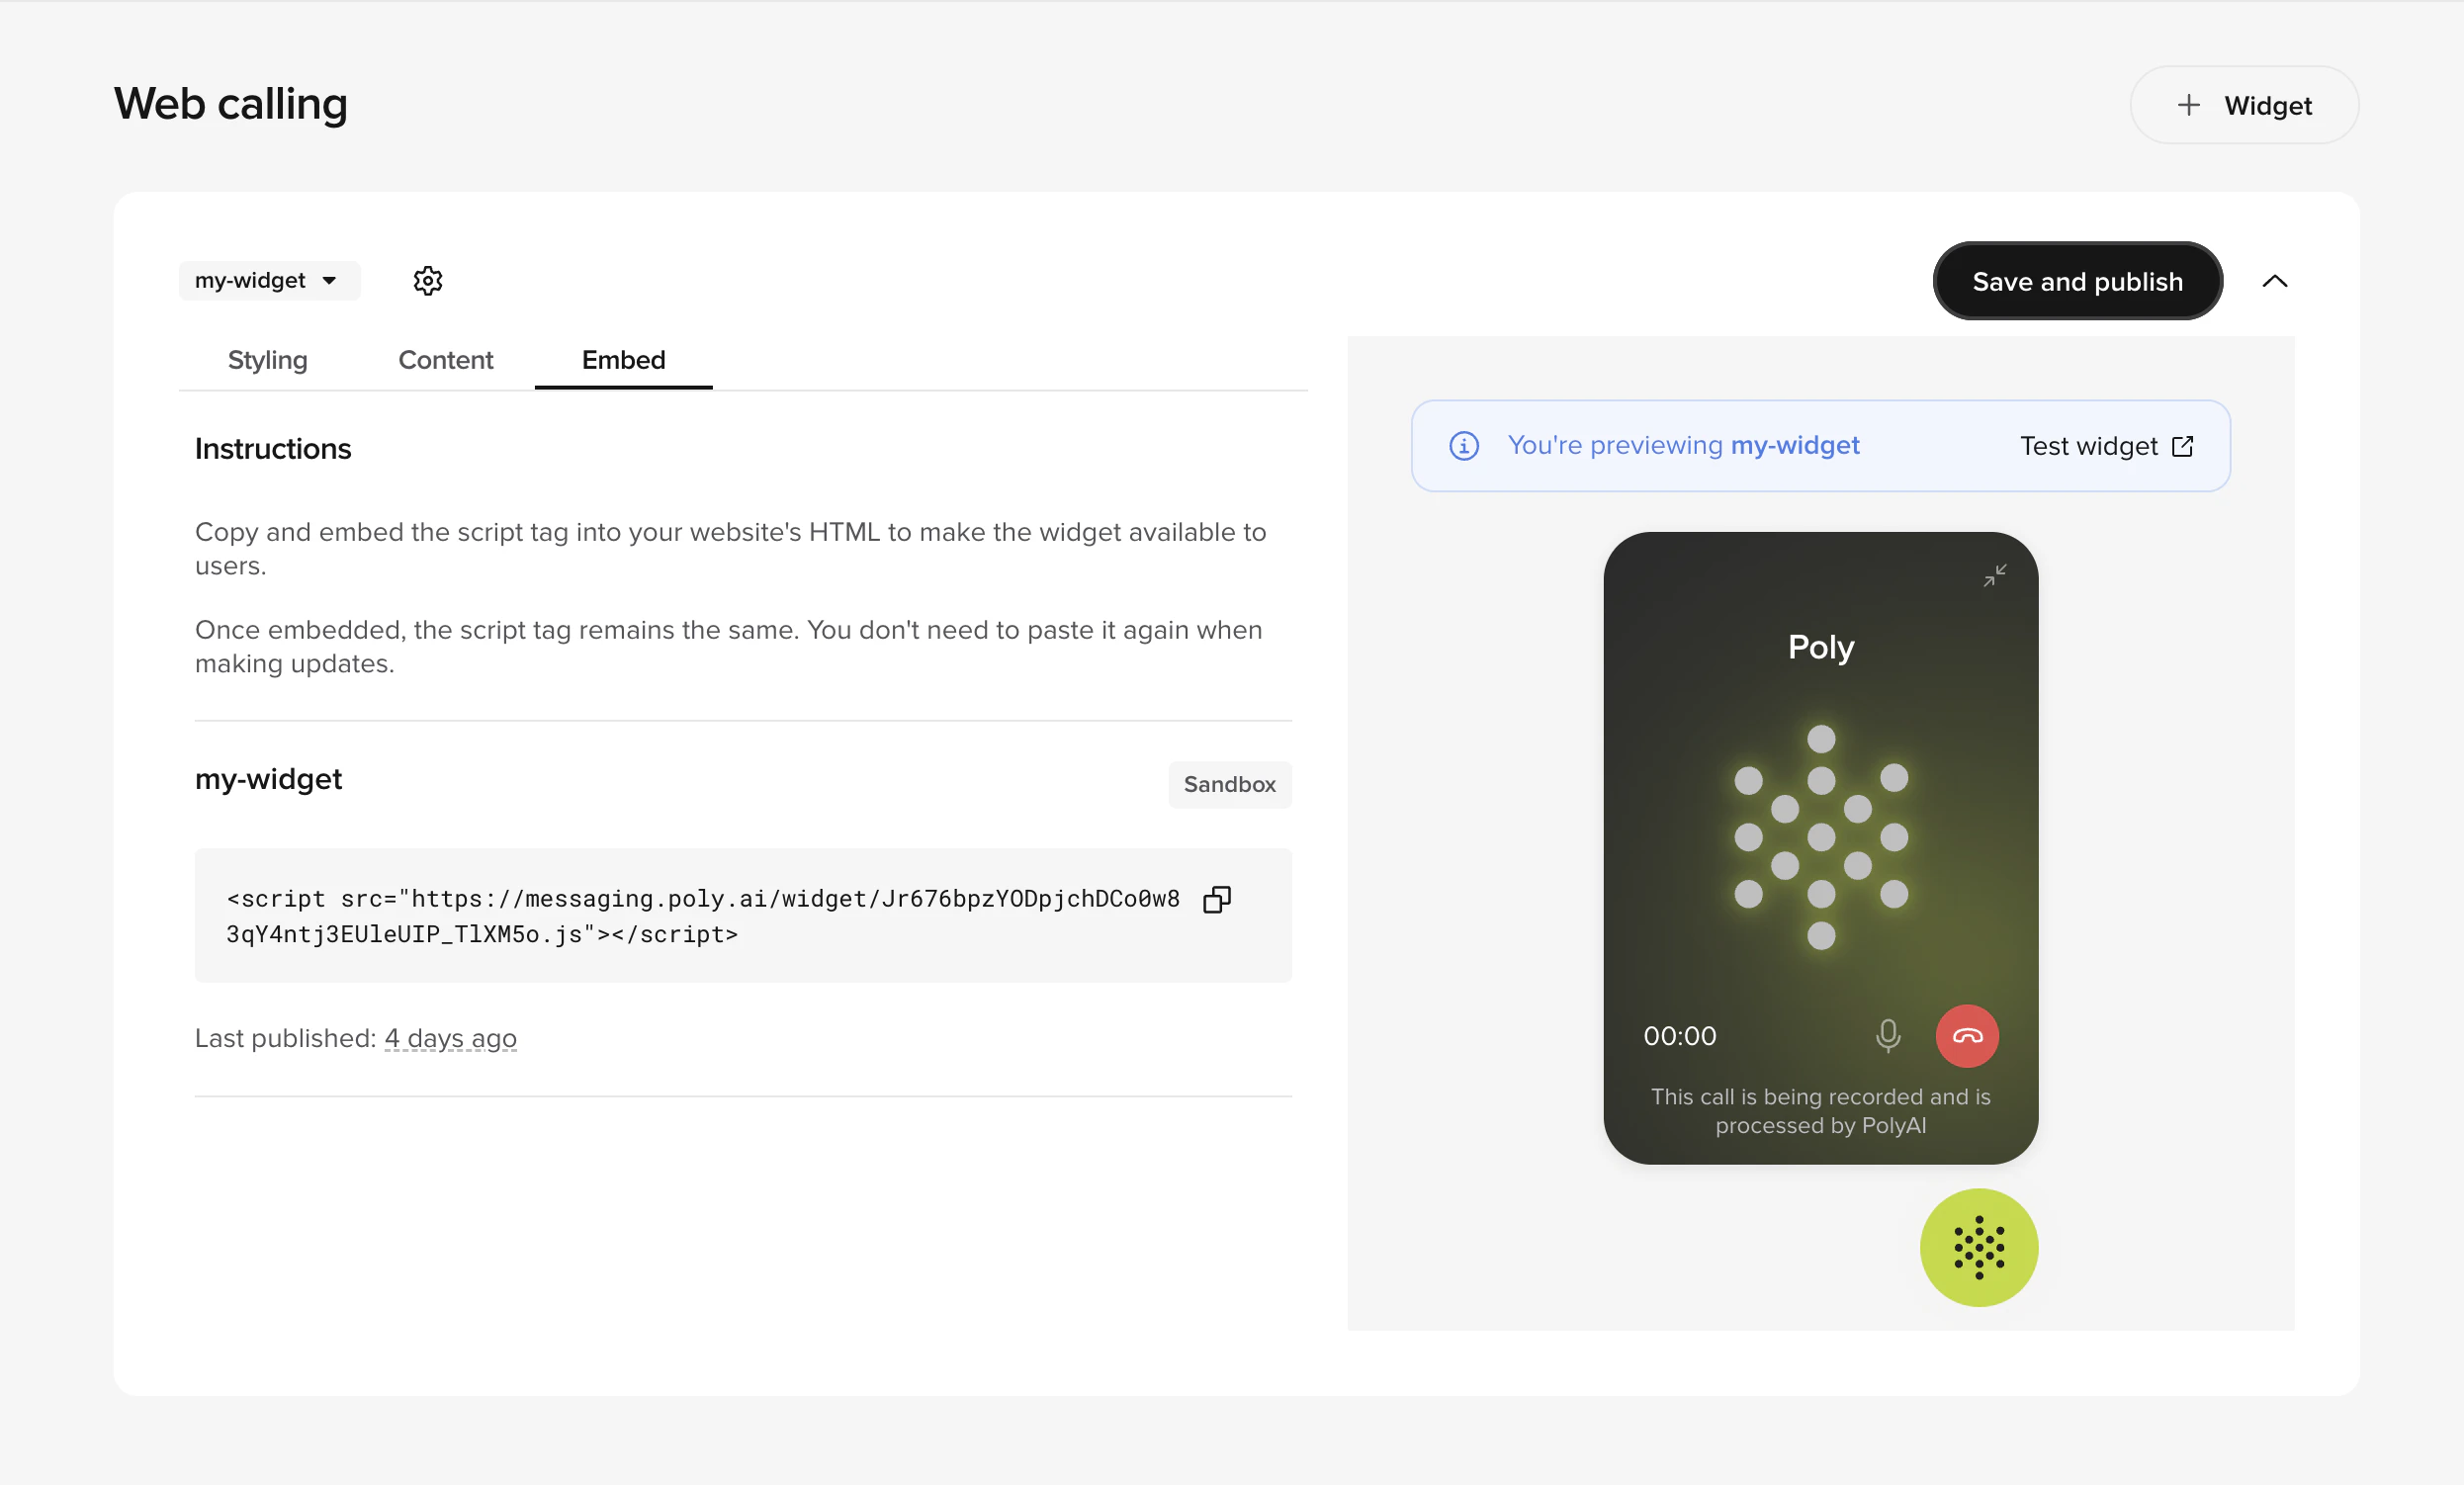
4. Open the **Embed** tab.
5. Copy the script tag. It looks like this:
```html theme={"theme":{"light":"github-light","dark":"github-dark"}}
```
The tag is bound to the widget's domain, variant, and environment. If any of those change, re-publish and re-embed.
## Step 2: Paste it on your site
Pick one route. Most sites use the direct HTML embed.
### Option A: Direct HTML embed
1. Open the HTML template that loads on **every page** (often your global layout or `index.html`).
2. Paste the script tag **just before `