This quickstart uses [Studio Assistant](/studio-assistant/introduction) to scaffold the agent, then Web Calling to embed it. Available to project admins on enterprise clusters and to free-trial accounts. Free-trial users can switch to the full enterprise quickstart via the **Free trial — exit** pill.
The fastest path from sign-up to a working voice agent on your site. Studio Assistant does most of the building: you describe what you want, and it scaffolds flows, knowledge, voice, and integrations for you.
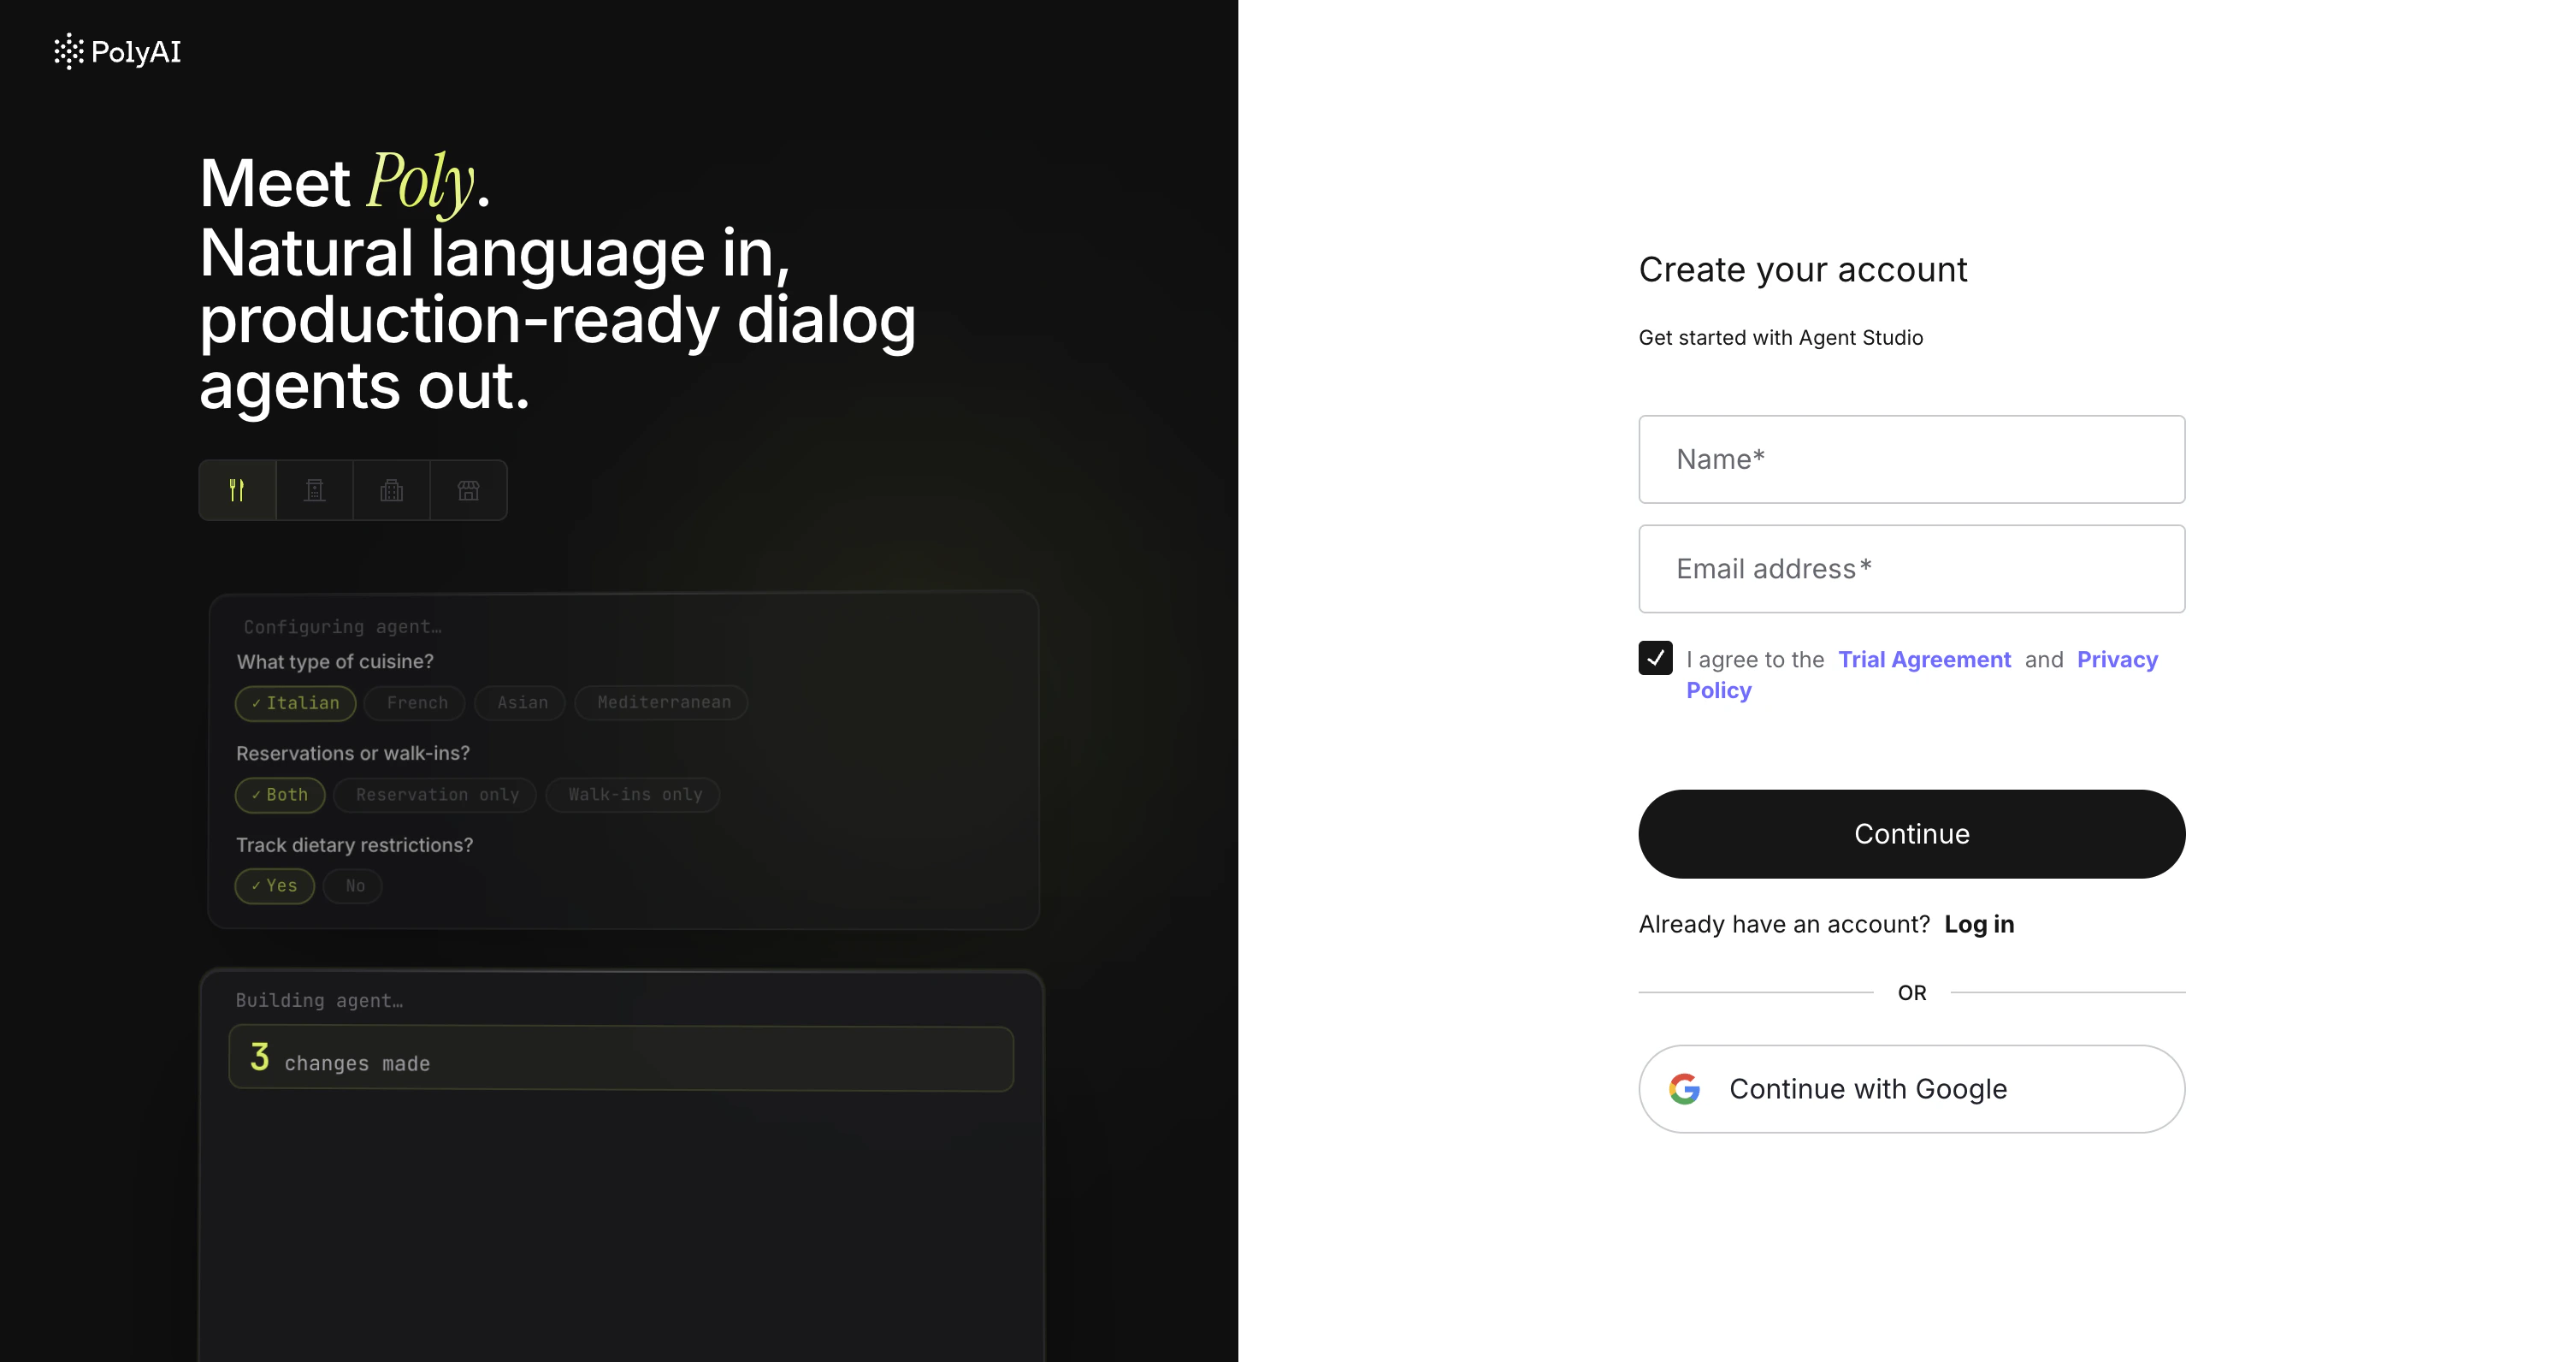
Go to [studio.poly.ai](https://studio.poly.ai/) and sign up with your email or Google account. No sales call to start.
 You land on the Agent Studio home page. Studio Assistant asks for your company's website. Paste a URL and it starts building a tailored agent immediately.
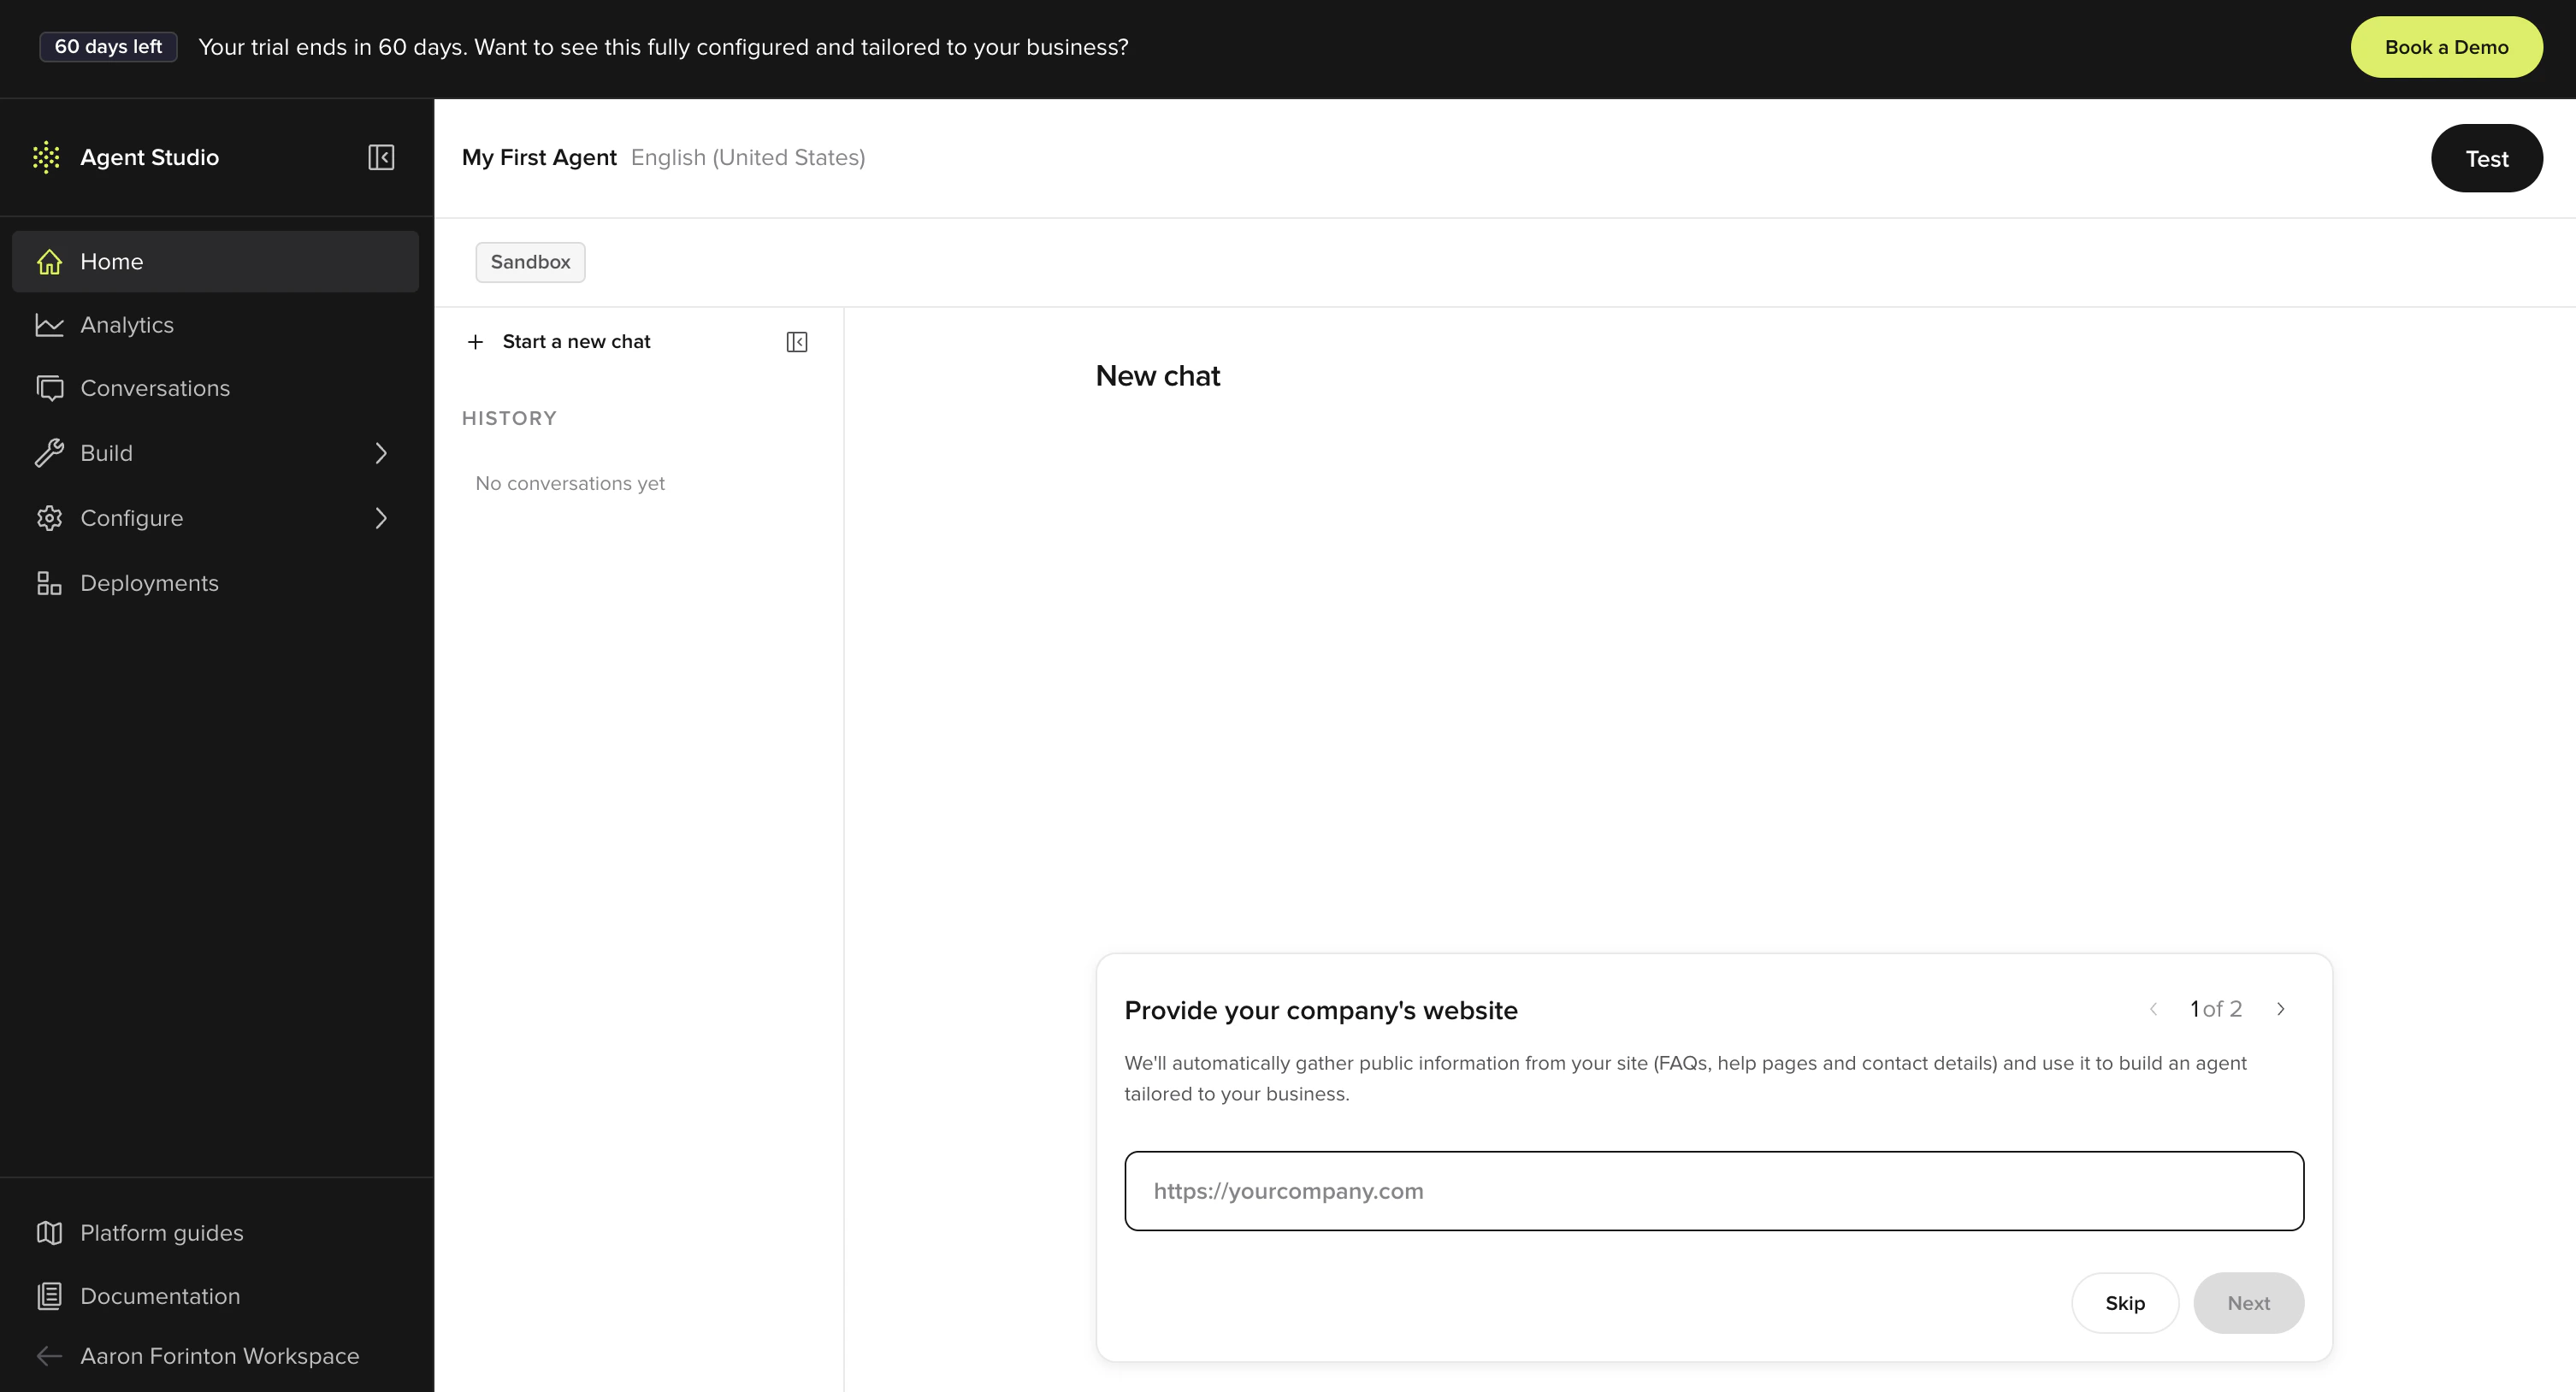 The platform is self-serve from here. No billing, no metering, no contract.
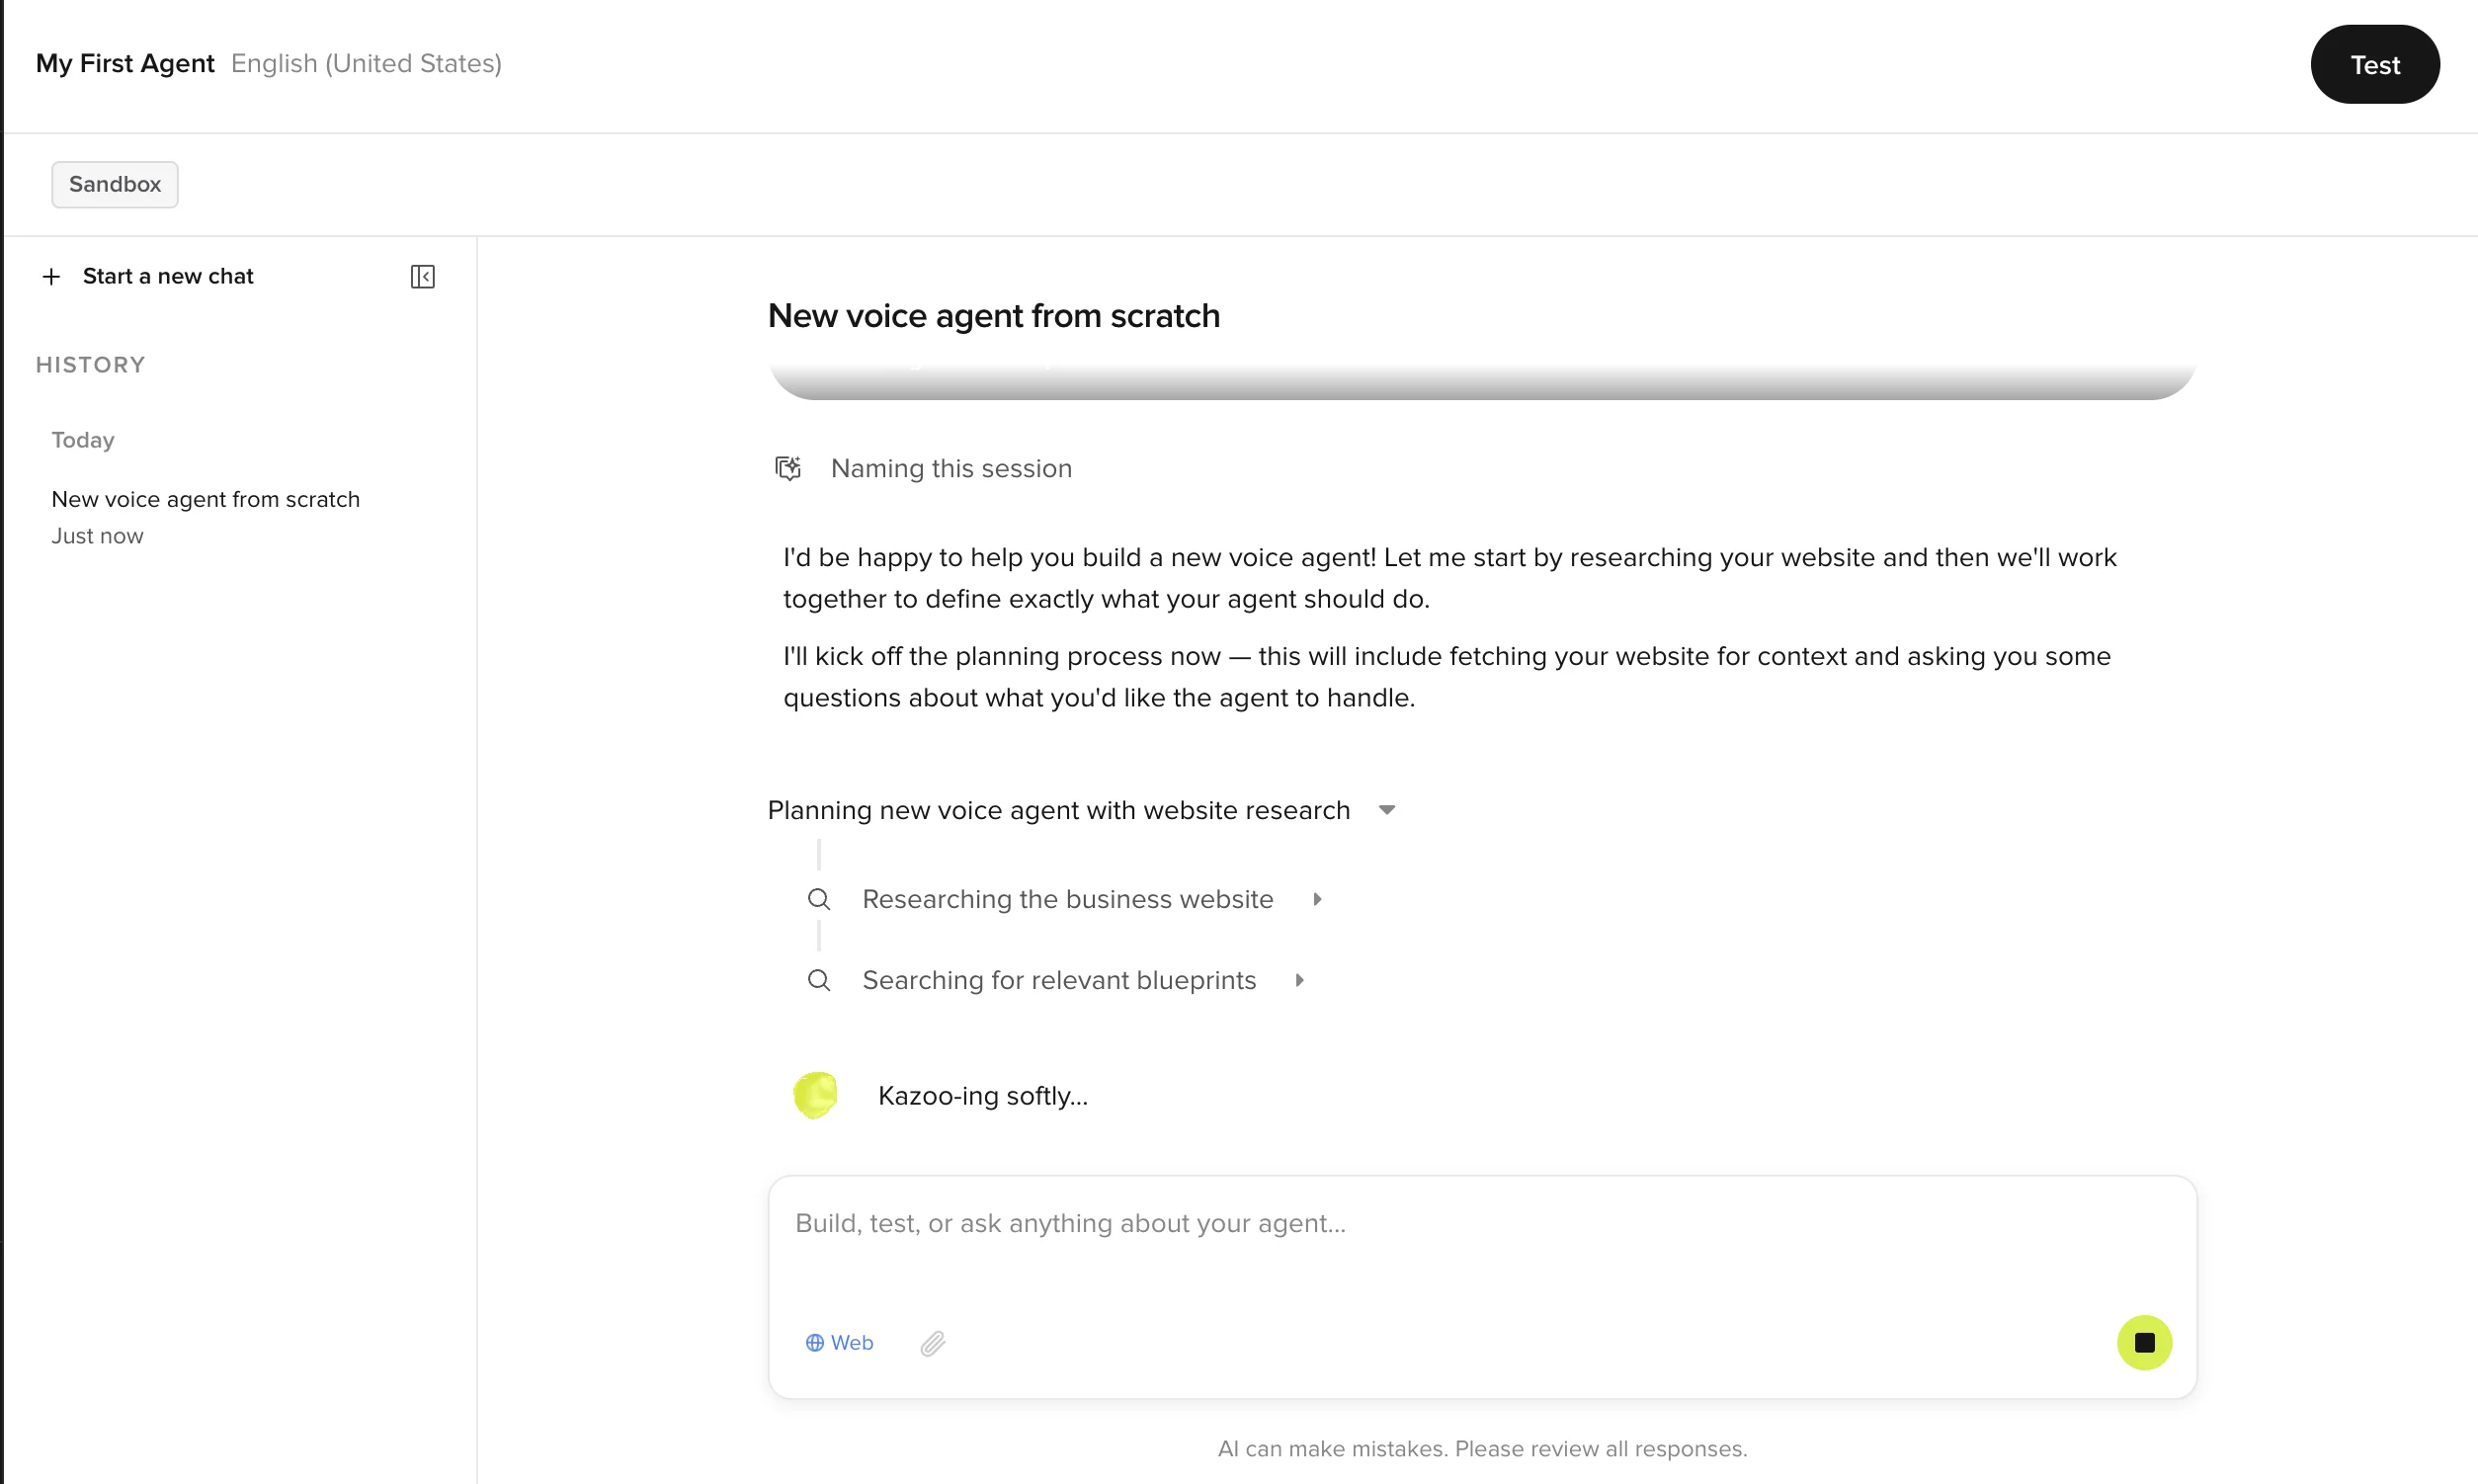
Tell Studio Assistant what you want to build. A URL, a document, or a sentence describing the business is enough to get started.
Example prompts:
* `Build a reservations agent for a restaurant. Take name, party size, date, and time, then confirm.`
* `Read https://example.com and build an agent that answers questions about the company.`
* `I run a clinic. Build an agent that handles appointment requests and FAQ about opening hours.`
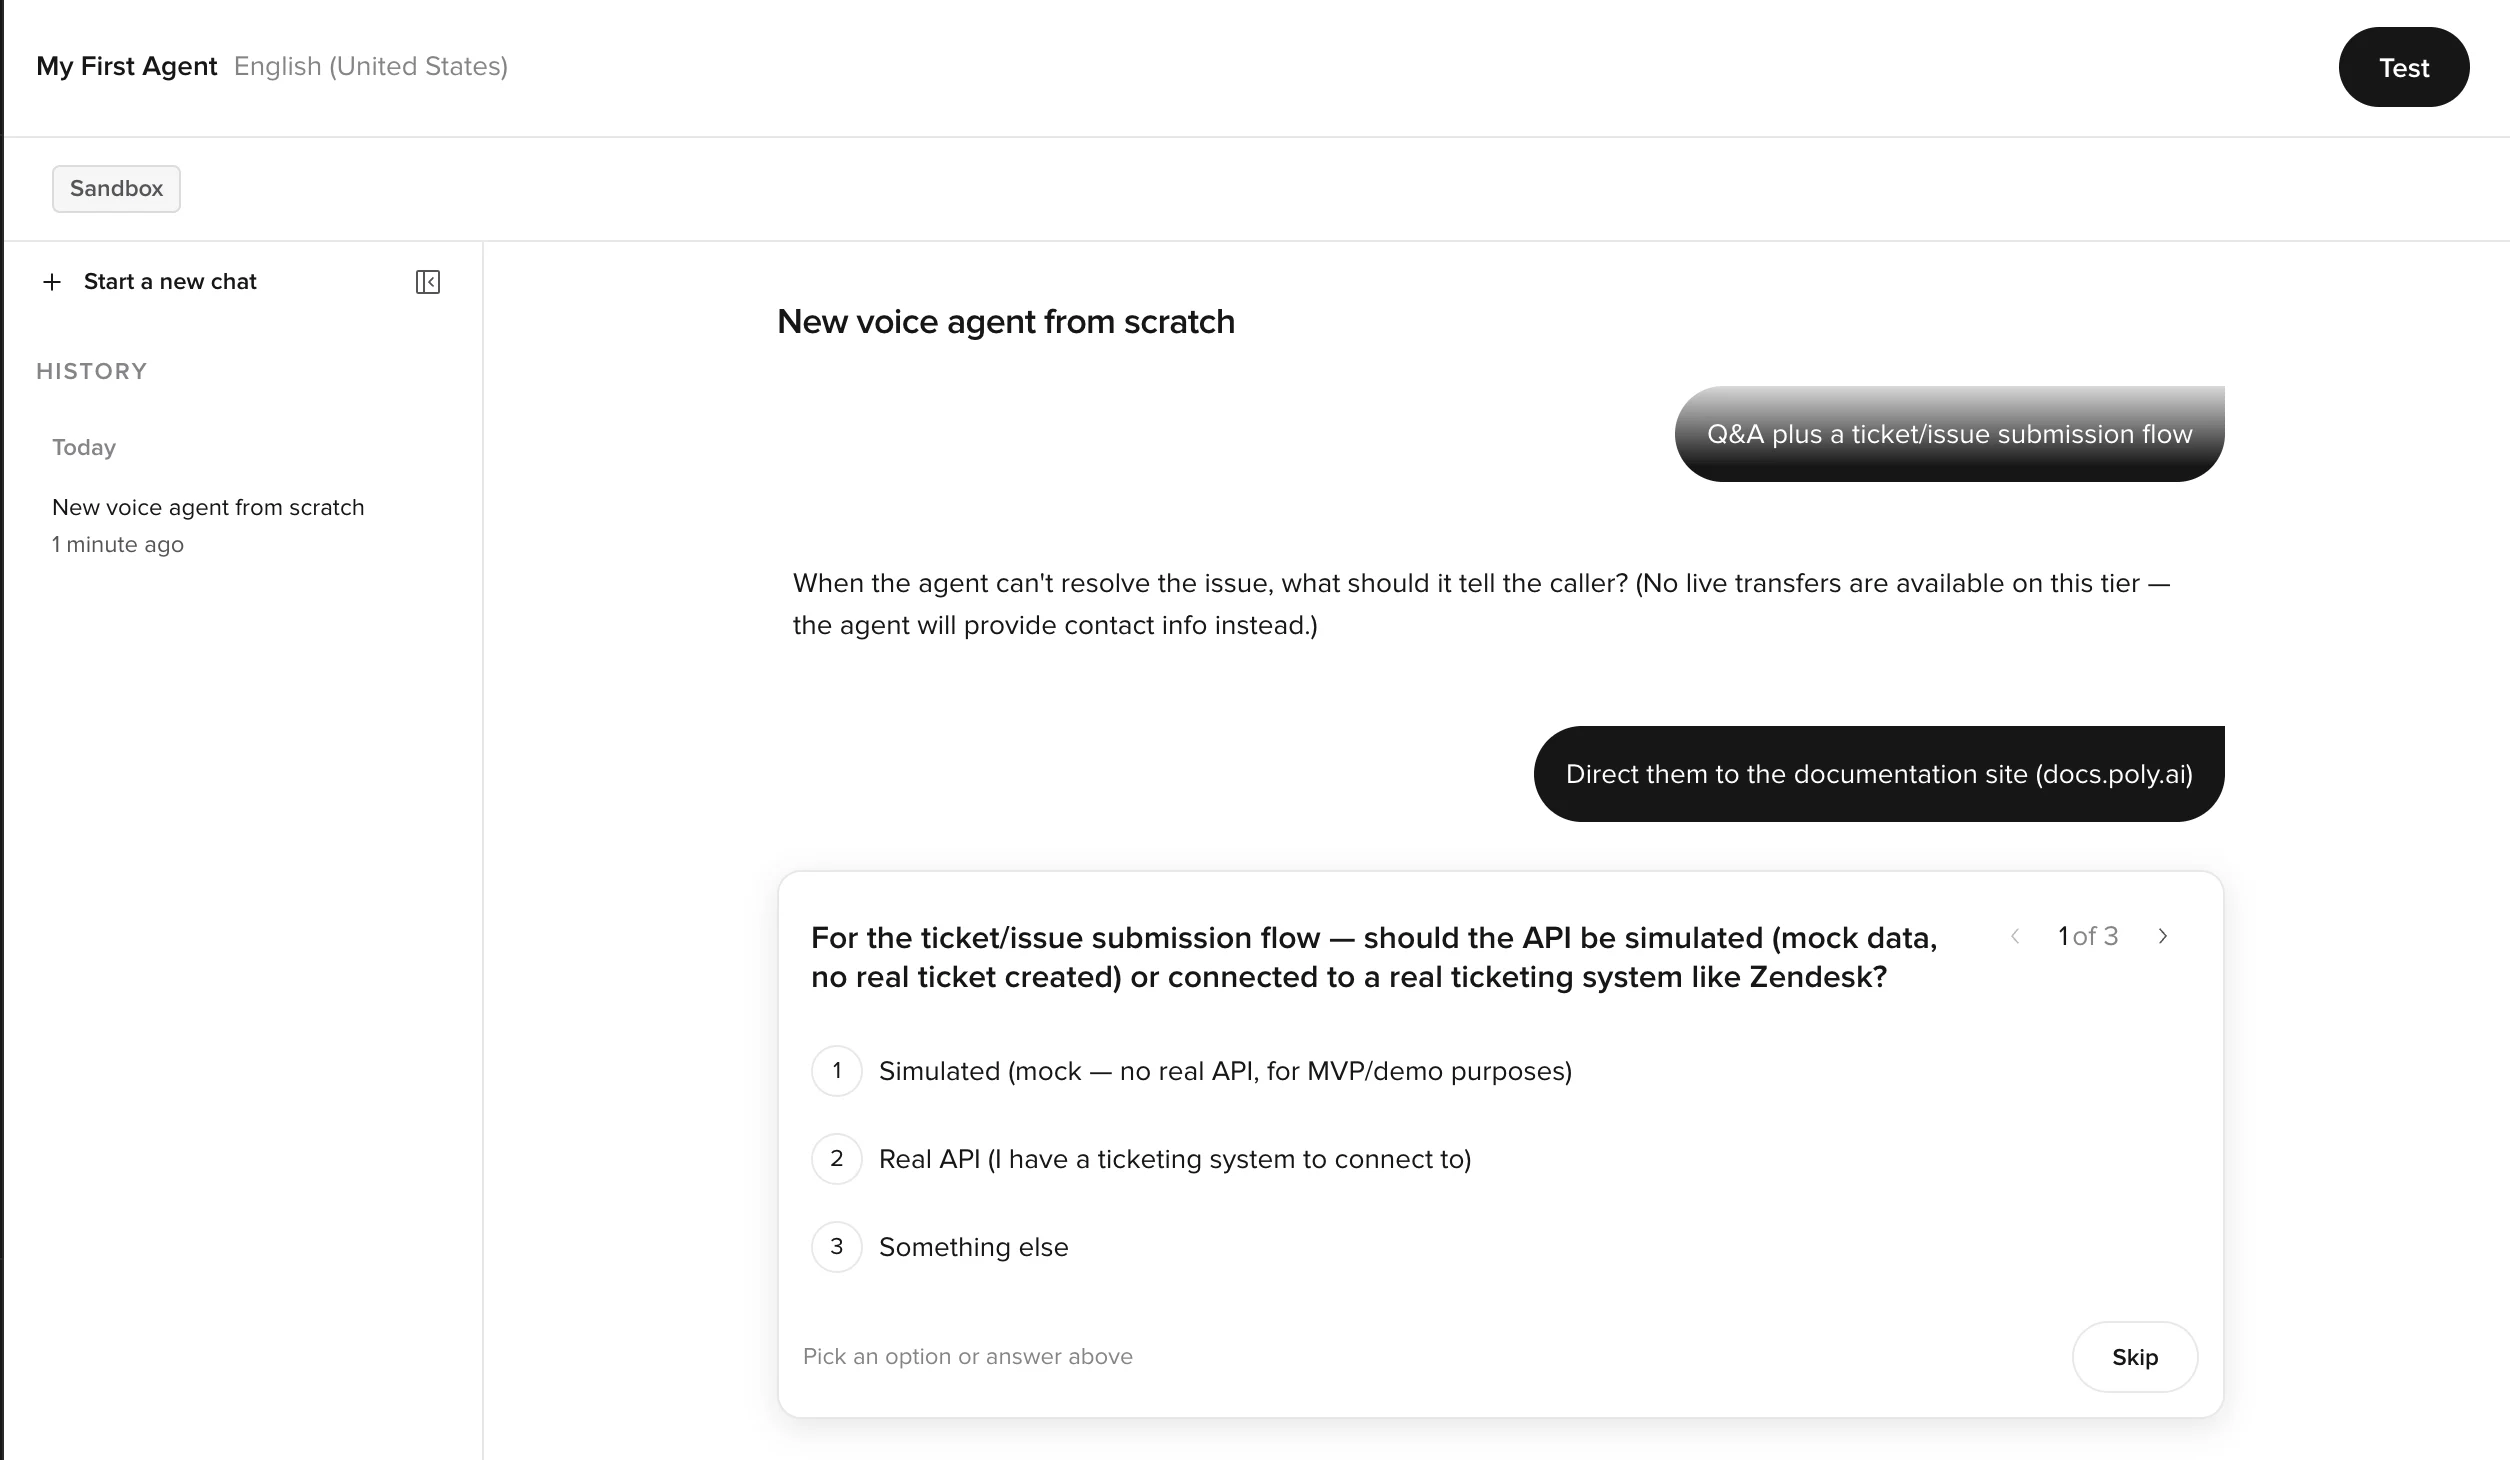
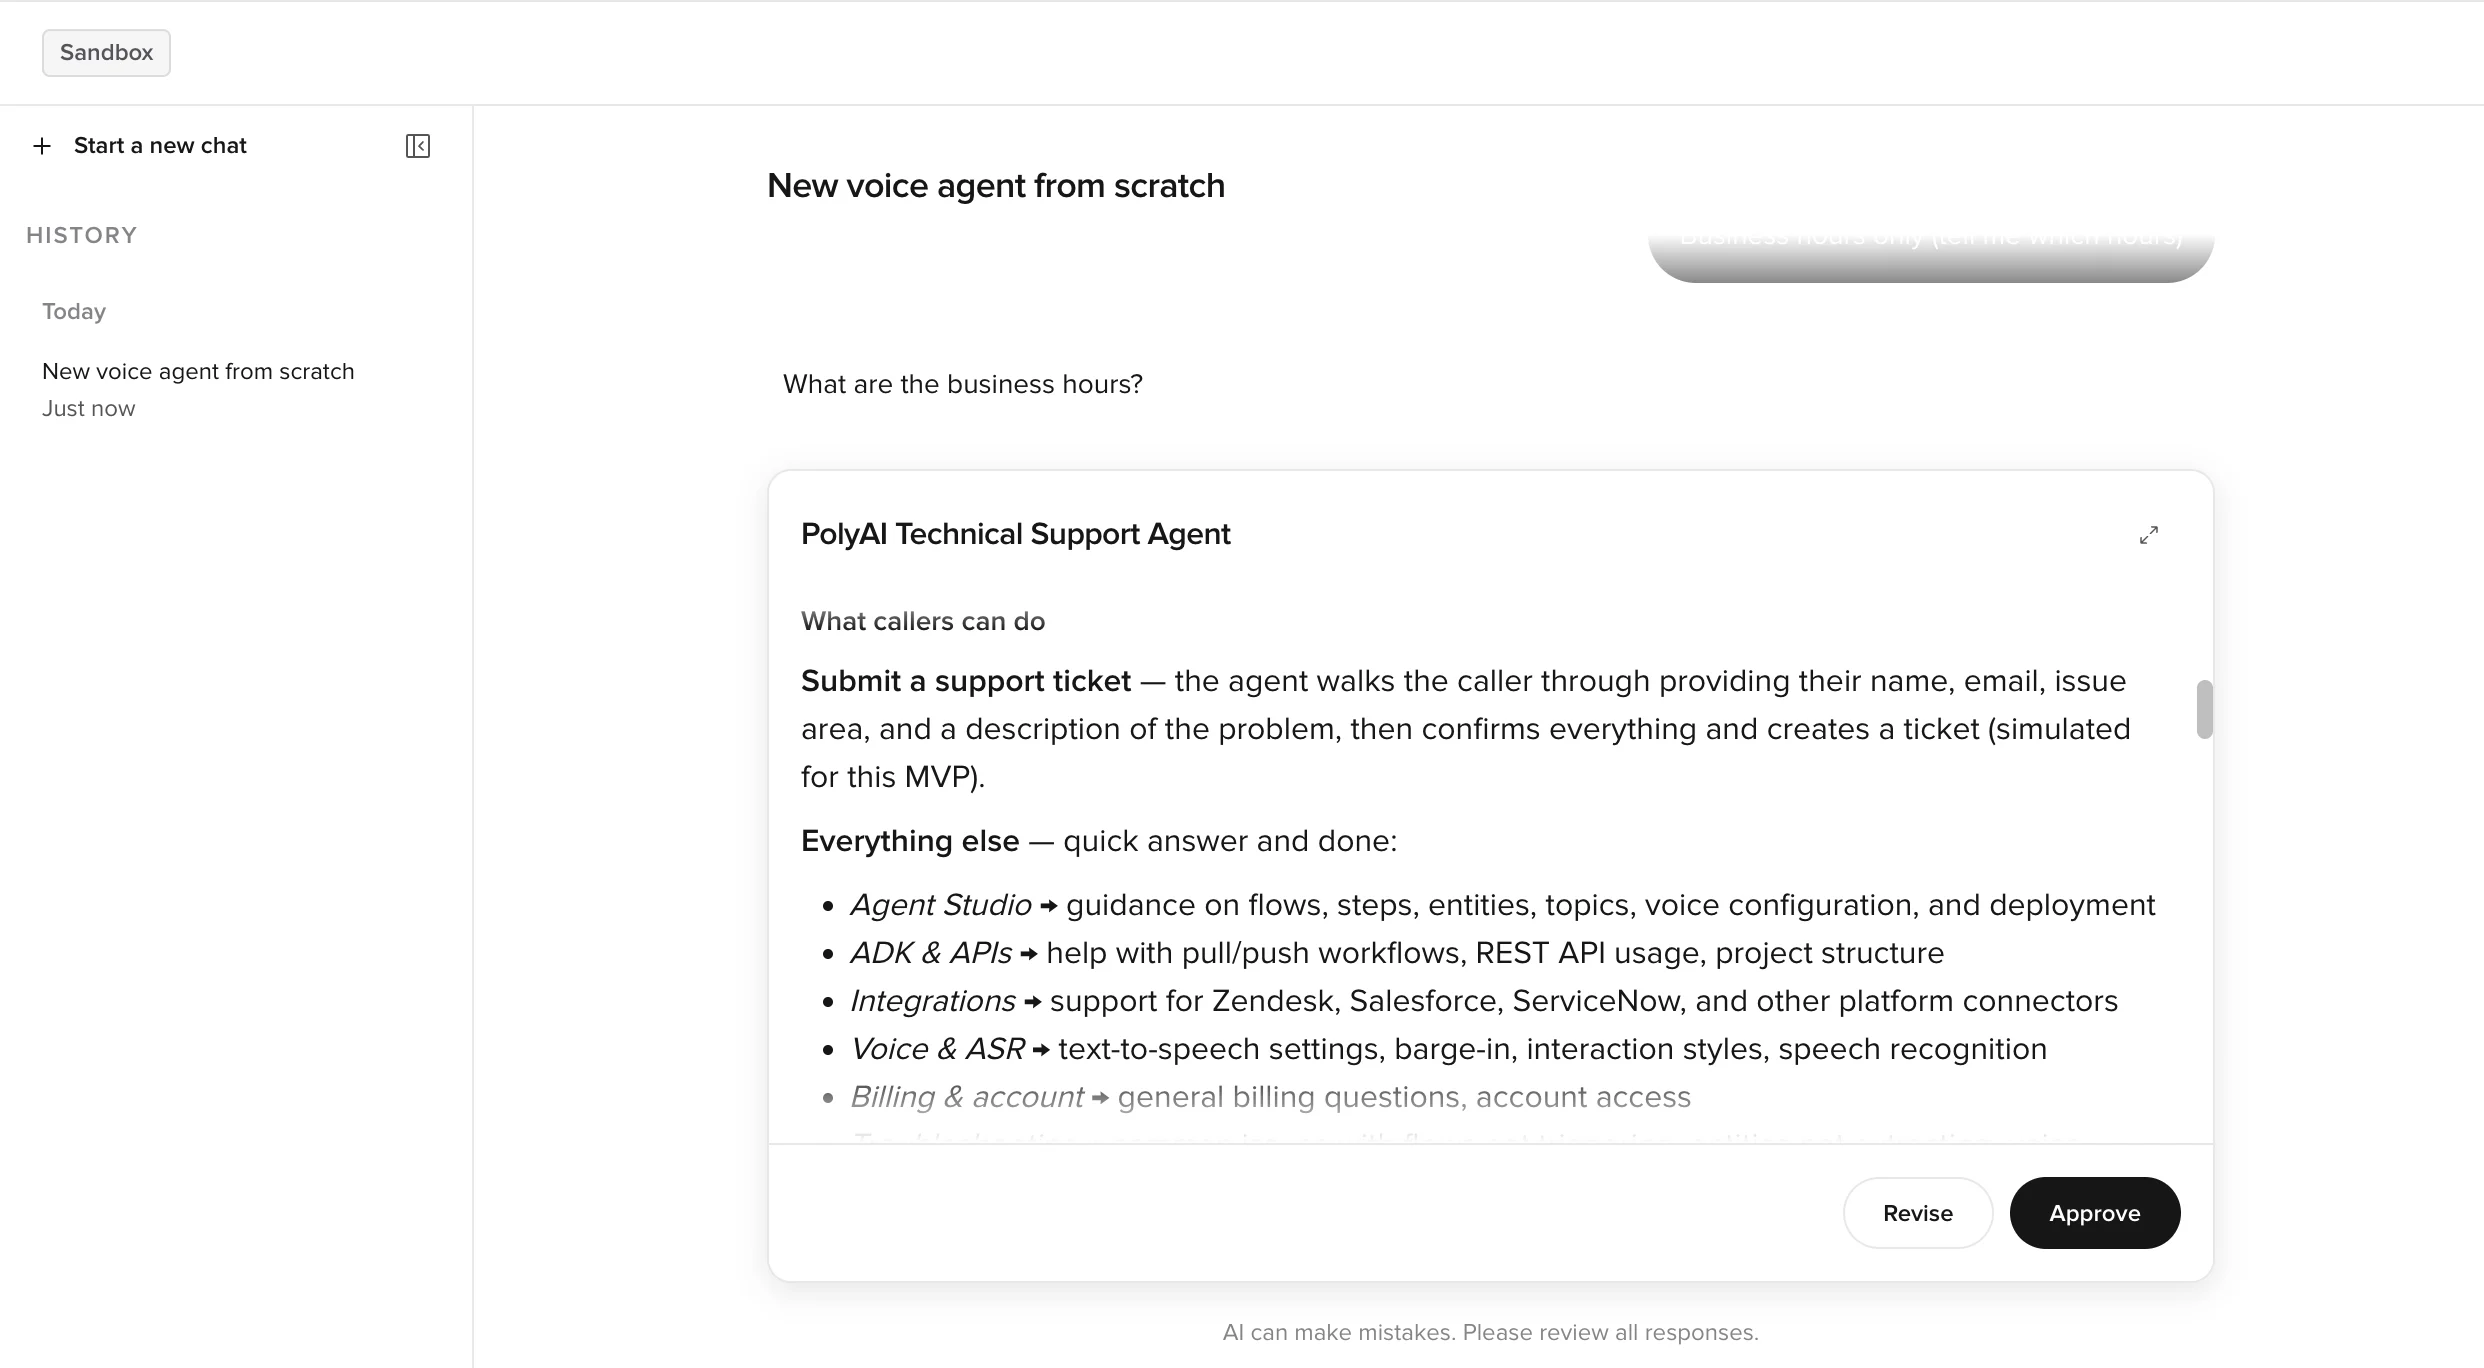
Studio Assistant reads your website, asks a few clarifying questions, then proposes a full agent plan: flows, knowledge, voice, and integrations. Review the plan and click **Approve**.
The platform is self-serve from here. No billing, no metering, no contract.
Tell Studio Assistant what you want to build. A URL, a document, or a sentence describing the business is enough to get started.
Example prompts:
* `Build a reservations agent for a restaurant. Take name, party size, date, and time, then confirm.`
* `Read https://example.com and build an agent that answers questions about the company.`
* `I run a clinic. Build an agent that handles appointment requests and FAQ about opening hours.`
Studio Assistant reads your website, asks a few clarifying questions, then proposes a full agent plan: flows, knowledge, voice, and integrations. Review the plan and click **Approve**.
 See [Prompting Studio Assistant](/studio-assistant/prompting) for prompt patterns that work well.
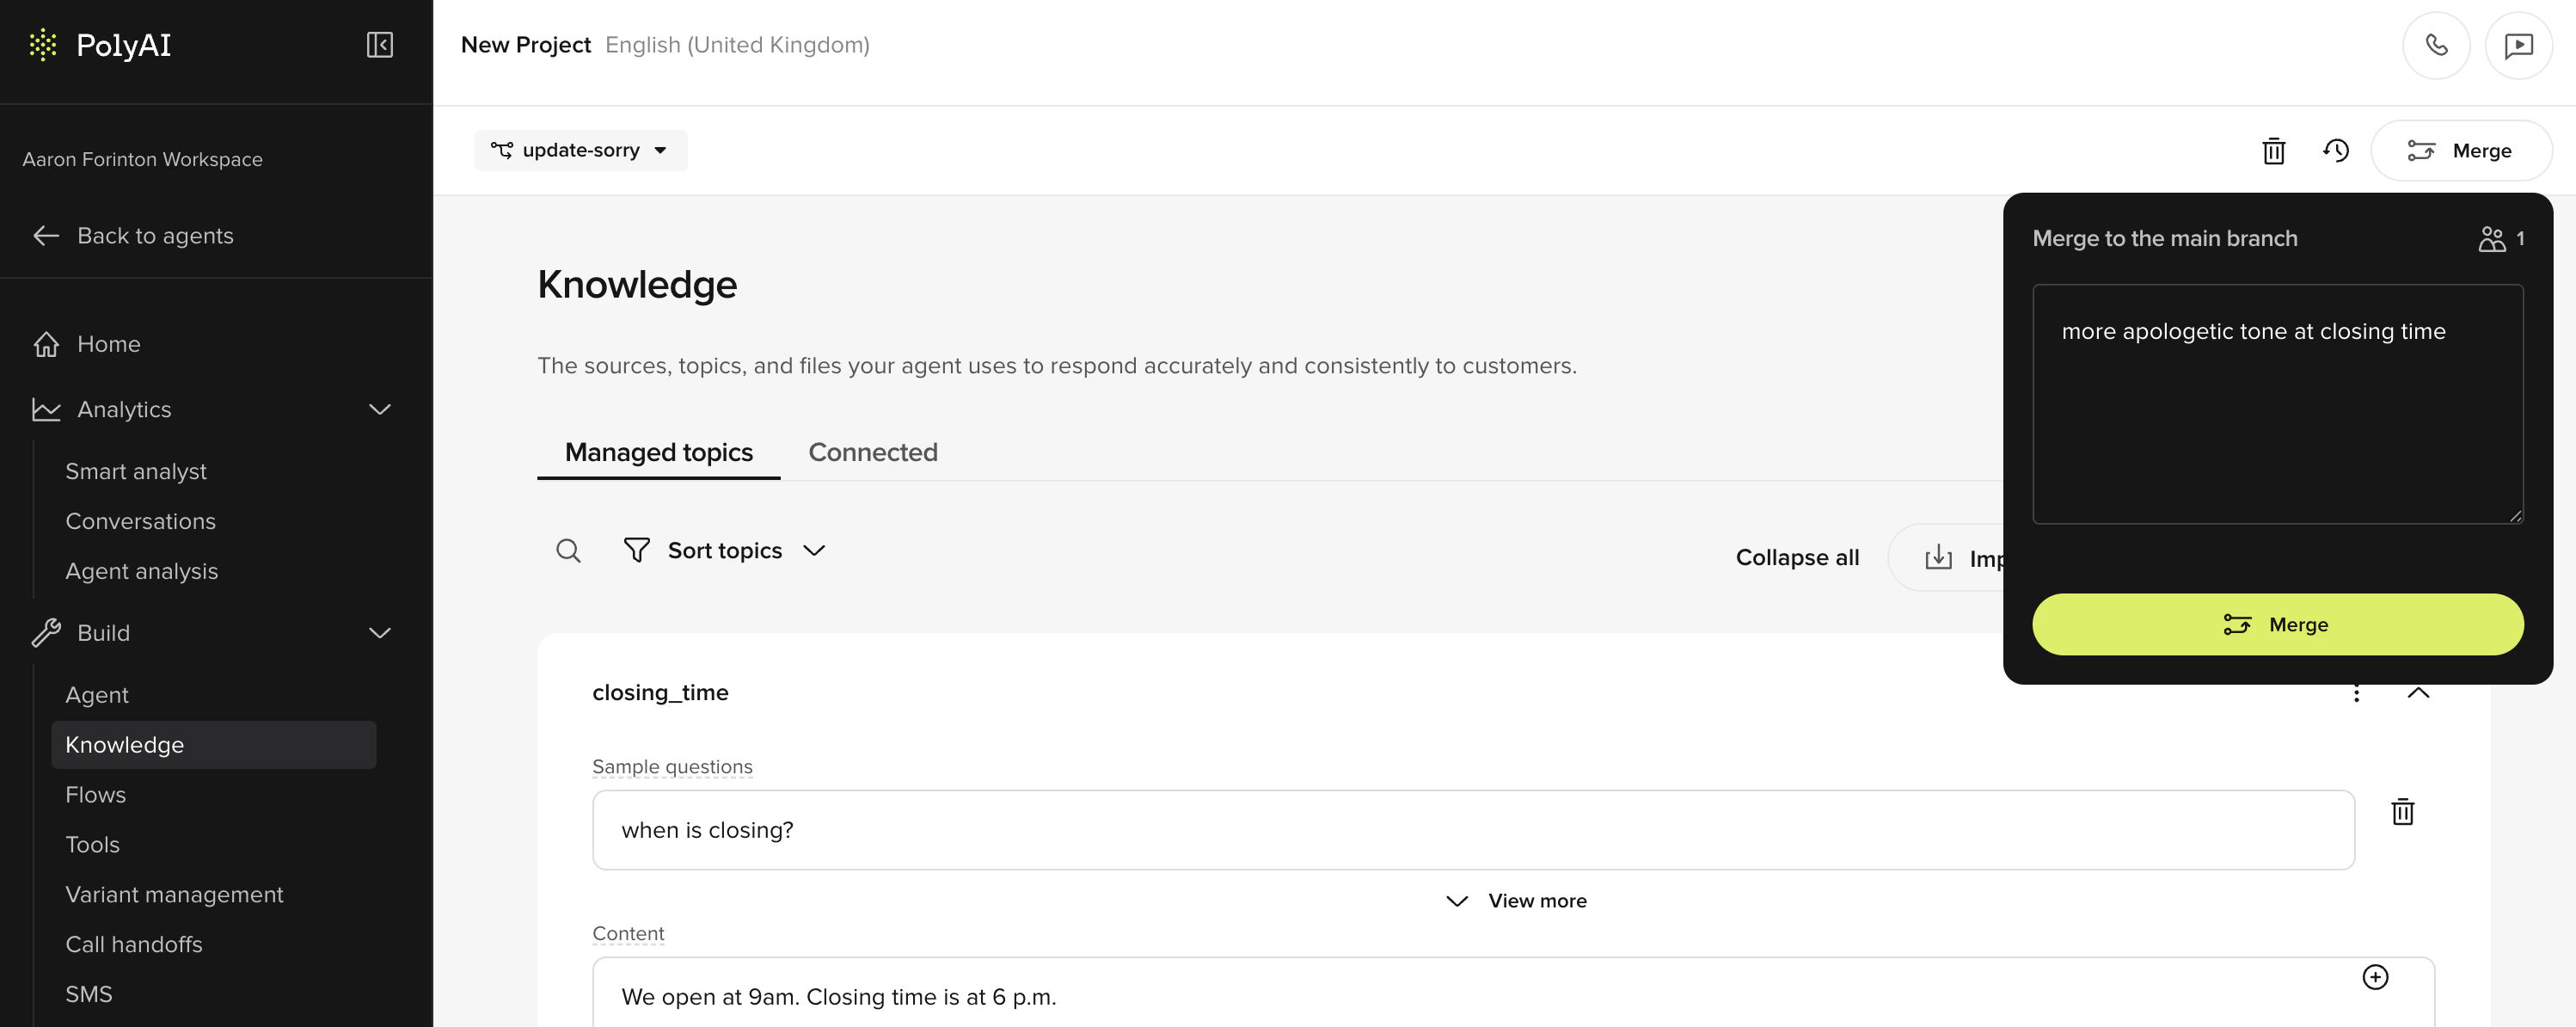
Studio Assistant will have populated **Knowledge > FAQs** based on what you gave it. Open it and skim:
* **Topics**: each is a question/answer pair grouped by intent. Edit any topic to tighten the answer or add sample utterances.
* **Sources**: upload extra PDFs or paste URLs to expand the knowledge base. Studio Assistant turns them into topics automatically.
Ask Studio Assistant to make changes in plain language, *"add a topic for refund policy"*, *"make the welcome message warmer"*, *"don't quote prices"*. It edits the agent for you.
See [Prompting Studio Assistant](/studio-assistant/prompting) for prompt patterns that work well.
Studio Assistant will have populated **Knowledge > FAQs** based on what you gave it. Open it and skim:
* **Topics**: each is a question/answer pair grouped by intent. Edit any topic to tighten the answer or add sample utterances.
* **Sources**: upload extra PDFs or paste URLs to expand the knowledge base. Studio Assistant turns them into topics automatically.
Ask Studio Assistant to make changes in plain language, *"add a topic for refund policy"*, *"make the welcome message warmer"*, *"don't quote prices"*. It edits the agent for you.
 Changes stay as **Drafts** until you publish to **Sandbox** for testing.
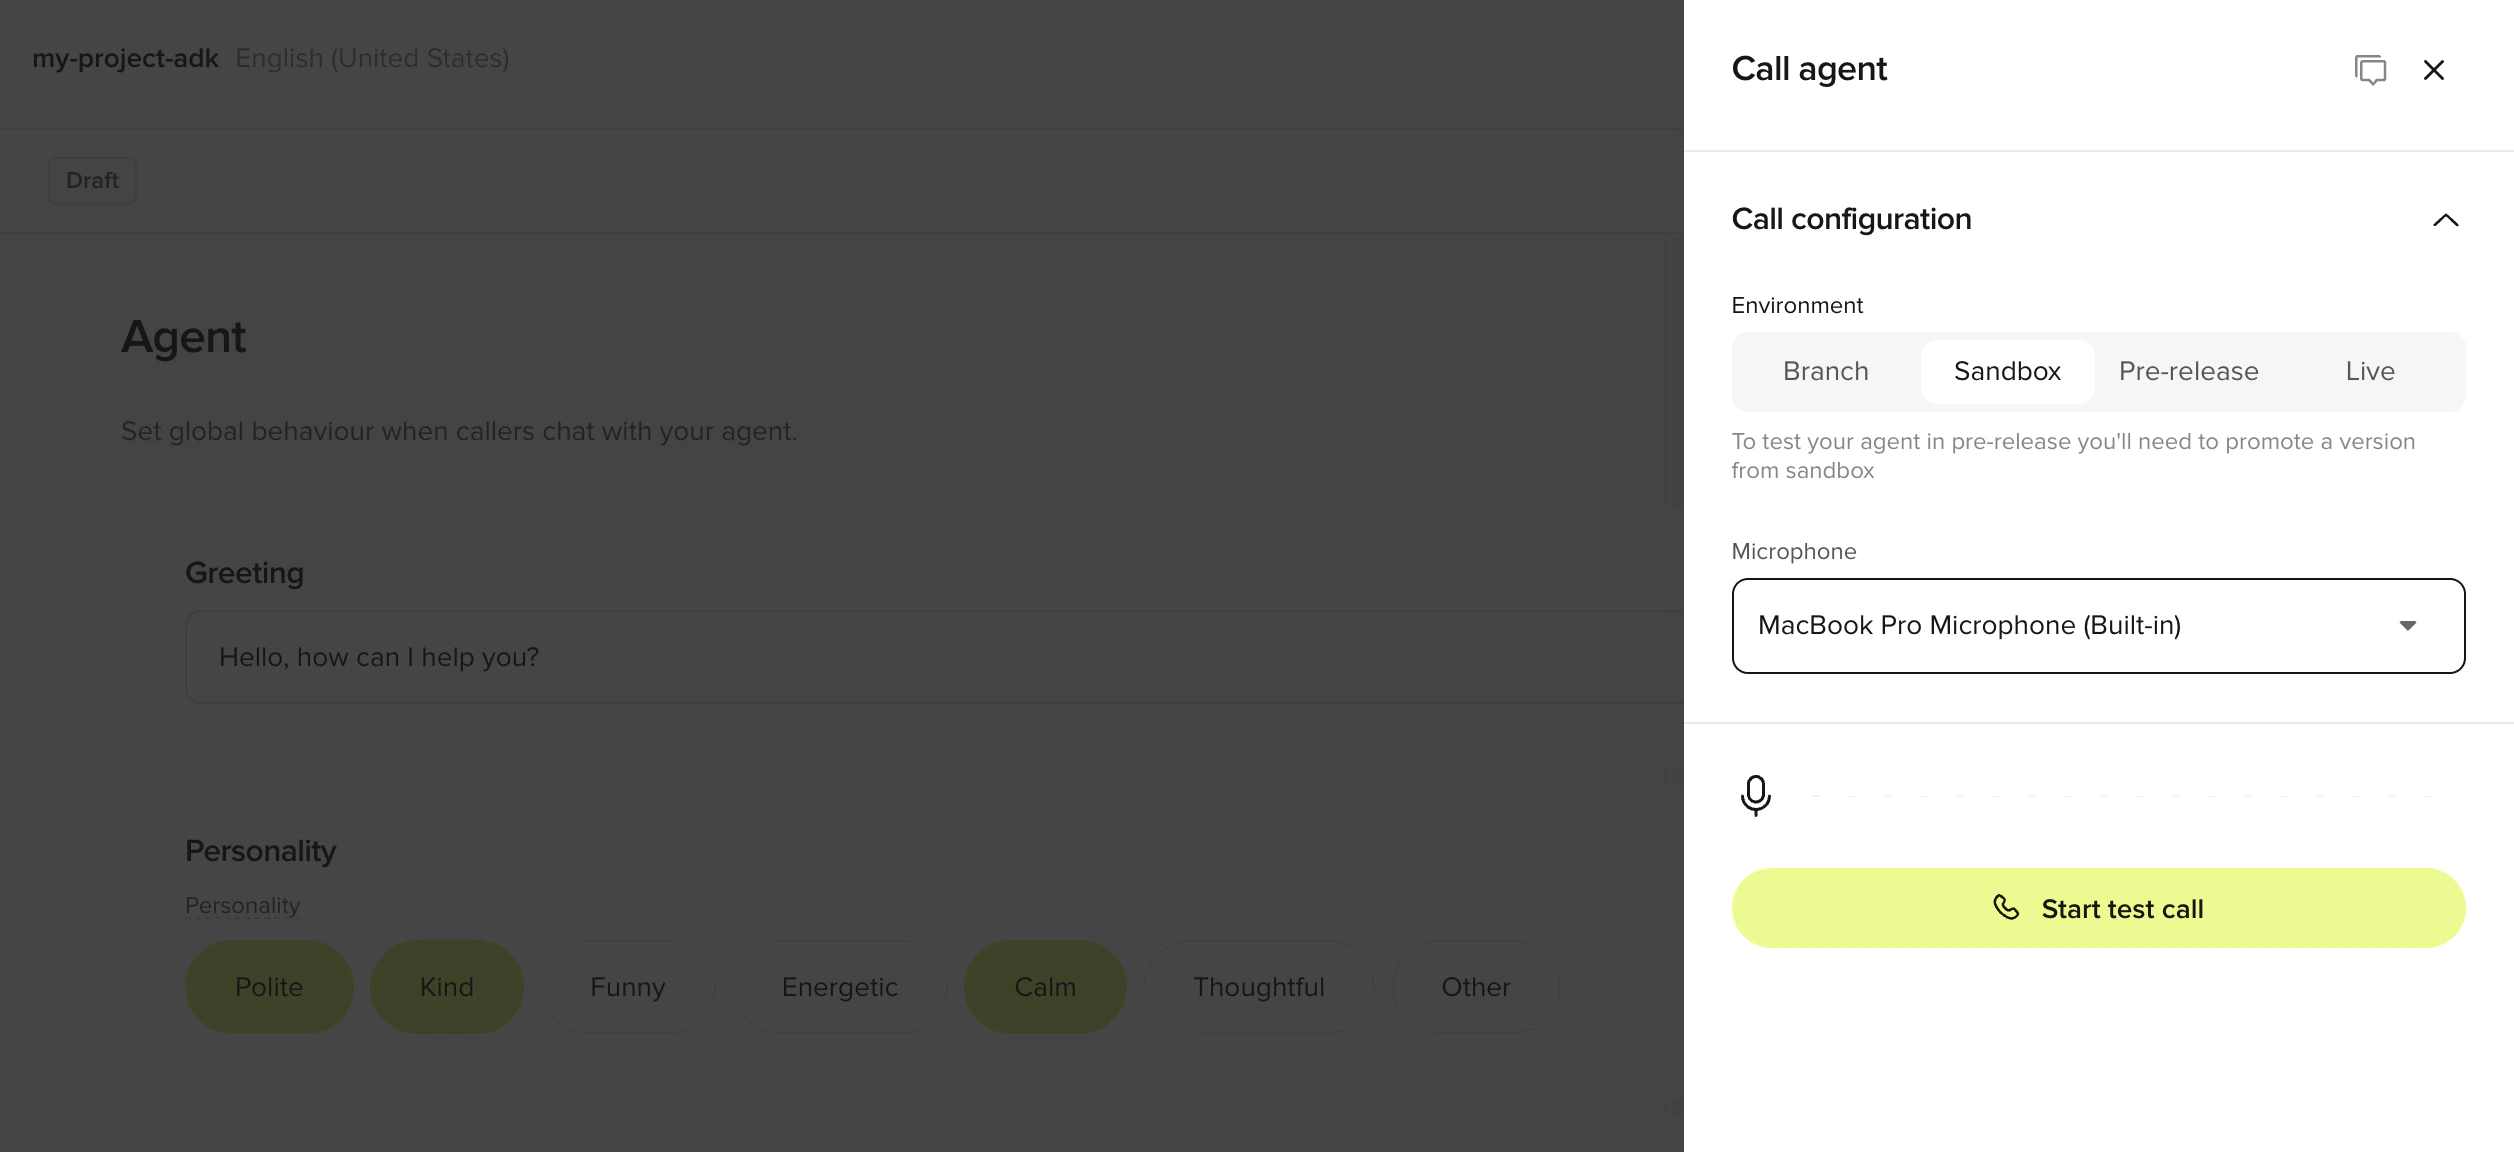
The fastest way to test. Uses your device's microphone over WebRTC. No number to dial, no app to install.
1. Click **Test** in the top-right corner to open the **Agent Debugging** side panel
2. Choose **Call agent** under **Voice**
3. Select **Sandbox** from the environment dropdown
4. Begin speaking to your agent
Changes stay as **Drafts** until you publish to **Sandbox** for testing.
The fastest way to test. Uses your device's microphone over WebRTC. No number to dial, no app to install.
1. Click **Test** in the top-right corner to open the **Agent Debugging** side panel
2. Choose **Call agent** under **Voice**
3. Select **Sandbox** from the environment dropdown
4. Begin speaking to your agent
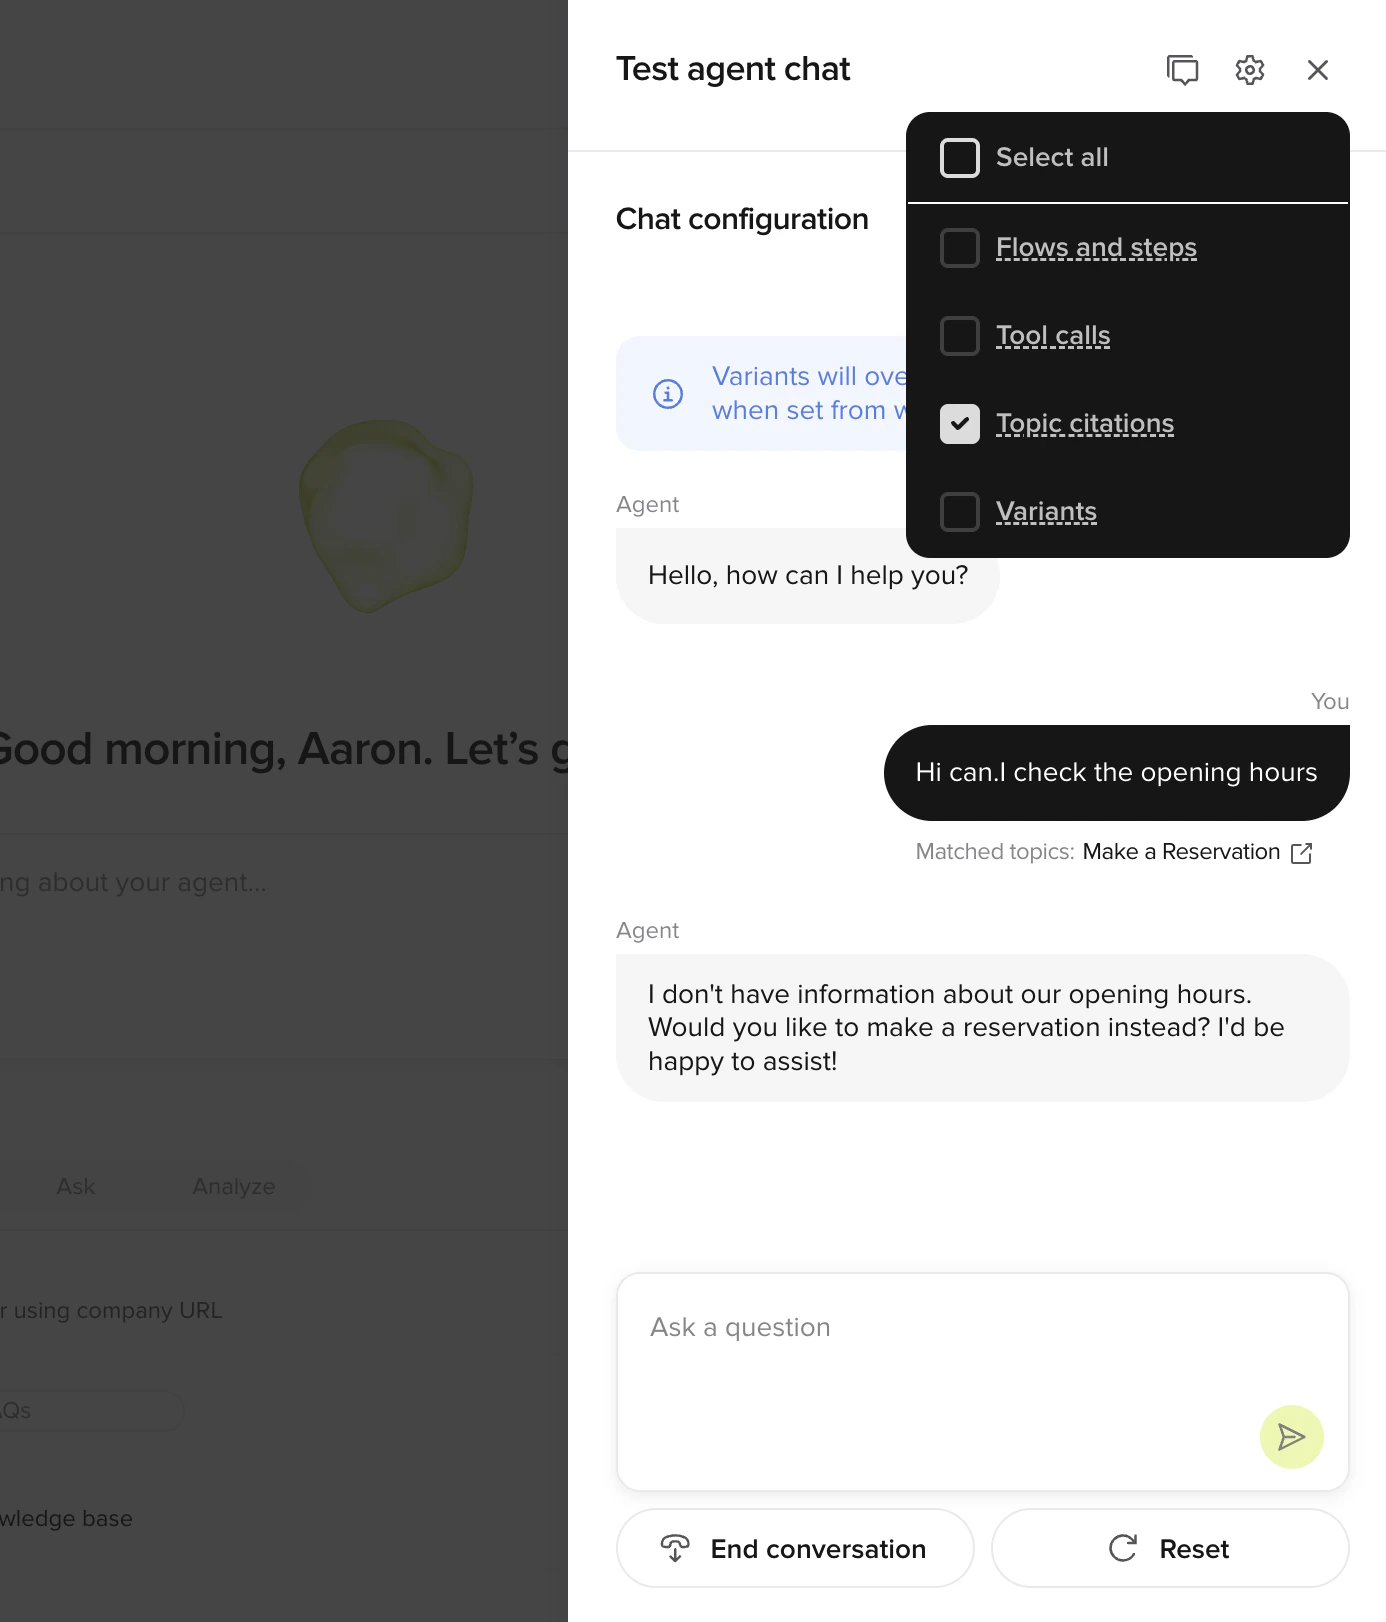
 Test with text-based chat directly from Agent Studio.
1. Click **Test** in the top-right corner
2. Choose **Webchat** under **Messaging** (or **Chat with agent** to debug a voice agent via text)
The chat panel shows matched topics and tool calls alongside the conversation. Click the gear icon to toggle them.
Test with text-based chat directly from Agent Studio.
1. Click **Test** in the top-right corner
2. Choose **Webchat** under **Messaging** (or **Chat with agent** to debug a voice agent via text)
The chat panel shows matched topics and tool calls alongside the conversation. Click the gear icon to toggle them.
 Every test conversation lands in [Conversations](/analytics/conversations/introduction). Read the transcript, check what topics matched, and ask Studio Assistant to fix anything the agent got wrong.
Publish your agent and put it in front of users.
Embed a click-to-call voice widget on any website. WebRTC end-to-end, no number to dial, no app to install.
1. Go to **Widgets** in the sidebar
2. Copy the embed snippet
3. Paste it into your site's HTML
See [Web Calling](/widgets/web-calling) for styling, behavior, and channel-mix options.
Share the agent without embedding by sending the WebRTC link from the in-browser call panel. Anyone with the link can talk to your agent in their browser.
Promote through environments when you're ready:
1. Go to **Deployments** in the sidebar
2. Click **Promote to Live** to make the current Sandbox build production-ready
Some projects use a simplified pipeline that promotes directly from Sandbox to Live. You can roll back to any previous version. See the [deployment pipeline guide](/environments-and-versions/introduction) for details.
Every test conversation lands in [Conversations](/analytics/conversations/introduction). Read the transcript, check what topics matched, and ask Studio Assistant to fix anything the agent got wrong.
Publish your agent and put it in front of users.
Embed a click-to-call voice widget on any website. WebRTC end-to-end, no number to dial, no app to install.
1. Go to **Widgets** in the sidebar
2. Copy the embed snippet
3. Paste it into your site's HTML
See [Web Calling](/widgets/web-calling) for styling, behavior, and channel-mix options.
Share the agent without embedding by sending the WebRTC link from the in-browser call panel. Anyone with the link can talk to your agent in their browser.
Promote through environments when you're ready:
1. Go to **Deployments** in the sidebar
2. Click **Promote to Live** to make the current Sandbox build production-ready
Some projects use a simplified pipeline that promotes directly from Sandbox to Live. You can roll back to any previous version. See the [deployment pipeline guide](/environments-and-versions/introduction) for details.
## Next steps
Prompt patterns and the plan-review workflow.
Voice widget setup, channel-mix matrix, and styling.
Multi-step workflows for bookings, forms, and structured tasks.
Pull your project as YAML and Python, edit anywhere, push back.
Create an account, build an agent, add knowledge, test it, and deploy. Five steps.
**Project admin?** [Studio Assistant](/studio-assistant/introduction) (Beta, admin-only) is the fastest way to scaffold an agent — describe what you want and it generates flows, topics, entities, and settings on a branch you can review. The manual steps below still work for any role.
## Prerequisites
* A use case in mind (e.g., customer support, reservations, FAQ)
Go to the [sign-up page](https://studio.us.poly.ai/) and create your PolyAI account.
1. Click **"Sign up with Google"**
2. Select your Google account or enter your credentials
3. Click **"Continue"** to authorize PolyAI
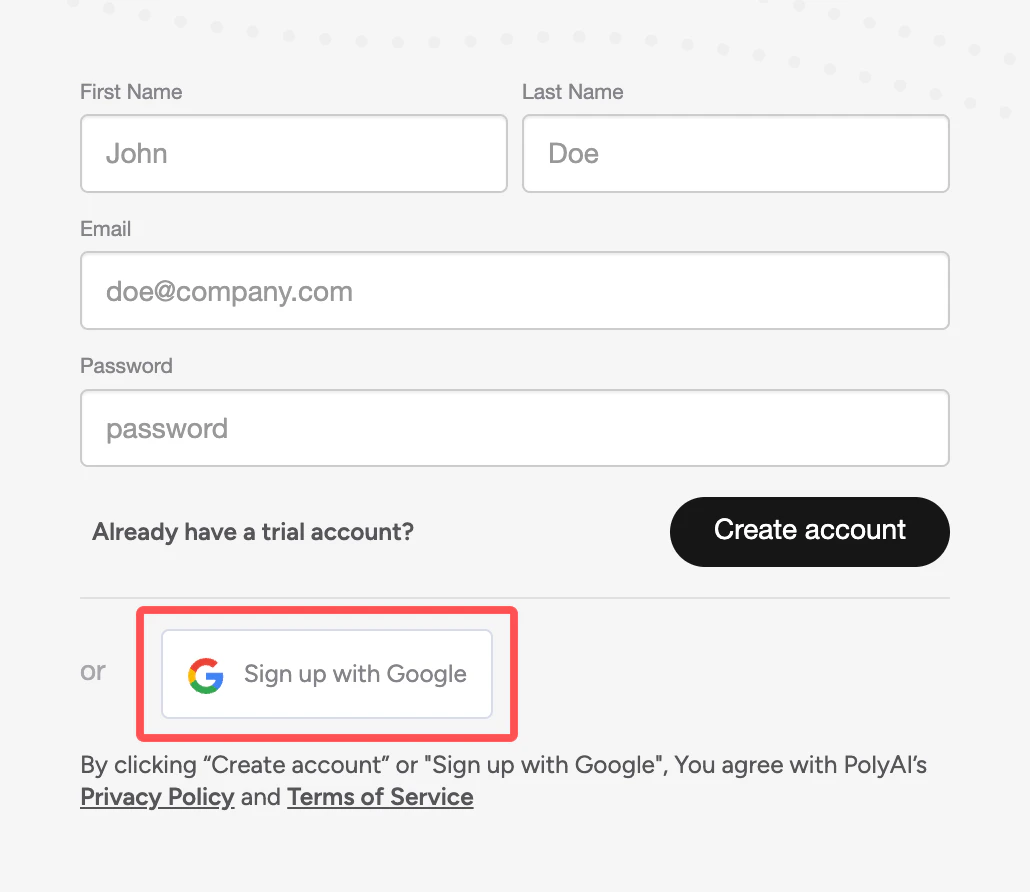 1. Enter your **first name**, **last name**, and **email address**
2. Create a password (at least 12 characters, with 3 of 4 character types: lowercase, uppercase, numbers, special characters)
3. Click **"Create account"** and verify your email
Once signed in, you'll land on the Agent Studio home page.
From the home page, click **+ Agent** to start the agent creation wizard. You can create a blank agent or import an existing configuration.
Configure the basics:
* **Agent name**, internal identifier for your project
* **Response language**, primary language for responses (see [multilingual support](/behavior/language/multilingual) for additional languages)
* **Voice**, select from available [text-to-speech (TTS)](https://en.wikipedia.org/wiki/Speech_synthesis) voices
* **Welcome greeting**, first message users receive (can be customized later in [agent settings](/behavior/general/agent))
Click **Next** to enter Agent Studio.
1. Enter your **first name**, **last name**, and **email address**
2. Create a password (at least 12 characters, with 3 of 4 character types: lowercase, uppercase, numbers, special characters)
3. Click **"Create account"** and verify your email
Once signed in, you'll land on the Agent Studio home page.
From the home page, click **+ Agent** to start the agent creation wizard. You can create a blank agent or import an existing configuration.
Configure the basics:
* **Agent name**, internal identifier for your project
* **Response language**, primary language for responses (see [multilingual support](/behavior/language/multilingual) for additional languages)
* **Voice**, select from available [text-to-speech (TTS)](https://en.wikipedia.org/wiki/Speech_synthesis) voices
* **Welcome greeting**, first message users receive (can be customized later in [agent settings](/behavior/general/agent))
Click **Next** to enter Agent Studio.
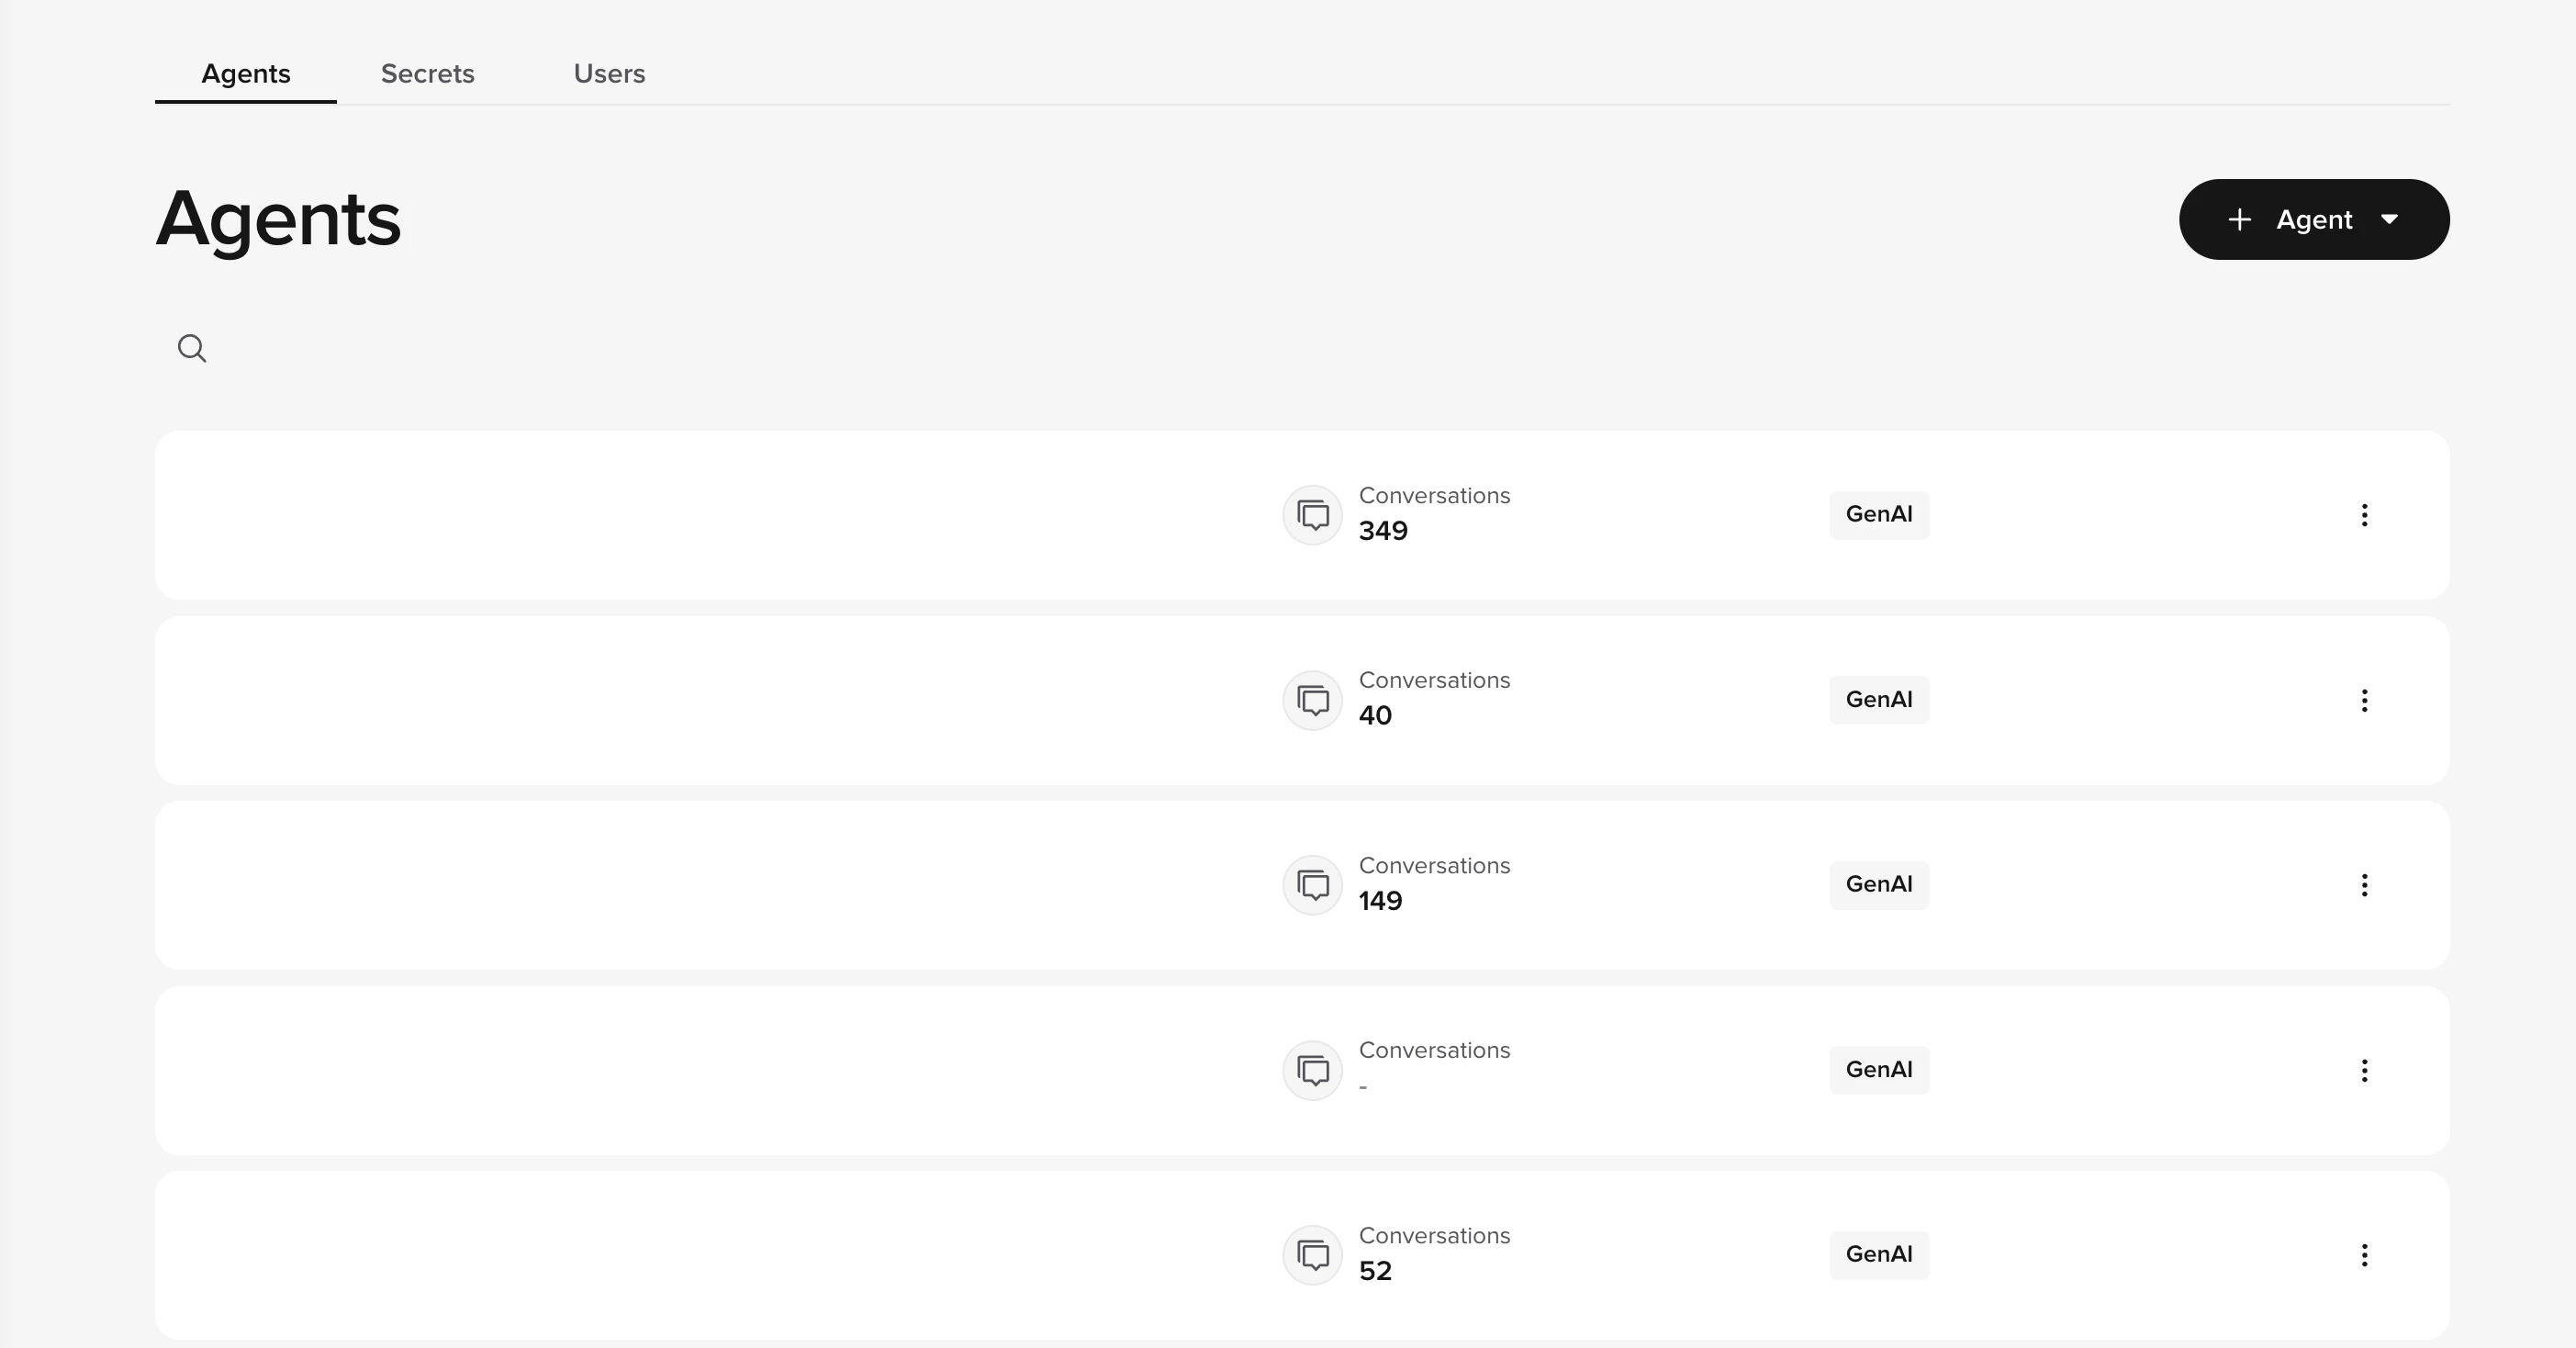 You can also duplicate an existing agent by clicking the three-dot menu next to any agent on the home page.
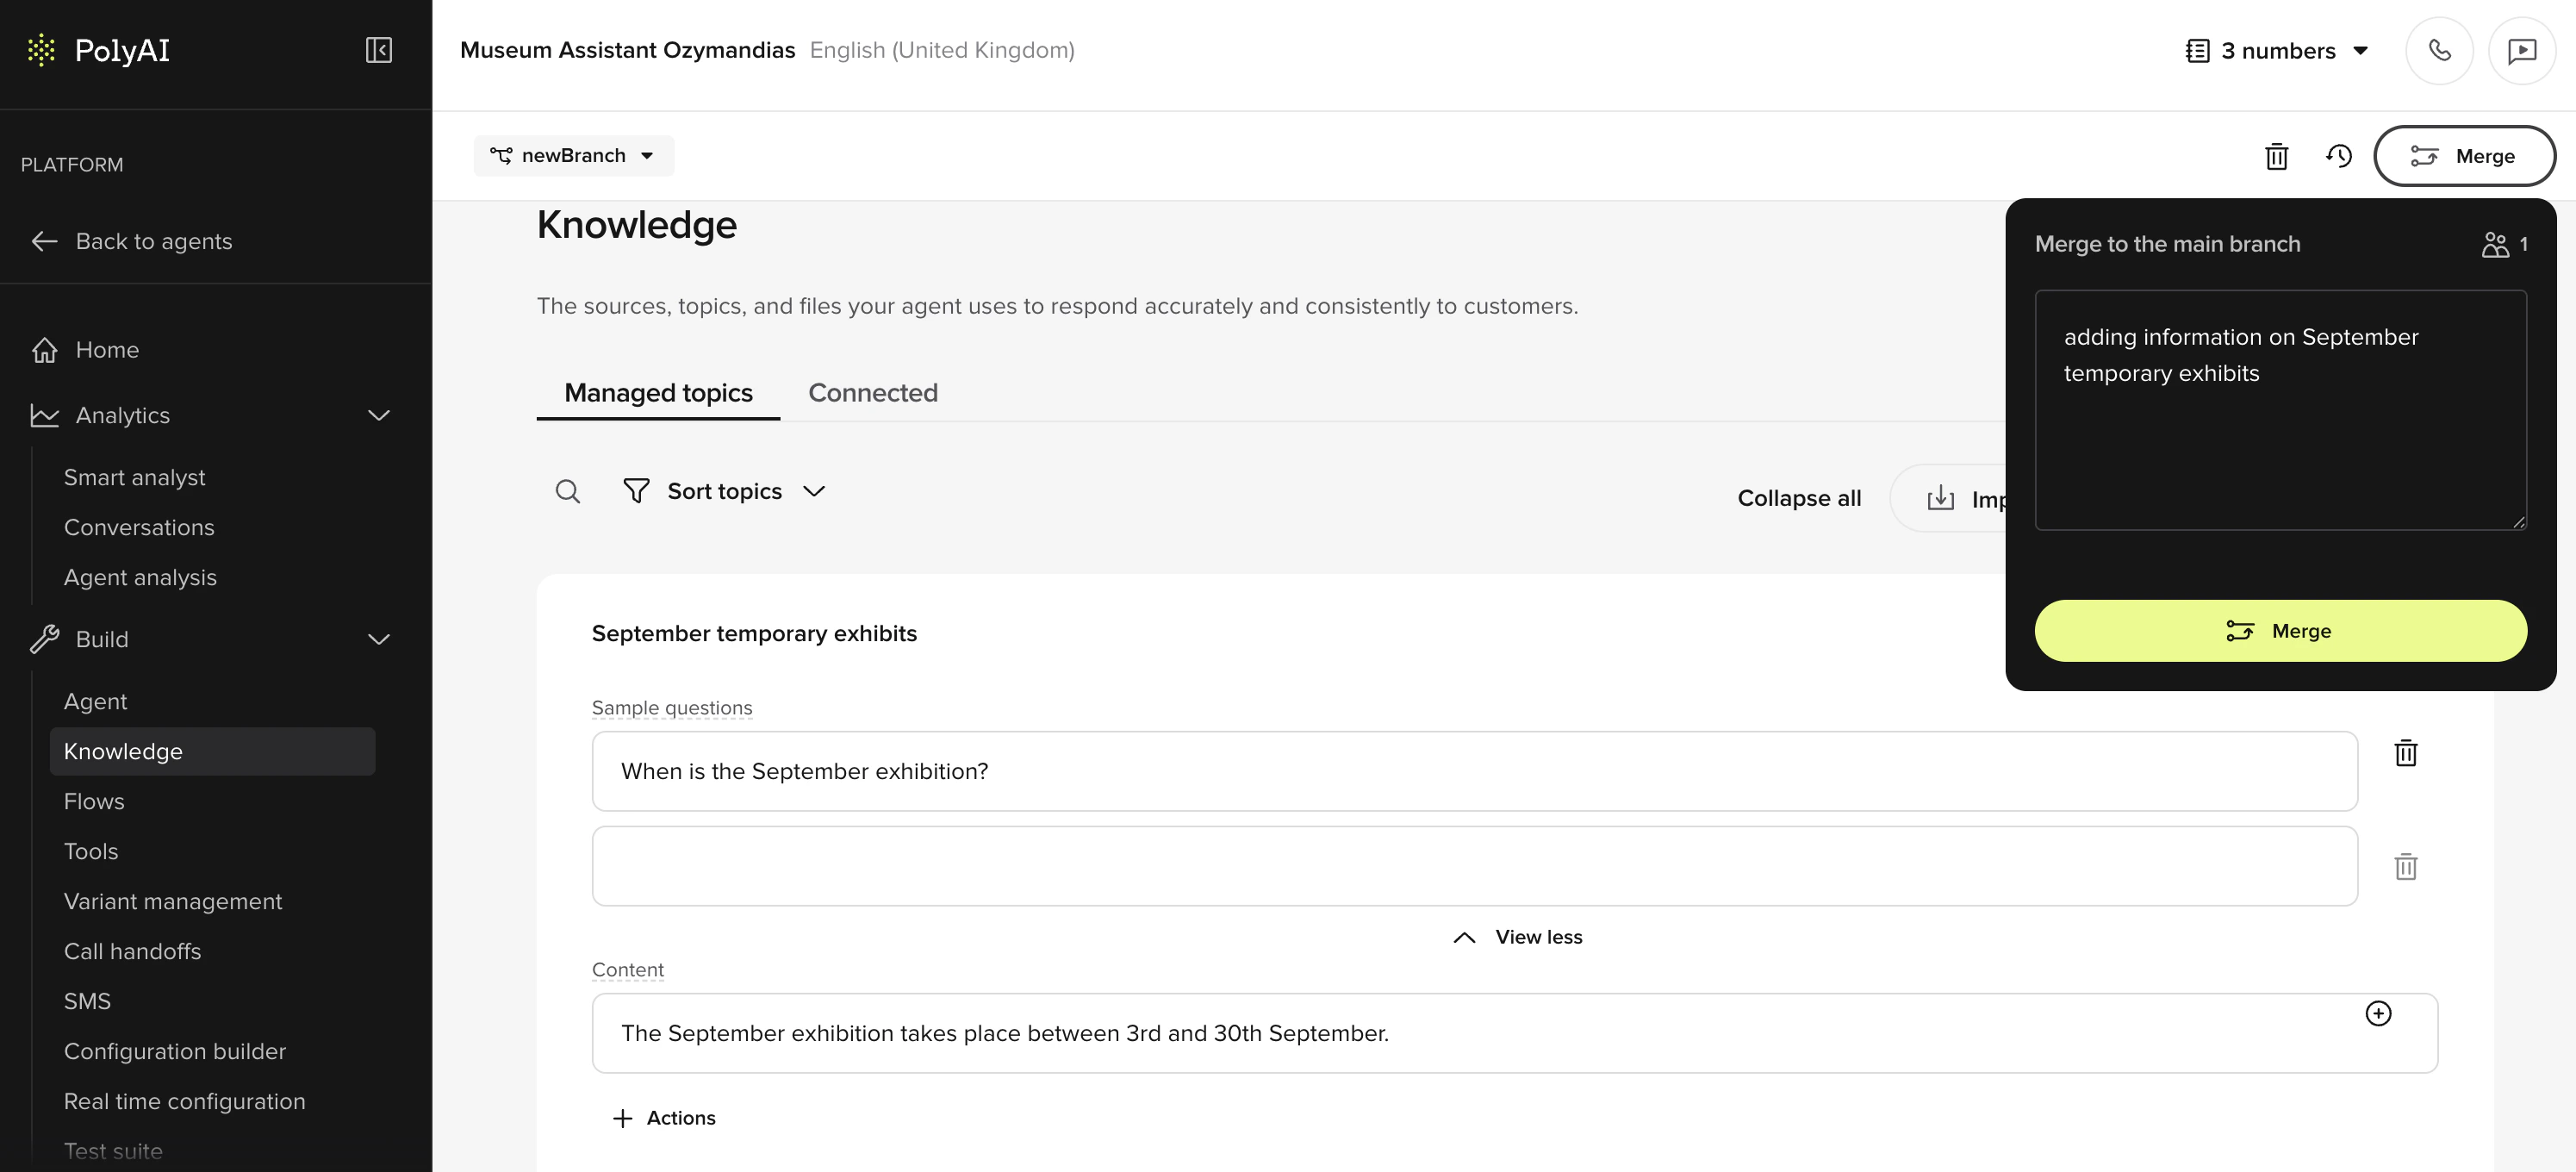
Navigate to **Knowledge > FAQs** in the sidebar.
Click **Add topic** and provide:
* **Topic name**, what this topic covers (e.g., "Store hours")
* **Sample questions**, up to 20 ways users might ask (e.g., "When are you open?")
* **Answer**, the response your agent should give
Click **Save** to create the topic.
Changes are saved as **Drafts**. Publish to **Sandbox** to test them. Learn more about [environments and versions](/environments-and-versions/introduction).
**Optional:** Add more topics to expand your agent's capabilities. You can also:
* Upload PDFs or URLs to auto-generate topics
* Connect external knowledge sources like [Zendesk](/integrations/zendesk) or [Google Sheets](/integrations/google-sheets) using the [Connected tab](/knowledge/sources/introduction) in Knowledge
* Add [actions](/knowledge/faqs/actions/introduction) to trigger handoffs, SMS, or other behaviors
See the full [FAQs guide](/knowledge/faqs/introduction) for details on how [RAG](/knowledge/faqs/RAG/introduction) (retrieval-augmented generation) powers topic matching.
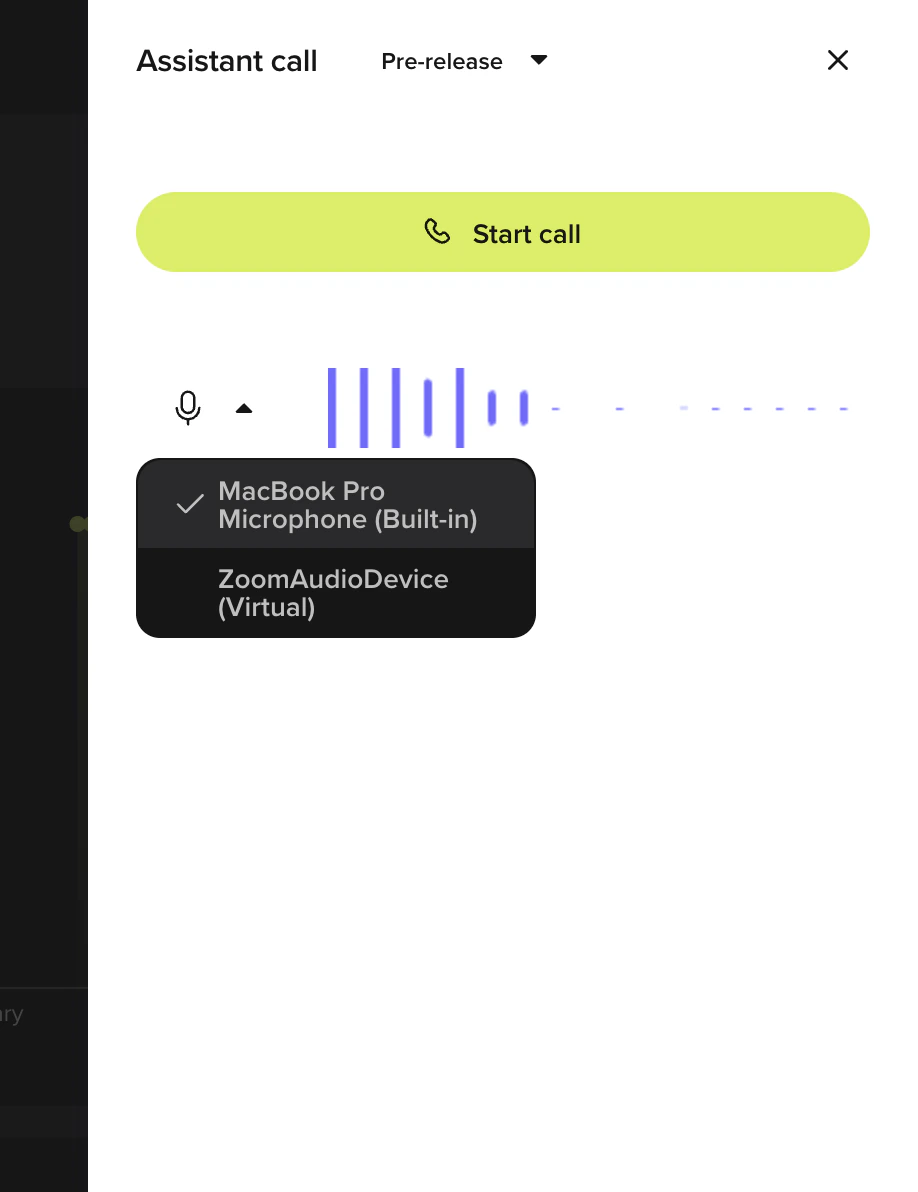
The fastest way to test, uses your device's microphone directly.
1. Click the **phone icon** in the top-right corner
2. Select **Sandbox** from the environment dropdown
3. Begin speaking to your agent
You can also duplicate an existing agent by clicking the three-dot menu next to any agent on the home page.
Navigate to **Knowledge > FAQs** in the sidebar.
Click **Add topic** and provide:
* **Topic name**, what this topic covers (e.g., "Store hours")
* **Sample questions**, up to 20 ways users might ask (e.g., "When are you open?")
* **Answer**, the response your agent should give
Click **Save** to create the topic.
Changes are saved as **Drafts**. Publish to **Sandbox** to test them. Learn more about [environments and versions](/environments-and-versions/introduction).
**Optional:** Add more topics to expand your agent's capabilities. You can also:
* Upload PDFs or URLs to auto-generate topics
* Connect external knowledge sources like [Zendesk](/integrations/zendesk) or [Google Sheets](/integrations/google-sheets) using the [Connected tab](/knowledge/sources/introduction) in Knowledge
* Add [actions](/knowledge/faqs/actions/introduction) to trigger handoffs, SMS, or other behaviors
See the full [FAQs guide](/knowledge/faqs/introduction) for details on how [RAG](/knowledge/faqs/RAG/introduction) (retrieval-augmented generation) powers topic matching.
The fastest way to test, uses your device's microphone directly.
1. Click the **phone icon** in the top-right corner
2. Select **Sandbox** from the environment dropdown
3. Begin speaking to your agent
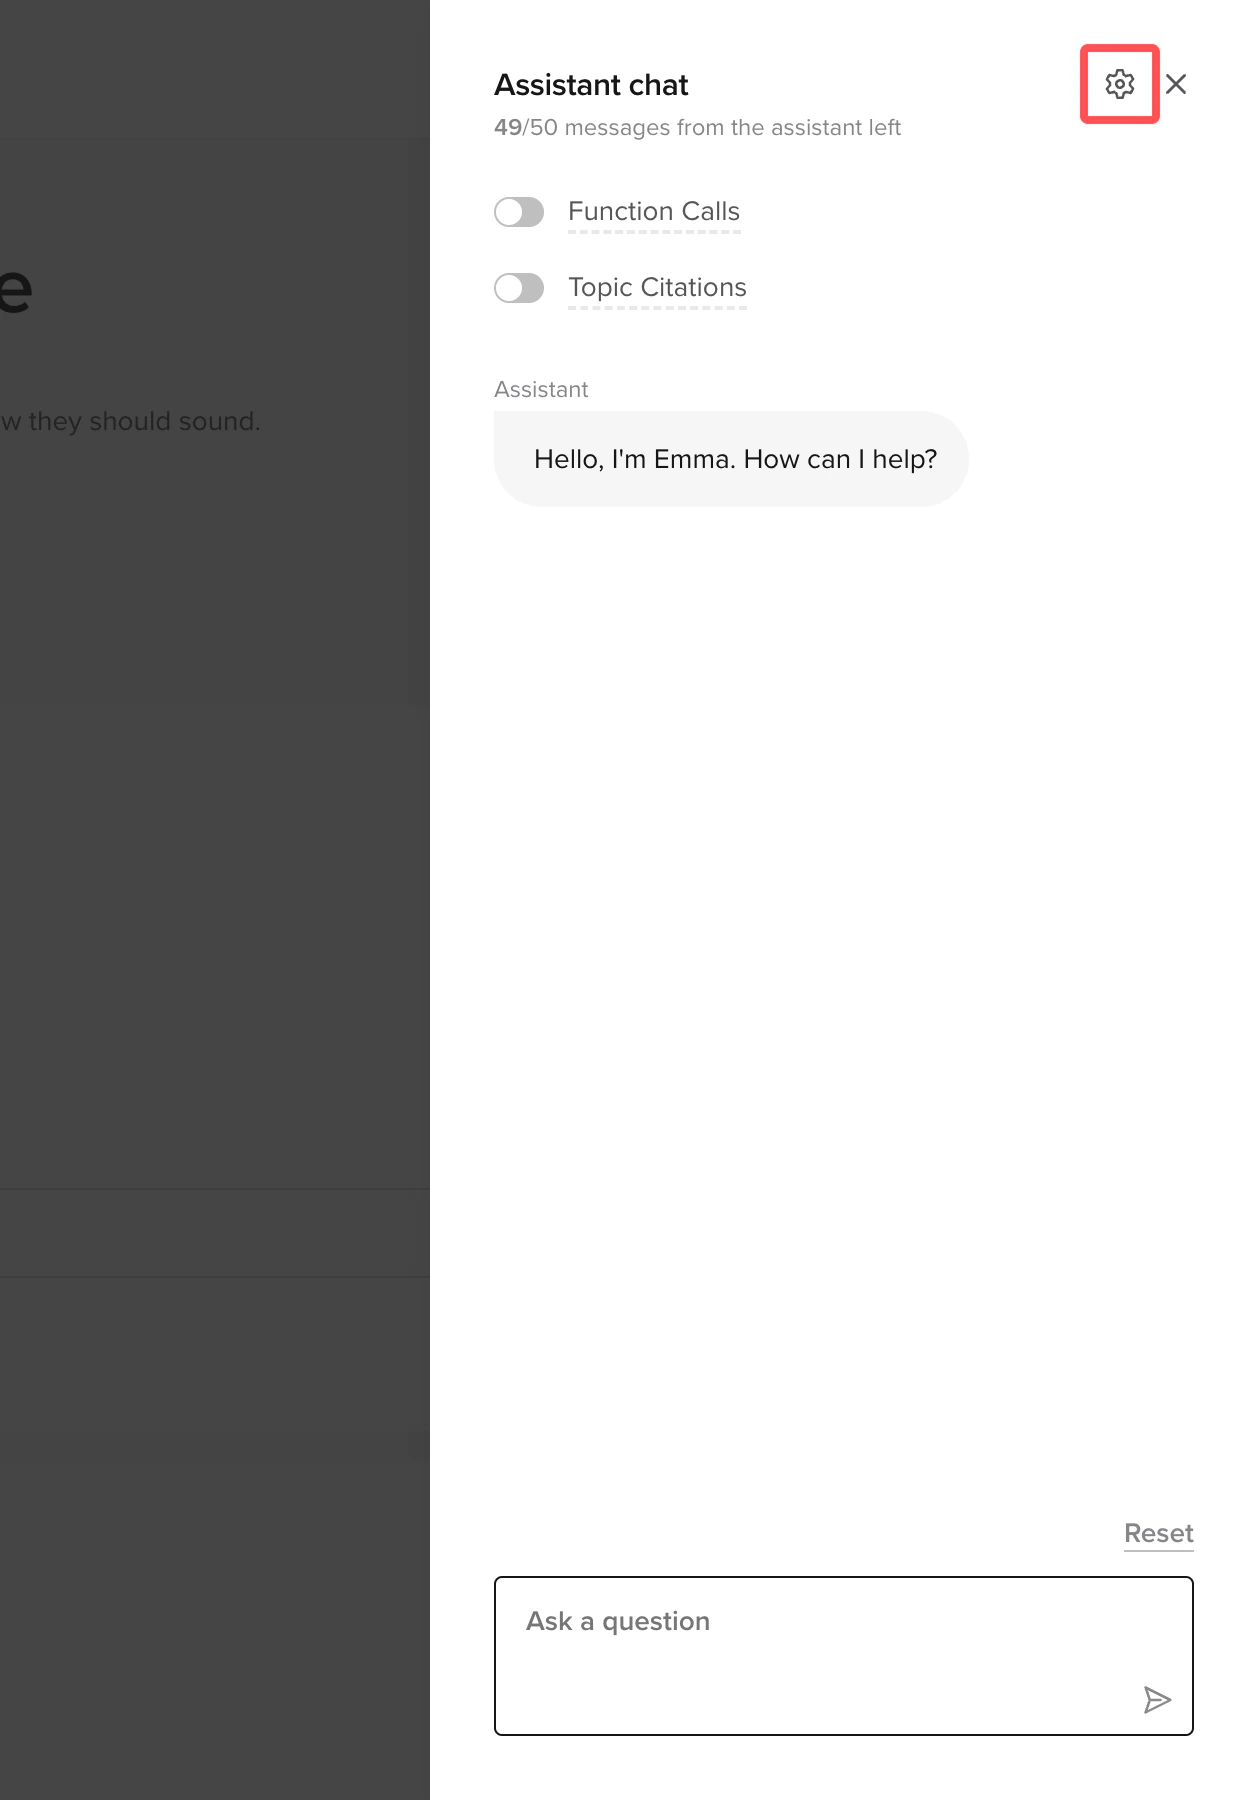
 Test with text-based chat, directly from Agent Studio.
1. Go to the agent main page
2. Click the **webchat icon** to open a text-based conversation
The chat window shows tool calls and topic citations alongside the conversation. Click the Settings icon to toggle these.
Test with text-based chat, directly from Agent Studio.
1. Go to the agent main page
2. Click the **webchat icon** to open a text-based conversation
The chat window shows tool calls and topic citations alongside the conversation. Click the Settings icon to toggle these.
 See [webchat setup](/messaging-channel/introduction) for more details.
Test in a production-like environment by calling a connected number.
1. Go to **Voice > Numbers** in the sidebar
2. Click **"Add number"** to purchase a number or connect an existing one
3. Call the number to speak with your agent
See [Numbers](/voice-channel/numbers/introduction) for setup instructions.
**Testing tips:**
* Use specific keywords to trigger your agent's topics
* Test with different accents and speaking styles
* For [multilingual agents](/behavior/language/multilingual), switch languages mid-conversation to test detection
* Review conversations in the [Conversations dashboard](/analytics/conversations/introduction) after testing
Promote your agent through the deployment pipeline:
1. Go to **Deployments** in the sidebar
2. Click **Promote to Pre-release** for user acceptance testing (if available in your project)
3. Click **Promote to Live** to make your agent production-ready
Each environment can have its own phone number and configuration.
See [webchat setup](/messaging-channel/introduction) for more details.
Test in a production-like environment by calling a connected number.
1. Go to **Voice > Numbers** in the sidebar
2. Click **"Add number"** to purchase a number or connect an existing one
3. Call the number to speak with your agent
See [Numbers](/voice-channel/numbers/introduction) for setup instructions.
**Testing tips:**
* Use specific keywords to trigger your agent's topics
* Test with different accents and speaking styles
* For [multilingual agents](/behavior/language/multilingual), switch languages mid-conversation to test detection
* Review conversations in the [Conversations dashboard](/analytics/conversations/introduction) after testing
Promote your agent through the deployment pipeline:
1. Go to **Deployments** in the sidebar
2. Click **Promote to Pre-release** for user acceptance testing (if available in your project)
3. Click **Promote to Live** to make your agent production-ready
Each environment can have its own phone number and configuration.
 Some projects use a simplified pipeline that promotes directly from Sandbox to Live, skipping Pre-release. You can roll back to any previous version if issues arise, see the [deployment pipeline guide](/environments-and-versions/introduction) for details.
## Next steps
Connect APIs and add dynamic behavior with Python functions
Multi-step workflows for bookings, forms, and structured tasks
TTS, voice selection, and audio settings
Dashboards, conversation review, and metrics
## How your agent works
Each conversation turn follows a pipeline: **ASR** (speech to text) → **LLM** (knowledge retrieval and response generation) → **TTS** (text to speech). See [architecture](/glossary/architecture) for a detailed breakdown, or [processing order](/essentials/order) for the step-by-step flow.